
Do you want to set up an online marketplace like Amazon, Walmart, or Etsy?
You can easily do so using WordPress. It is a robust platform that allows you to quickly create a multi-vendor marketplace.
In this blog post, I will show you how to set up a multi-vendor online marketplace with WordPress.
I will also provide some tips on how to make your marketplace successful.
Let’s get started.
The Rise of eCommerce
The eCommerce industry has been on the rise in recent years. According to Statista, the global eCommerce market will grow up to $7.3 trillion by 2023.
This growth is due to several factors, including:
- The increasing popularity of online shopping
- The growing availability of internet access
- The rising use of mobile devices for online shopping
Because of this growth, setting up an online marketplace is a great way to start or develop your business.
What is a Multi-vendor Website?
A multi-vendor website is an online marketplace that allows multiple sellers to sell their products on the same platform.
Some of the most famous examples of multi-vendor websites are Amazon, Etsy, and Walmart.
Each seller has their own page on the website and dedicated product pages where they can list their own products.
There is also space for third-party sellers to list their products alongside, creating a one-stop shop for a huge variety of needs.
Customers can browse through the different pages and purchase items from the sellers they prefer.
How Multi-vendor Online Marketplaces Work
Multi-vendor online marketplaces work by giving sellers a platform to sell their products. Customers can browse through the different pages and purchase items from the sellers they prefer.
The marketplace will take a commission on each sale. However, the seller will be responsible for shipping the product to the customer.
Multi-vendor Online Marketplace Benefits
Having a multi-vendor website is a lucrative business model for several reasons:
Tap Into a Larger Market
First, you have the potential to tap into a much larger market by offering products from multiple vendors. This gives customers more choice and increases the chances that they’ll find what they’re looking for on your site.
Generate a Reliable Revenue Stream
Second, you’ll be able to generate more revenue streams by charging each vendor a commission on their sales. This can quickly add up, especially if you have a lot of vendors selling on your site.
Increased Customer Loyalty
Third, you’ll be able to build loyalty with customers by offering them a one-stop-shop for all their needs. This will keep them coming back to your site repeatedly, which is essential for any successful business.
Economies of Scale
Finally, you’ll be able to take advantage of economies of scale by buying products in bulk from vendors and selling them at a higher price. This will allow you to profit while still offering customers competitive prices.
In short, a multivendor website is an excellent way to grow your business and boost your bottom line. So if you’re looking for a new business opportunity, this is definitely one to consider. In addition, you’ll need it to set up a successful marketplace website.
What Do You Need to Set Up a Marketplace Website?
Now that we’ve gone over some of the benefits of setting up a marketplace website, let’s look at what’s required.
You need to have a few critical things in place before creating your marketplace.
A Domain Name and Web Hosting
First, you’ll need a domain name and web hosting. This is where your website will live on the internet.
You can usually get both of these from the same place. However, I recommend using SiteGround, as they’re one of the world’s largest and most popular web hosting companies.
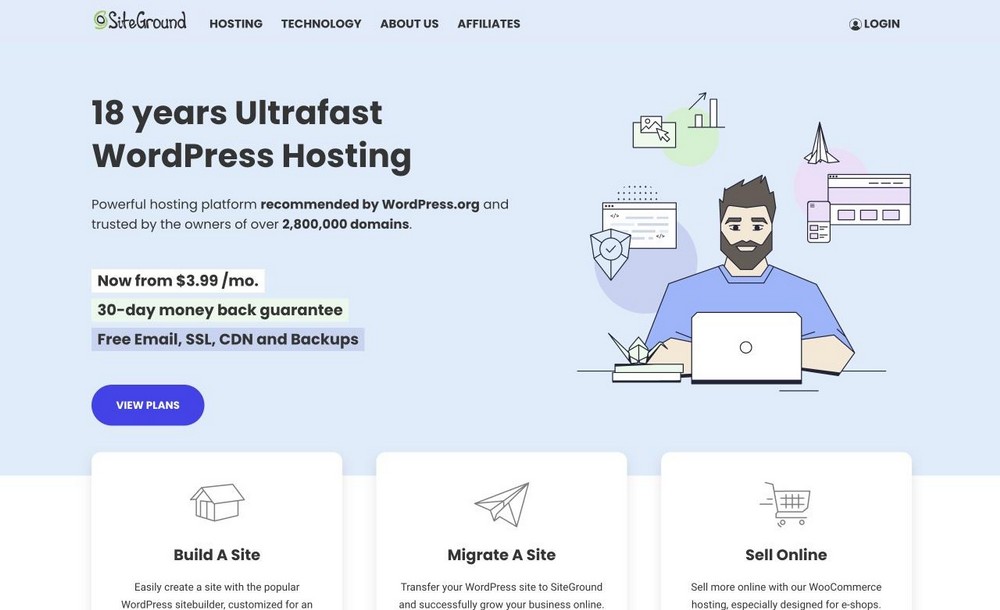
Plus, they offer a free domain name when you sign up for their service.
If you want to try something else, check out my Hosting page, where I lay out the best hosting options.
A Content Management System (WordPress)
Next, you’ll need a content management system (CMS). This will allow you to create and manage your website content.
There are a lot of different CMSs out there, but I recommend WordPress. WordPress is the most popular CMS globally, and it’s very straightforward to use.
Plus, plenty of resources are available to help you learn how to use it.
A Fast Loading WordPress Theme
You’ll need a fast-loading WordPress theme now that you have WordPress installed. This is what will determine how your website looks and feels.

There are thousands of different WordPress themes to choose from. But we recommend the Astra theme because it’s one of the fastest loading themes on the market.
Plus, it’s highly customizable and easy to use.
An eCommerce Plugin
Second, you’ll need an eCommerce plugin. This will allow you to turn your WordPress site into an online marketplace.
I recommend using WooCommerce. WooCommerce is now owned by Automattic. The same company behind WordPress.
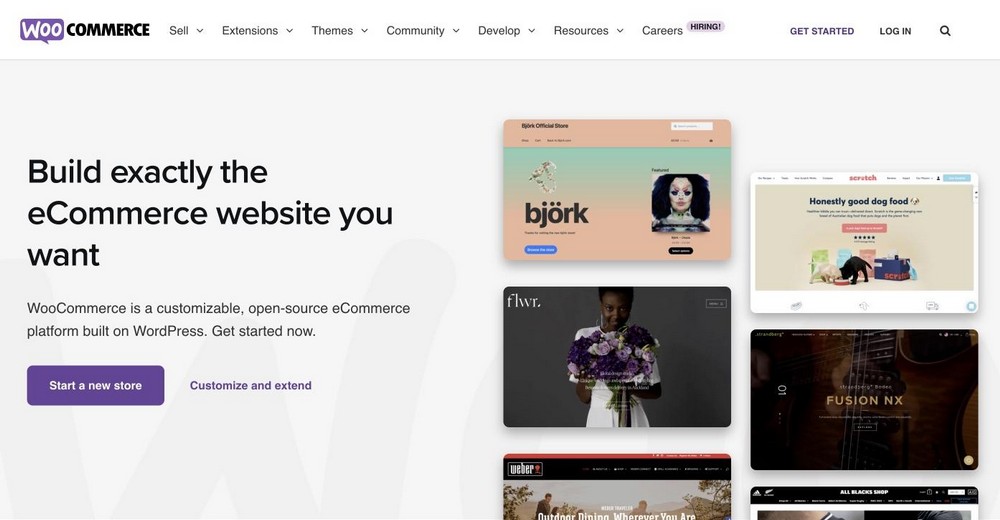
It turns your WordPress website into an eCommerce store. This plugin can add products, fulfill orders, and process payments.
An Online Marketplace Plugin
Last but not least, you’ll need an online marketplace plugin. This is what will turn your WordPress site into an online marketplace.
There are a few different plugins available, but I recommend the Dokan Plugin. It’s a popular plugin for creating marketplaces quickly and easily.
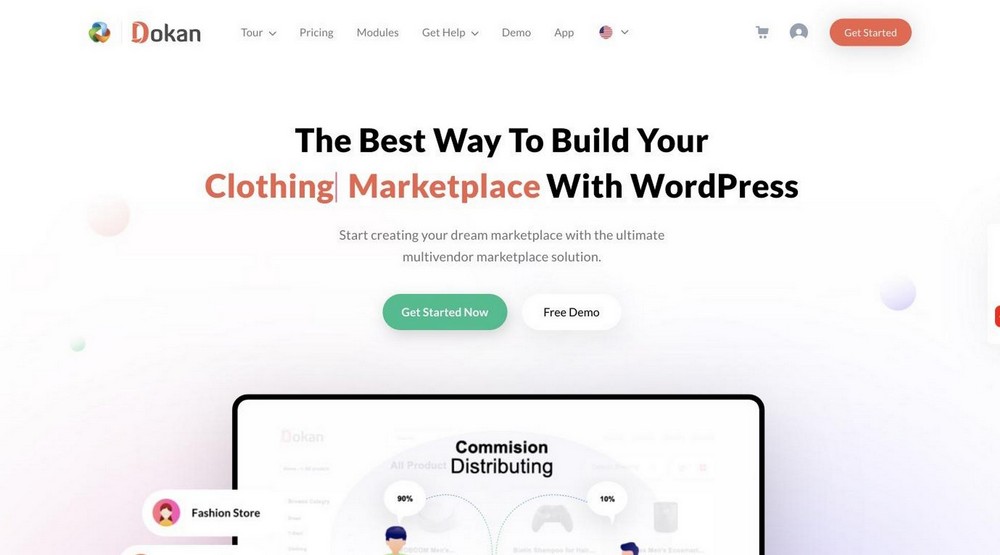
Dokan is a plugin that gives you the tools to create your own online marketplace in minutes.
You can sell physical products, as well as digital ones!
Dokan is free to download and use. However, suppose you want to create a full-fledged online marketplace. In that case, you can check Dokan’s premium plan, which unlocks a ton of advanced features.
In this tutorial, I’ll give you a complete walkthrough of this plugin and how you can use it to build your own marketplace.
Why Astra Is the Perfect Theme for Your Store
Astra is the perfect theme for your online marketplace because it’s fast, lightweight, and highly customizable.
Plus, it comes with everything you need to create a thriving online marketplace. Some of the features that make Astra perfect for marketplaces include:
Built-in eCommerce Support
Astra comes with built-in eCommerce support and is WooCommerce ready. You can easily install the WooCommerce plugin and start using it on your website.
Lightweight and Fast Loading
Astra is a lightweight and fast-loading WordPress theme. This means your website will load quickly for your visitors.
Plus, it comes with various performance-enhancing features to help keep your website running fast.
Flexible Layout Options
Astra comes with a variety of flexible layout options. This means you can easily change the layout of your website to fit your needs.
You get complete freedom to fully control the look of your website.
Highly Customizable
Astra is highly customizable. You can easily change the colors, fonts, and other design elements of your website without writing any code.
This makes it easy to create a unique-looking marketplace that matches your brand.
SEO Optimized and Inbuilt Schema
Astra is SEO optimized and comes with an inbuilt schema. As a result, your website will rank higher in search engines and get more traffic.
Plus, it comes with various other features to help you grow your marketplace.
Frequent Updates
Astra is frequently updated with new features and bug fixes. This means you can always keep your marketplace up-to-date with the latest technology.
Compatible With All Major Plugins
Astra is compatible with all major plugins. This includes popular plugins like WooCommerce, WordPress SEO by Yoast, Gravity Forms, and WPML.
This makes it easy to add any features you need to your marketplace without worrying about compatibility issues.
Advanced Header Options
Astra also comes with advanced header options. This means you can easily change your website’s header to fit your brand.
These are just a few reasons why Astra is the perfect theme for your online marketplace. Astra is an excellent option if you’re looking for a fast, lightweight, and highly customizable WordPress theme.
How to Set Up a Multi-vendor Online Marketplace
Now that you know what you need to create a multi-vendor online marketplace let’s look at how to set it up.
Setting up a Domain and Hosting
The first thing you need to do is set up your domain and hosting. A domain is your website’s address on the internet. For example, Google’s domain is www.google.com.
Hosting is where your website’s files are stored. When someone visits your website, they access your website’s files from your host.
You need to purchase hosting before you can start building your marketplace. I recommend going with SiteGround because it has excellent support and is powerful enough to support lots of traffic.
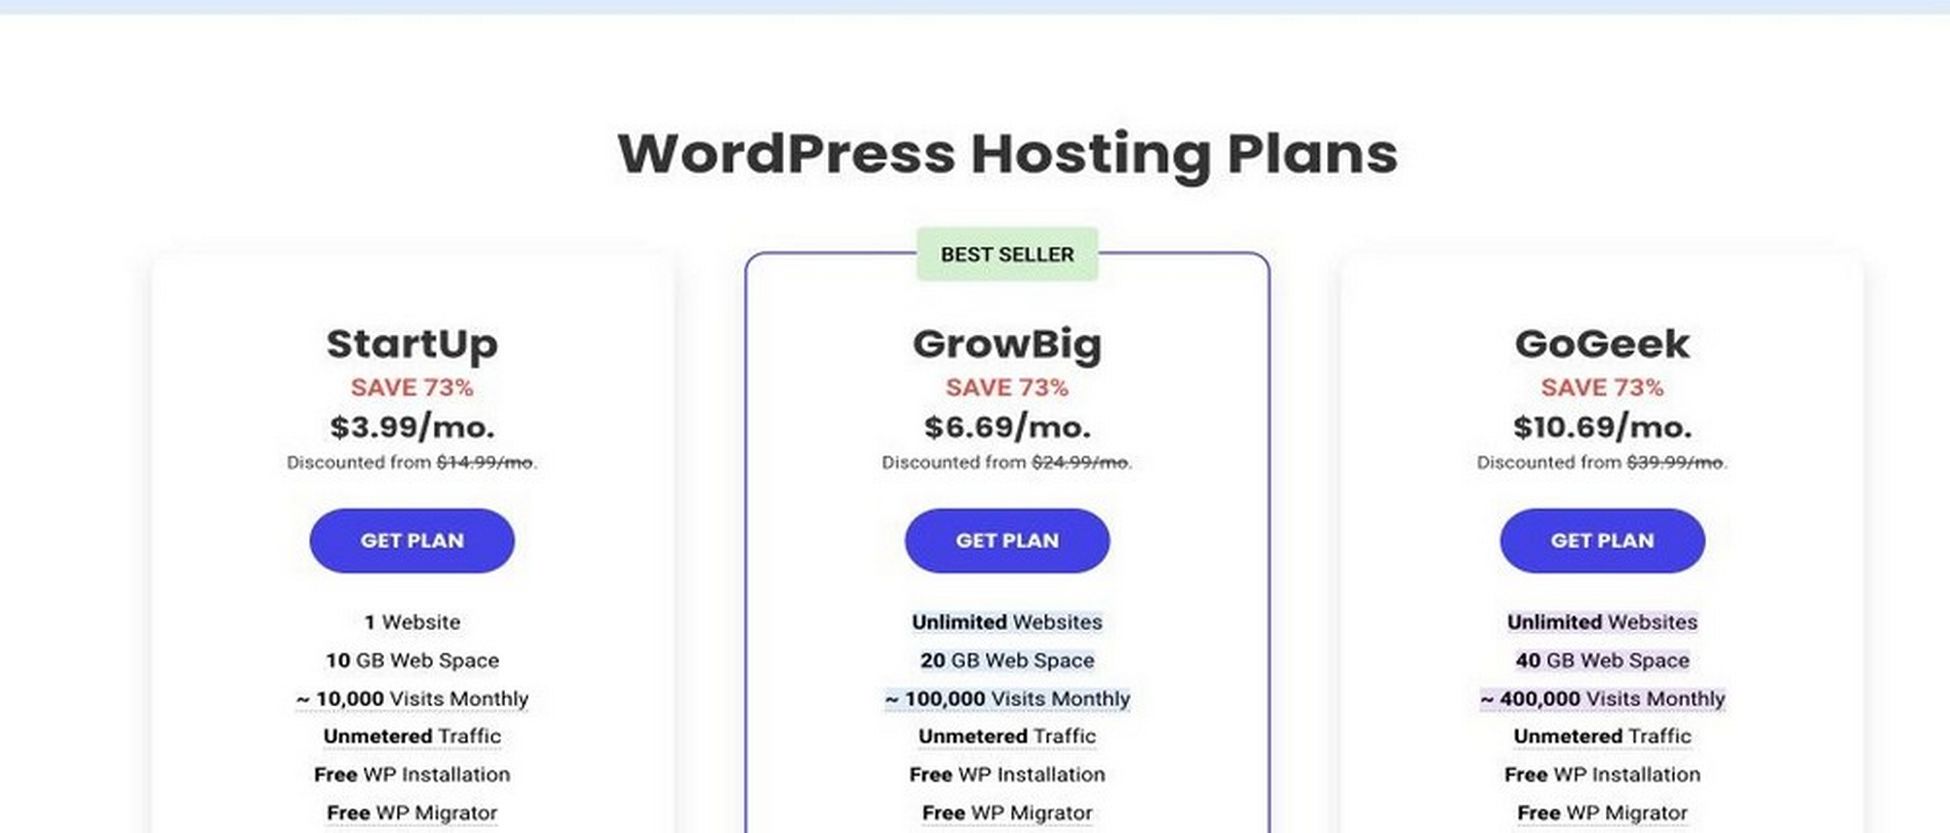
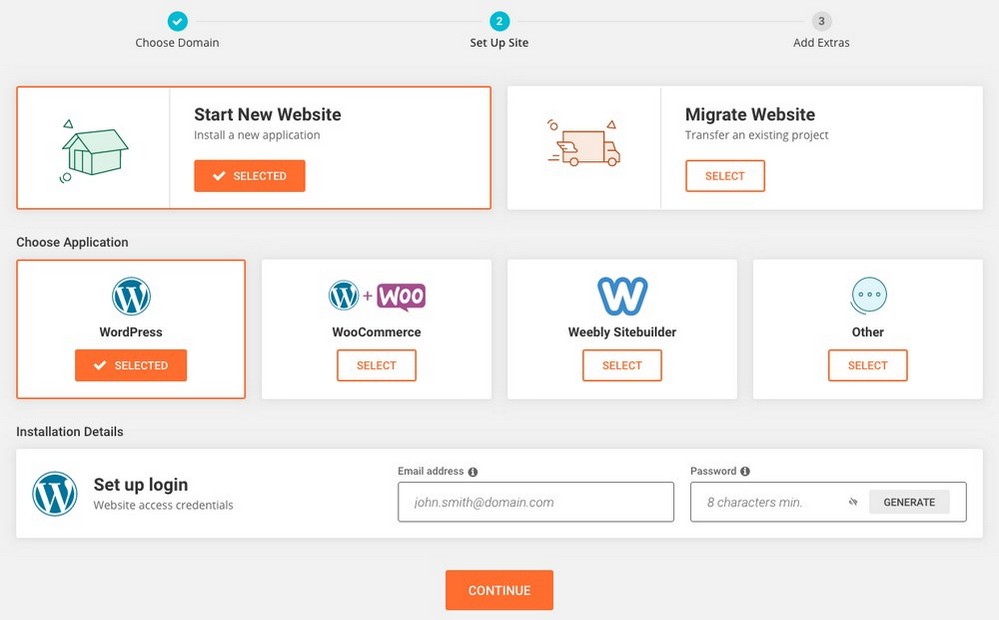
To get started with SiteGround, you can begin with a WordPress Hosting plan.
I recommend the GrowBig plan to create an eCommerce store. It supports higher monthly traffic and has ample webspace. You can upgrade later.
Installing and Setting up WordPress
Once you have your domain and hosting set up, you need to install WordPress. WordPress is a content management system (CMS) that helps you build and manage your website.
There are a few different ways to install WordPress. The easiest way is to use the one-click installer from your host.
If you’re going with SiteGround, you can just use its own WordPress setup.
Once you have installed WordPress, you can now visit the website by entering your domain name in the URL bar.
It should look something like this.

Installing the Astra Theme
Once you have WordPress installed, you need to install the Astra theme. The Astra theme is a lightweight and fast-loading WordPress theme perfect for online marketplaces.
You can download the Astra theme from the WordPress repository.
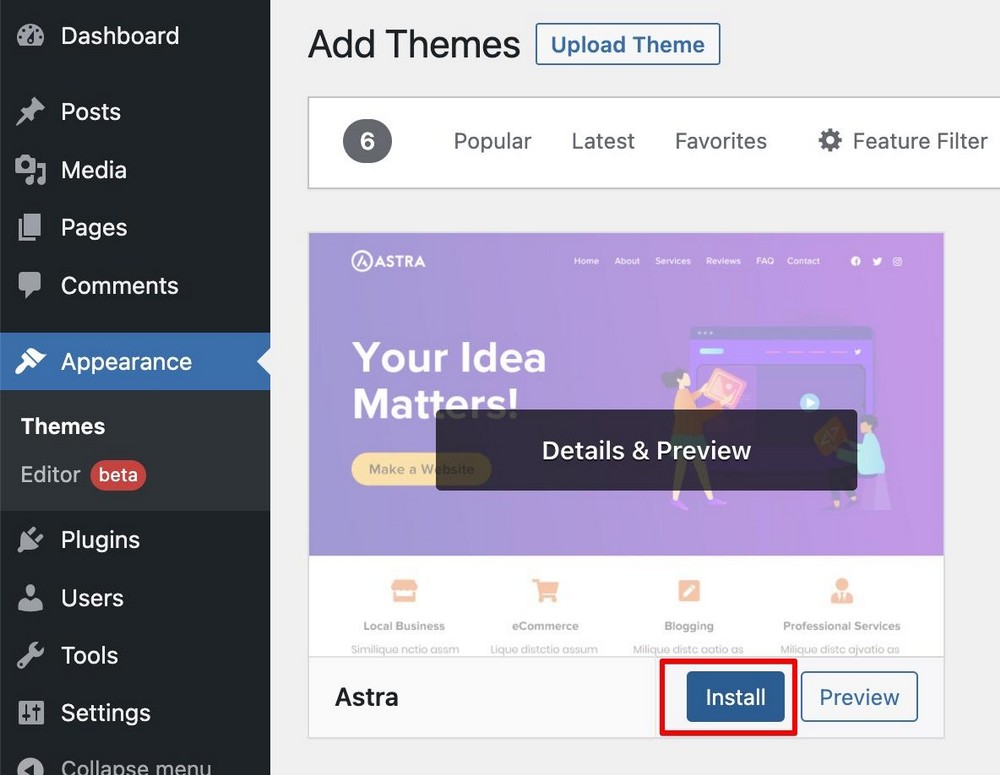
From your WordPress dashboard, go to Appearance > Themes > Add New.
Next, search for Astra in the search bar and install the theme.
Import Demo Website
Once the Astra theme is installed, you can import a prebuilt demo website. The demo website includes all the pages and content you need to get started with your marketplace.
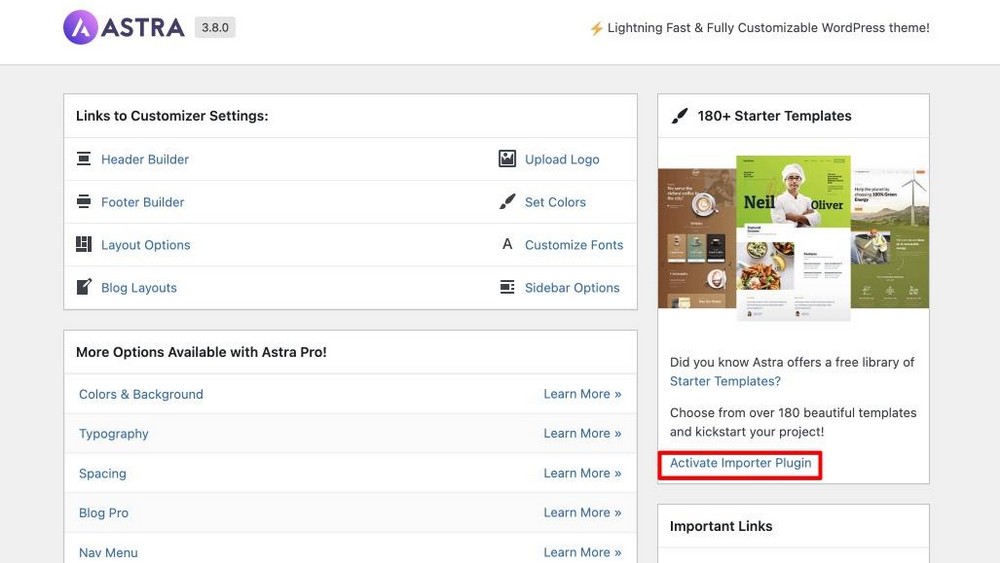
To import a demo website, go to Appearance > Astra Options in your WordPress dashboard.
Next, install and activate the importer plugin.
Once you’ve installed the plugin, you’ll land on the importer wizard. Here you can just select the page builder you’re comfortable with.
You’ll then see hundreds of ready-made websites that you can just customize and start creating your own.
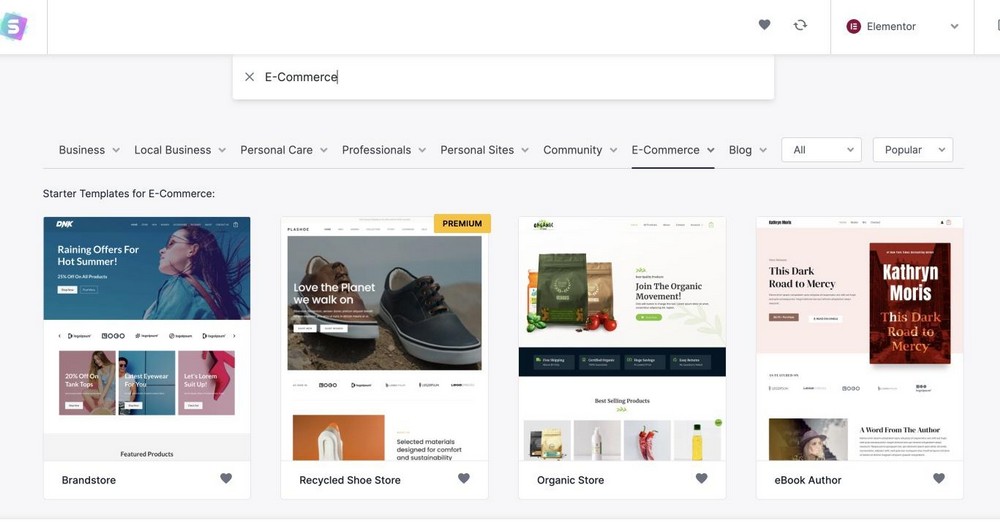
To find website templates specific to eCommerce, click on the E-commerce tab.
Next, select the template that you like and start importing it. You can make some fundamental changes to your website through this wizard.
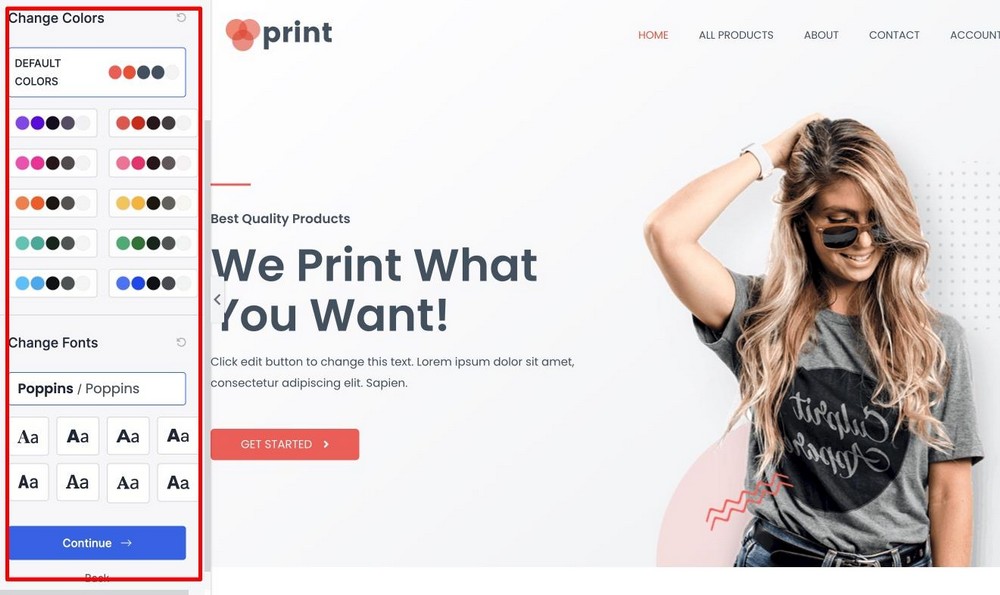
As soon as you click a template, you can upload a new logo.
Next, you can change your website’s color scheme and typography. Again, this is entirely optional. You can adjust all of it later in the Astra Options section.
Click on the Continue button to move to the final step.
In the next step, just fill in some details and hit the Submit and Build My Website button. That will allow the setup wizard to import the template.

The best thing about this approach is that you don’t have to install and set up many of the plugins you usually need.
For example, it installs either the free Elementor or Beaver Builder page builder for creating pages, WP Forms for creating contact forms and WooCommerce to install eCommerce functionality.
By this point, you have a functional and beautiful website ready. After that, you just have to customize the website according to your branding.

Update WooCommerce Settings
Now that your website is imported, you just have to configure the proper settings in WooCommerce as per your location, taxes, and business type.
To do this, go to WooCommerce > Settings in your WordPress dashboard and start customizing.
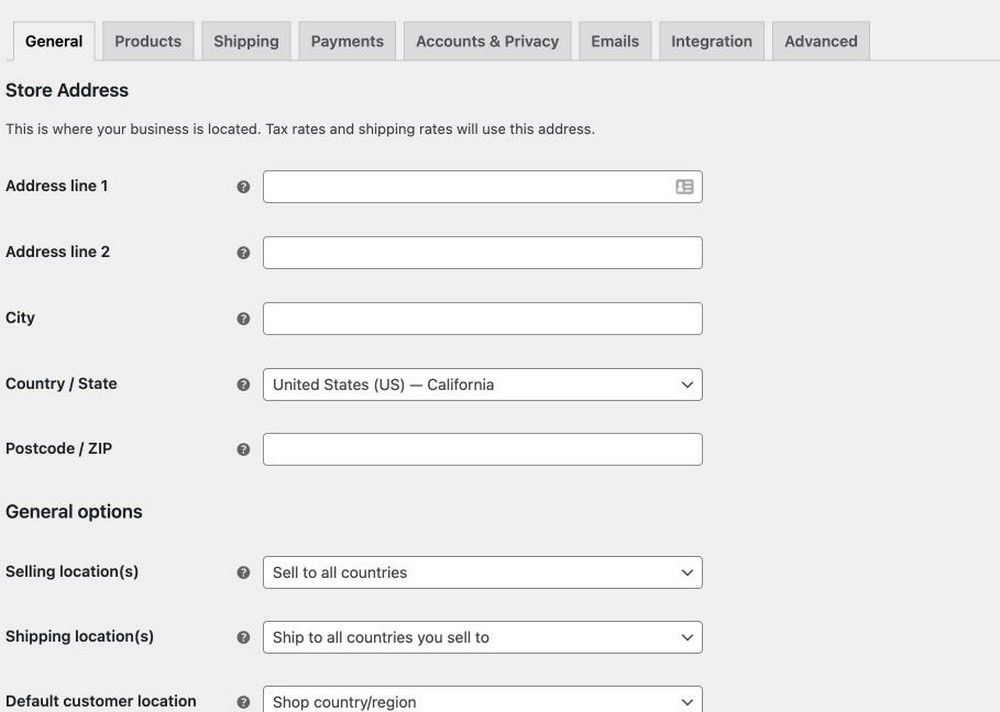
First, you need to click on the General tab and update the currency and base location settings.
Next, put your business address form where you operate and set the currency based on your country.
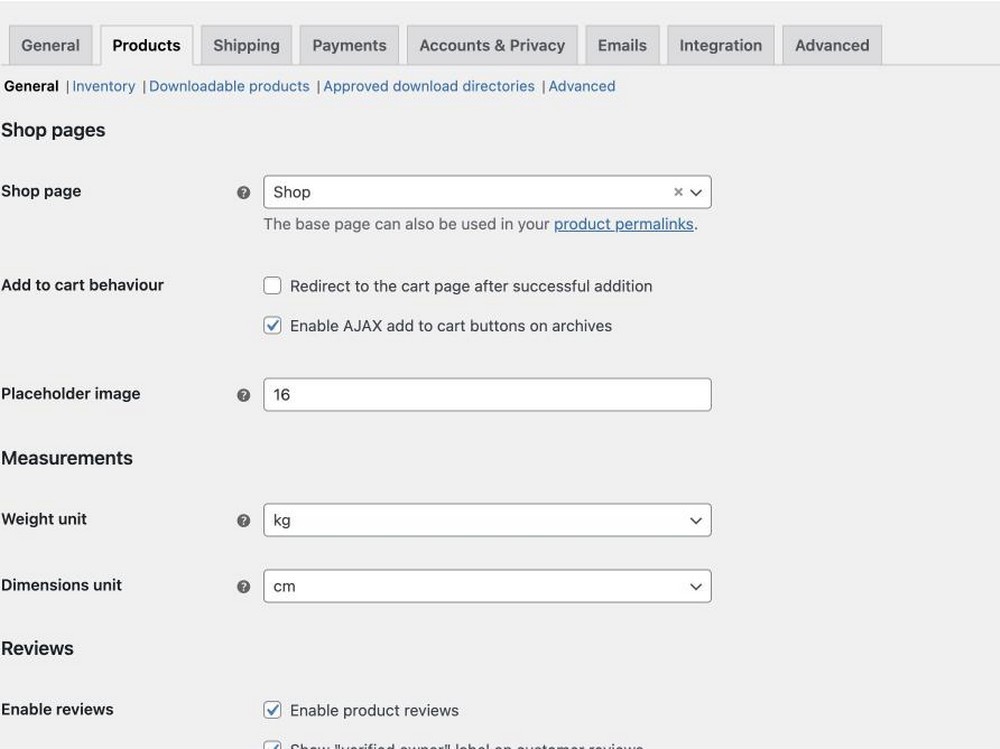
Next head over to Product Settings. Here, you can set a dedicated page for your shop, change product units, and define how you store inventory.
From the shipping settings, you can define how and where you ship your products from the shipping settings. You can also add tax slabs based on the region you ship your products.

Once you’re done with the Shipping, head over to Payment Settings and add the payment method you want to use.
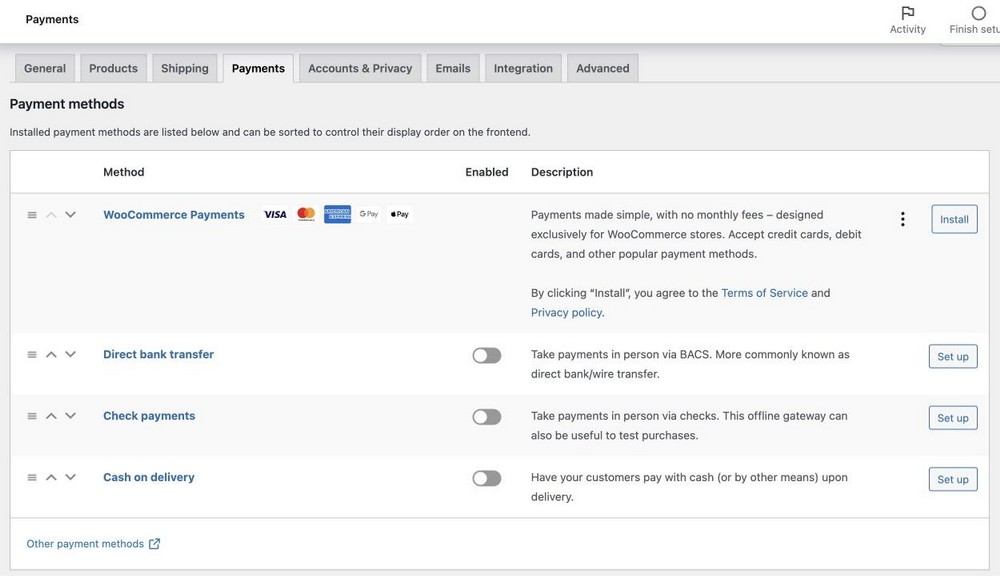
Here you can either use the default payment methods by WooCommerce or install some payment gateway plugins to help you collect payment.
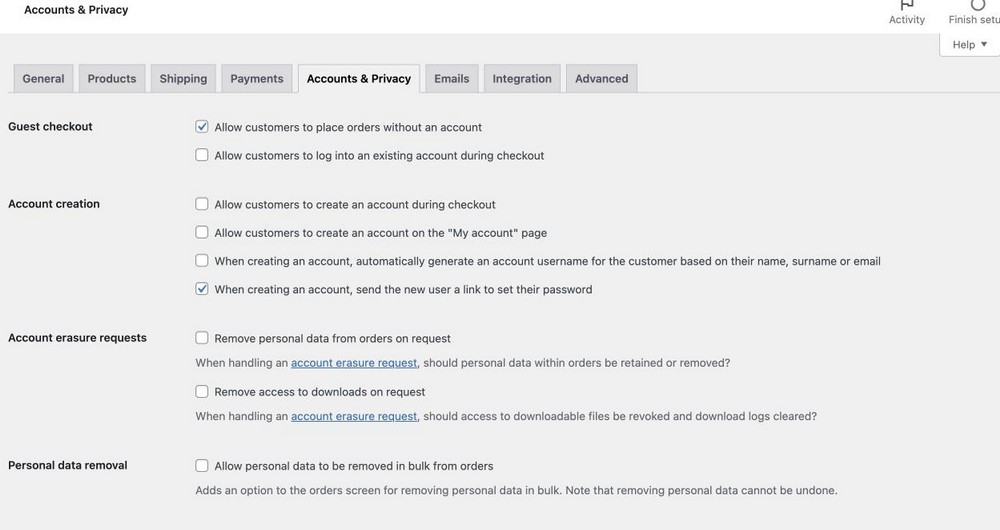
Next, under Accounts & Privacy settings, you can set how you use and save your customer data.
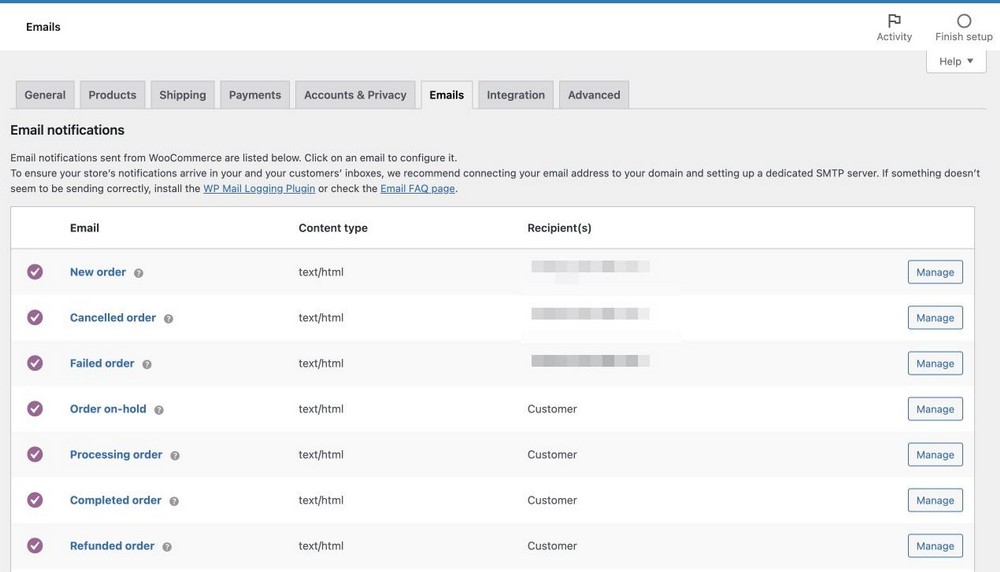
Under Emails, you can customize different emails that your customers receive from your website.
Usually, these settings should be enough for you to get started. You can always go back and change any setting if you need to.
Setting Up the Multi-vendor Element
The final step is to install the multi-vendor functionality to turn your website into an online marketplace. This will allow you to turn your marketplace into a multi-vendor marketplace.
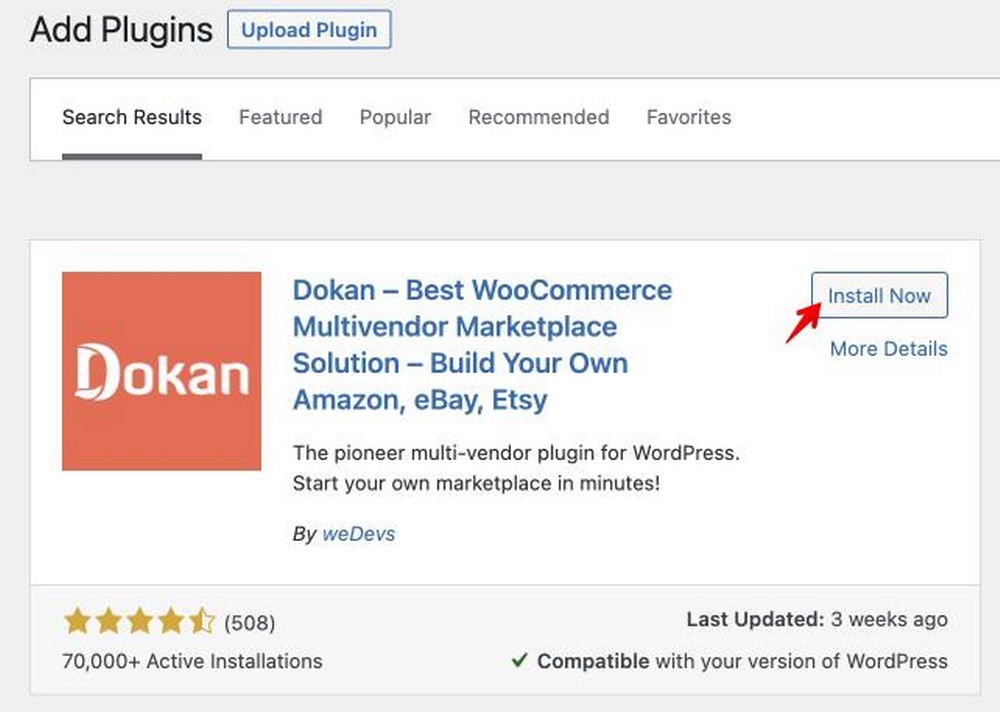
I’ll be using the Dokan plugin to build. To install the plugin, go to Plugins > Add New in your WordPress dashboard.
Search for the Dokan plugin in the WordPress repository and hit Install and Activate.
Once you have installed the plugin, follow the instructions to set it up.
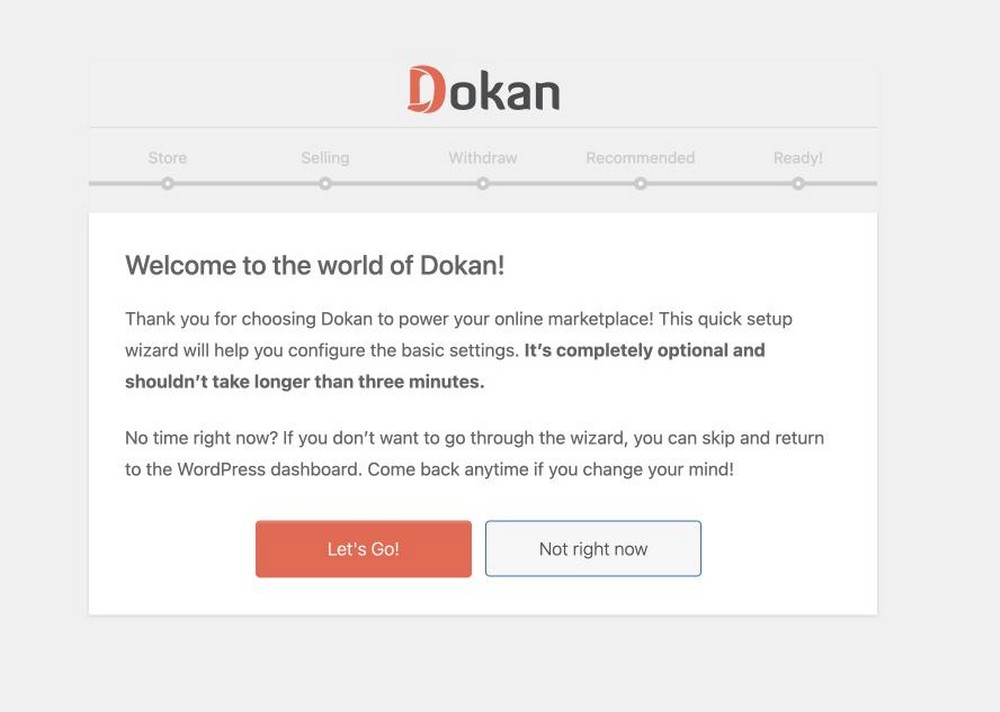
Click on the Let’s Go! Button to start setting up your multi-vendor online marketplace.
Enable Account Management for Vendors
In the Store Setup Wizard, you can choose the vendor store URL and set up who receives your business’s shipping and taxation fees. Of course, this setting depends on your business model.
You can also get the Google Maps API if you want to display a map on the store page.

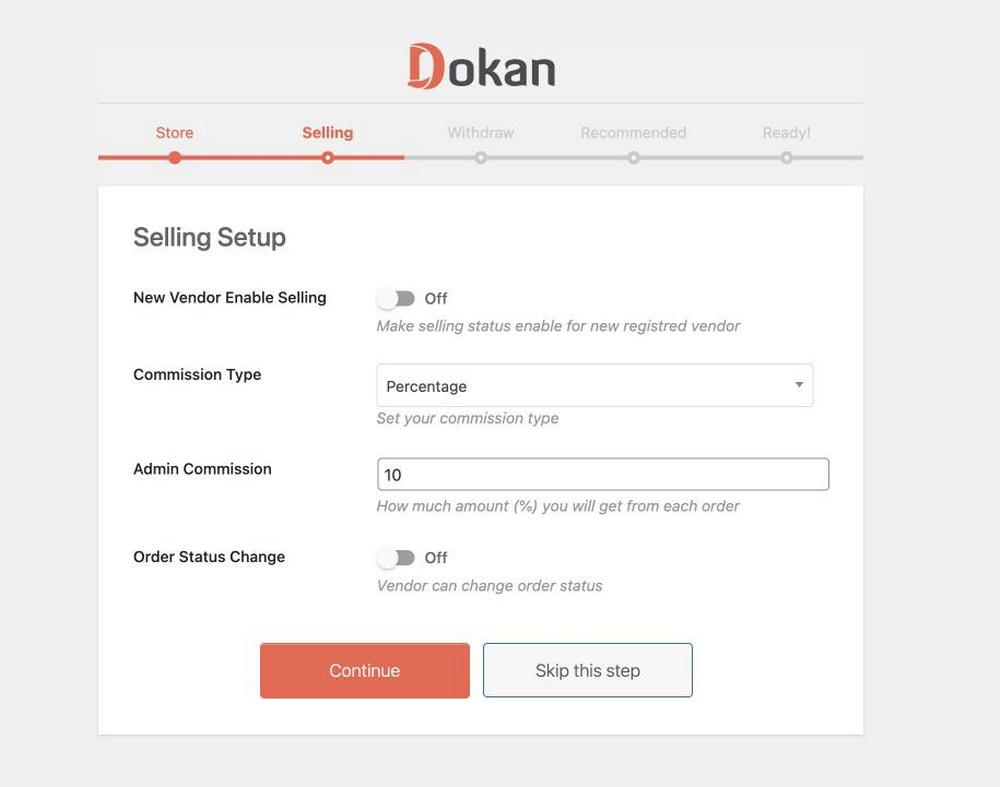
Setting the Commission Rate
In the Selling Setup Wizard, you can choose to allow new vendors to start selling immediately. However, I recommend keeping it off so that you can do a quality check on vendors and then approve their sales.
You can take a call depending on your business model.
Here, you can also set up a commission and allow vendors to change order status independently.
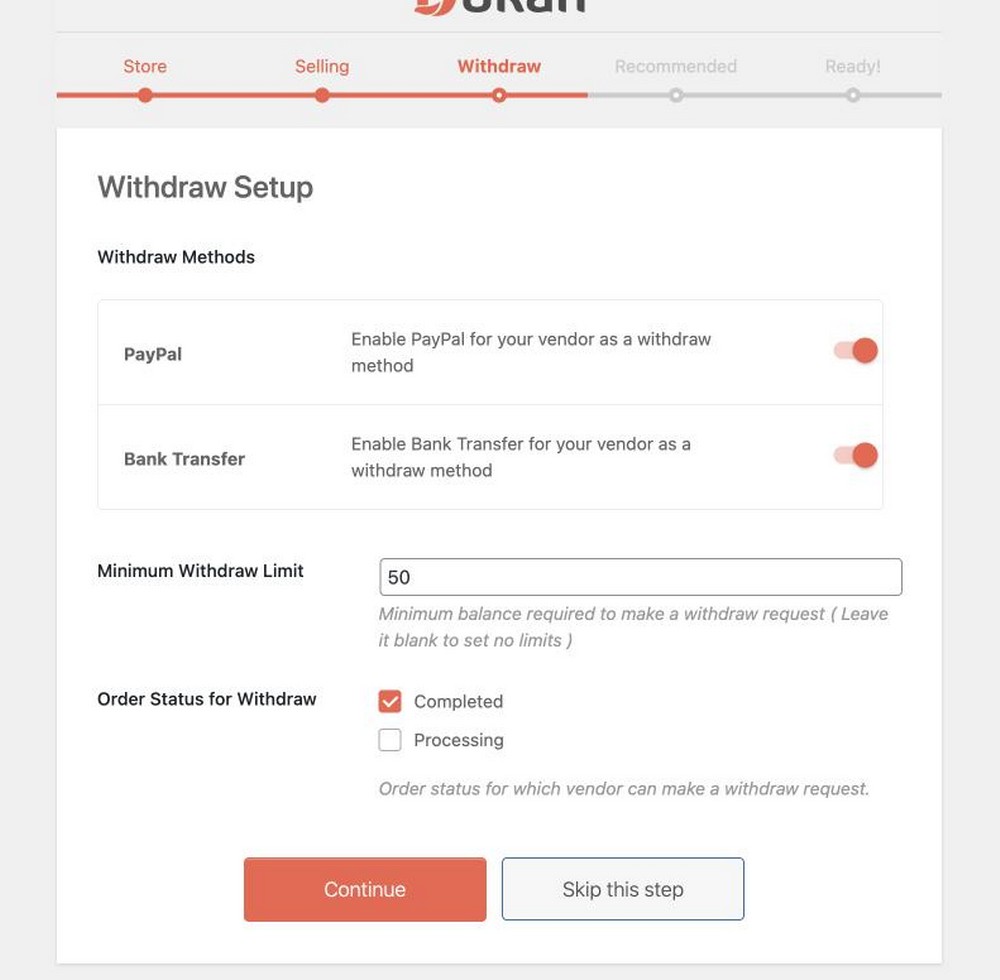
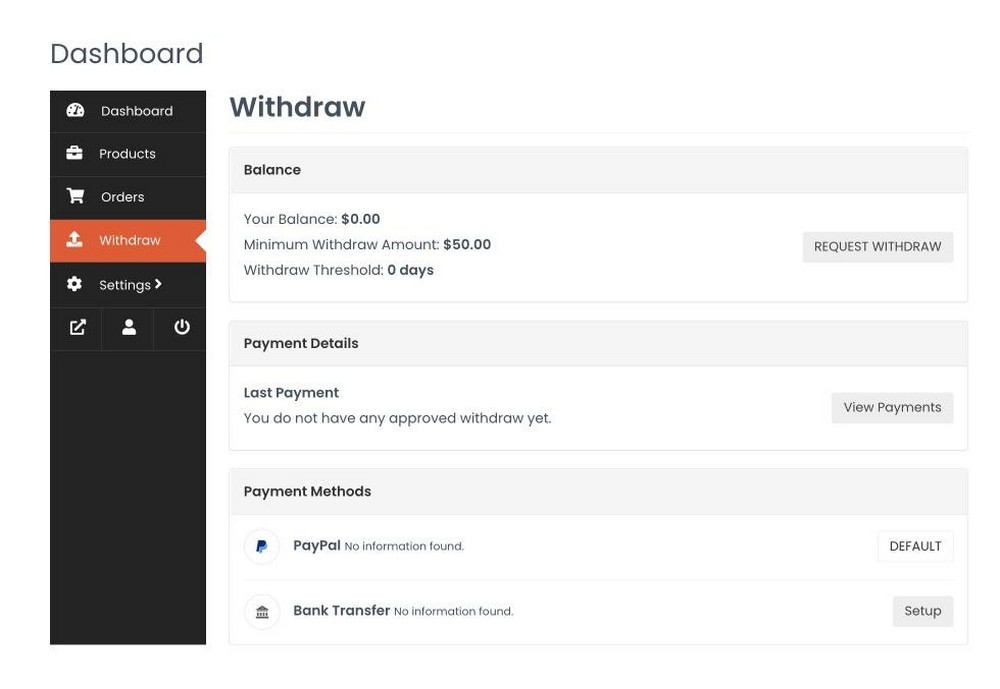
Managing Payments to Vendors
In the Withdraw Settings step, you can choose how vendors can withdraw their revenue from your online marketplace.
You can also set up the minimum withdrawal amount. In this, I’ve kept it as 50. It means that vendors in this store need to make at least $50 in revenue to withdraw their funds.
Set order status for withdrawal to be completed. Vendors get paid when the order is fulfilled and delivered safely.
In the next step, Dokan recommends you to install some plugins. In my opinion, you don’t need them right now. However, you can install this plugin later on if you need them.
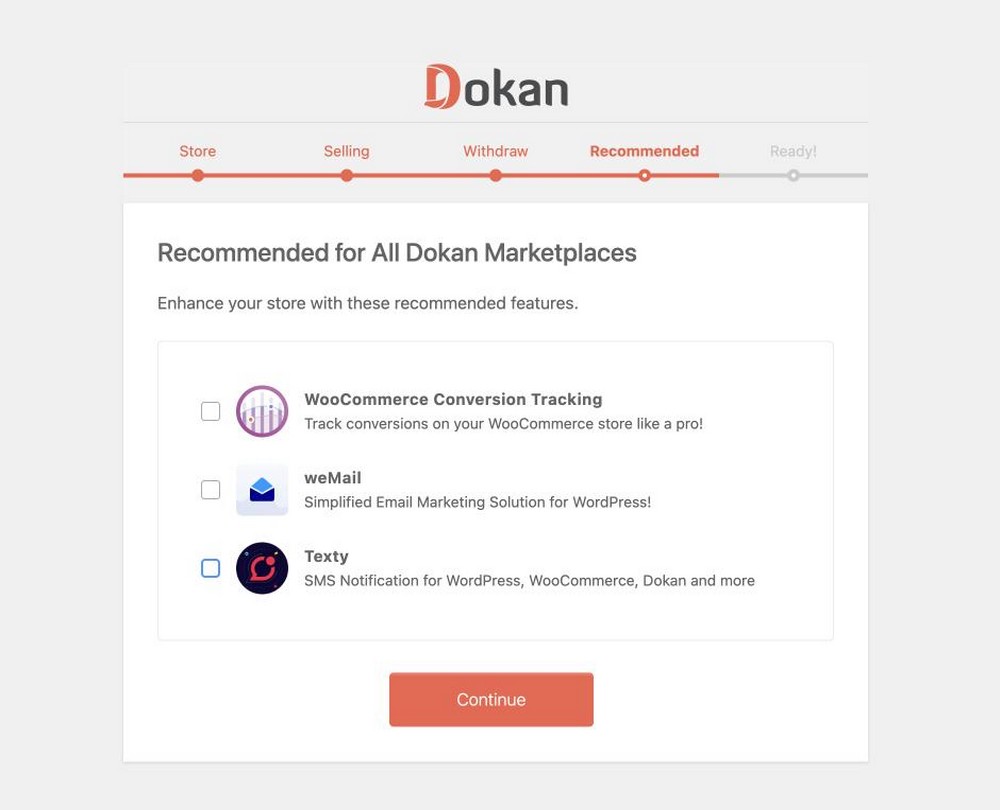
Hit Continue, and the wizard will set up the marketplace for you.
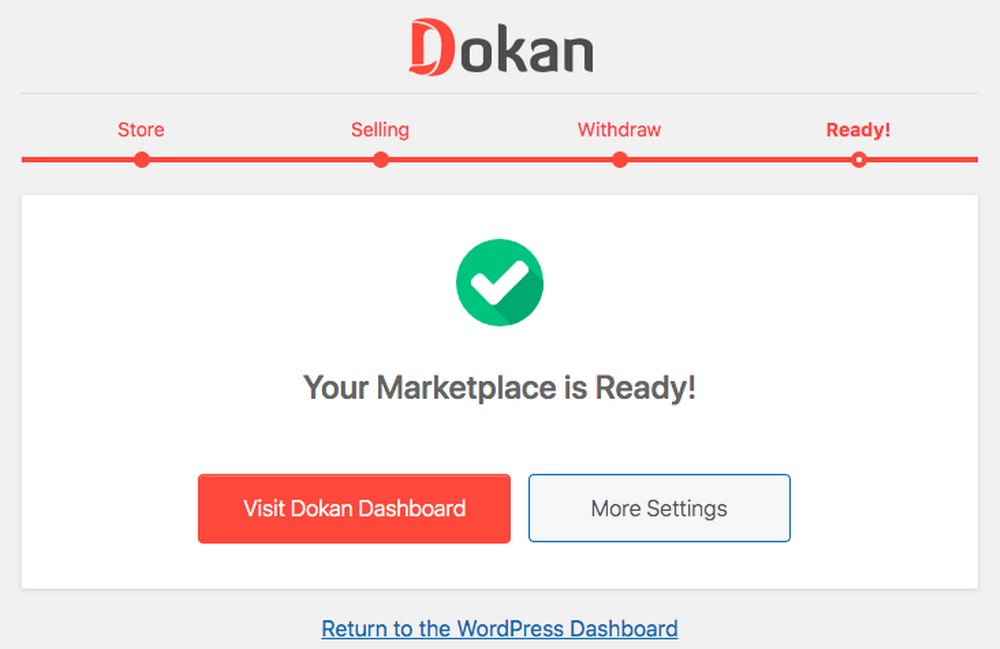
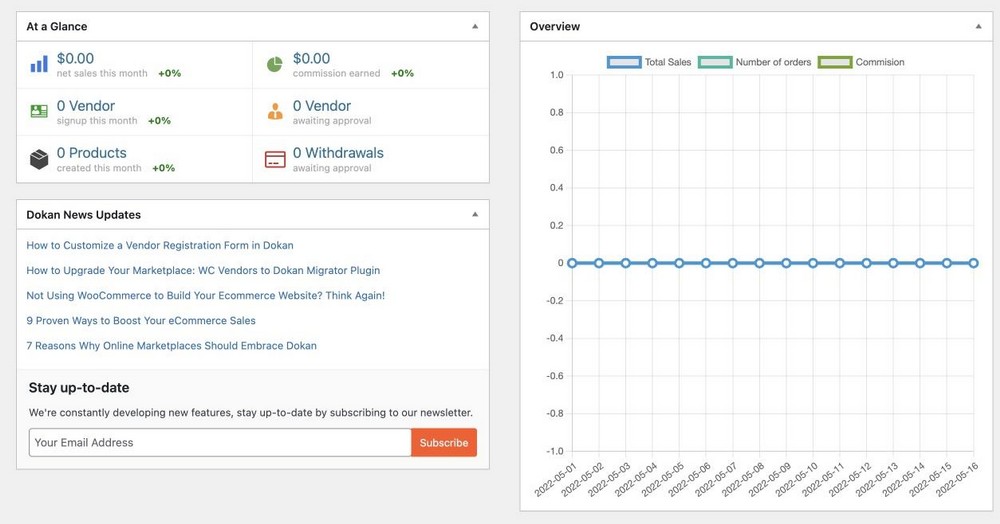
Dokan Dashboard
The Dokan dashboard shows exactly how your store is performing. You get to know which vendor is performing well and how much commission you earned because of their sales.
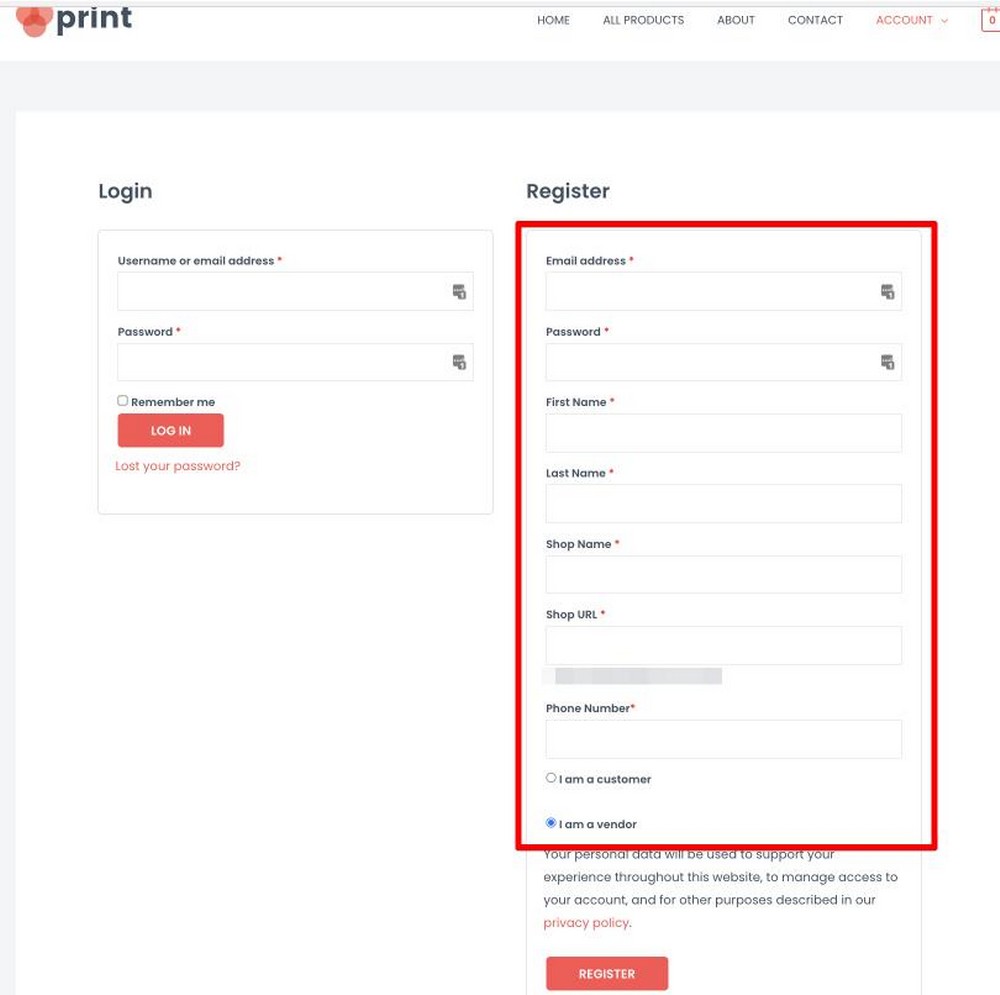
Vendor Registration
Dokan makes it super easy to create vendor profiles. A potential vendor just has to go to the My Account page from the website and set up their account.
Managing Vendors
You can easily manage your vendors through the Dokan Dashboard. Head over to Dokan > Vendors to see vendor details.
Here you can edit the vendor’s store details, like names, logo, and bank accounts, by clicking on the Edit link below the store name.
You can also change the vendor status. For example, if you want to approve or disapprove a vendor, you can do so with this button.
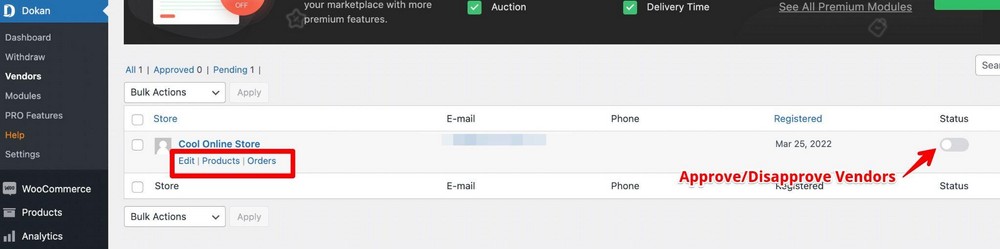
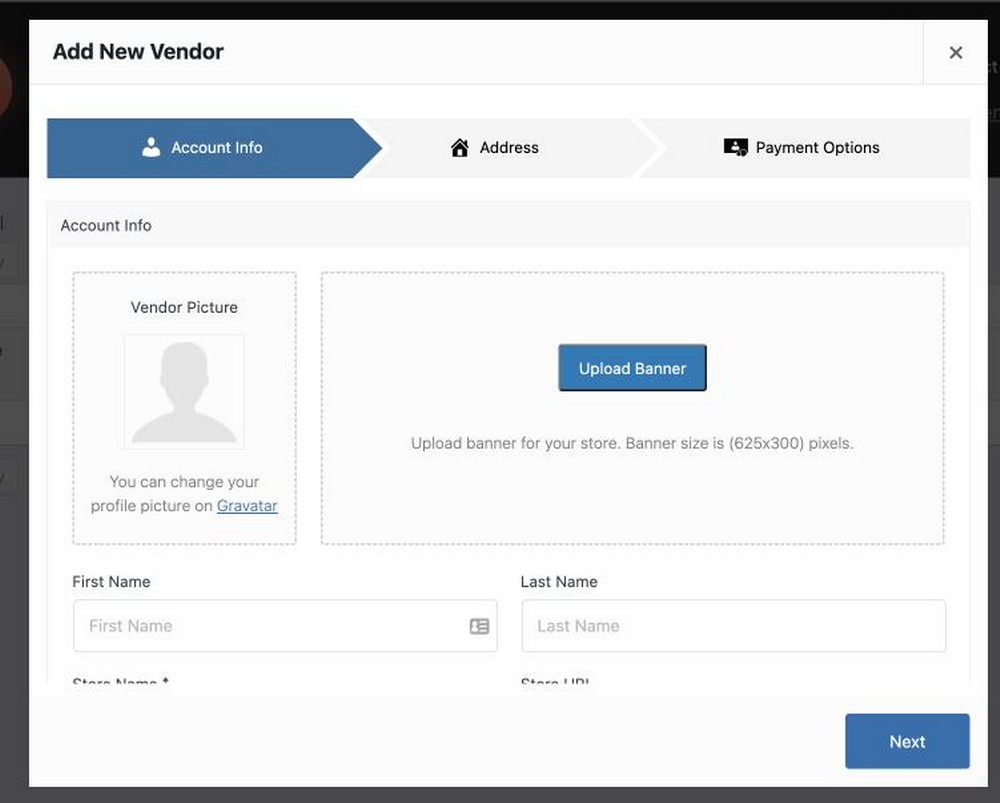
You can also add new vendors manually by clicking on the Add New Vendors button.
Vendor Dashboard
This is how things look in the front end to the vendor. With the Dokan plugin, every vendor gets a dedicated dashboard that displays their sales, earnings, page views, and orders.

Your vendors can add new products or customize existing ones in the products tab.
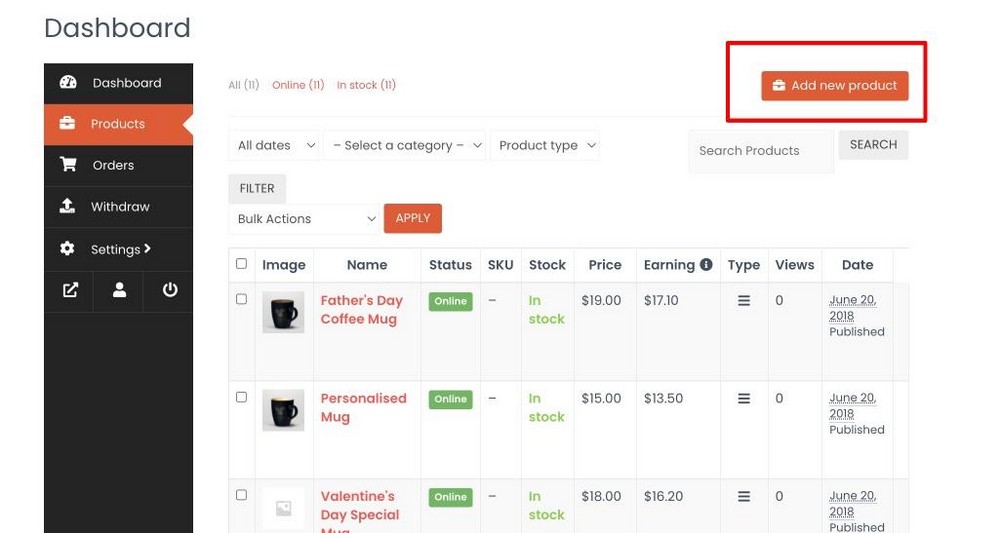
Finally, your vendors can see the balance they have left in their accounts in the Withdraw tab. They can request a withdrawal and also edit bank details if they want.
That’s it for setting up a multi-vendor marketplace with WordPress, WooCommerce, Astra and Dokan. I told you it was easy!
FAQs
How do I create a marketplace in WooCommerce?
You can use WooCommerce to create an online store on WordPress. First, you will need to install a plugin like Dokan to turn your WooCommerce store into a multi-vendor marketplace. Then just onboard vendors and customers to start operating your business.
Does WooCommerce support multi-vendor?
WooCommerce as it only helps you to create an online store where you’re the only vendor. If you want to turn it into a multi-vendor marketplace, you’ll need a plugin like Dokan.
How do I use multiple vendors in WooCommerce?
Once set up, you need to onboard vendors and approve their products. Next, you drive traffic to your store, where your vendors start selling their products. Finally, you get a commission out of each sale in your store.
Is WordPress good for multi-vendor?
Yes, WordPress is an excellent platform for creating an online marketplace. It is user-friendly and has a wide range of plugins that you can use to extend its functionality. Dokan is one plugin that turns your WooCommerce store into a multi-vendor marketplace.
Conclusion
Creating an online marketplace with WordPress is a great way to start your own business. It is relatively easy to set up and manage. Plus, there are plenty of plugins available that can help you extend the functionality of your store.
You can easily create an online store using the Astra theme and importing a ready-made site. Next, set up WooCommerce as per your business.
Finally, install and set up the Dokan plugin to create a multivendor marketplace using WordPress. It helps you manage your vendors and their products easily. You can also use it to set up commission and payment systems.
Plus, the dashboard provides an excellent overview of how your marketplace is performing. This makes it easy to track your business growth and identify potential areas for improvement.
Do you have any questions about setting up a multi-vendor online marketplace with WordPress? Let me know in the comments section below.