The official WordPress theme repository has around 9,000 themes. Add in the themes available on the popular marketplaces and on the websites of the theme developers and this number could be anything up to 20,000!
Even if you manage to wade through this huge number and find the right theme, you usually find out that the design requires a lot of tweaks.
For this, you start at the theme’s backend and change the typography and colors.
You might need to change the spacing between the elements or add background color to a widget.
That’s where you can add custom CSS to change the aspects of the theme and really make it your own.
What Is CSS?

CSS, or Cascading Style Sheets, is perhaps the second most popular web language after HTML.
While HTML provides the building blocks of a web page, CSS makes them pretty to look at.
As you can imagine, you'll find CSS anywhere you see HTML.
You can use CSS to add colors, change font faces and sizes, and add or remove spacing between the design elements. On the whole, CSS is used to style and enhance the layout of web pages.
If you wish to change any visual element, you could add custom CSS snippets to your website and see the results almost immediately.
The Benefits of CSS
CSS offers several important benefits for your WordPress website.
Greater Consistency in Website Design
CSS code is generally contained in separate files (usually, style.css in the case of WordPress). This file is referenced in the frontend code, and the relevant sections are pulled as required.
This means you need to create a single style file that can be used for all website pages.
As a result, all HTML elements are styled the same way (or you can selectively apply formatting by defining custom classes).
If you need to change the styling, you only need to make the change once in the CSS file, and it would be applied across the website in no time.
A professional WordPress development company often ensures such consistency by leveraging CSS best practices to create visually appealing and cohesive website designs.
Present Different Styles to Different Viewers
Responsive design is all about fitting the HTML elements and content to visitors' screen size.
With a single CSS file, you can make sure your website is rendered perfectly, regardless of the visitors' device.
HTML pages are notoriously bad at being printer-friendly. With the right CSS code, you can create a view that formats the content by removing the background colors and images.
Similarly, you can format your website content to be screen-reader friendly.
This improves the accessibility score of your website and allows visually-impaired visitors to consume your content easily.
Lightweight Website Code
A website is a combination of several technologies, including HTML and CSS. As a result, the developers generally split the website code into separate files.
When you open a web page in your browser, the server selects only the files required to render the page in the browser. As a result, the overall download package required to render a webpage in your browser is pretty small.
With modern browser caches, CSS is generally downloaded once and is then stored locally, further speeding up the user experience.
Search Engine Optimization Benefits
CSS is a great way of building structured websites. Since the design (CSS) is separate from the structure (HTML), you can easily modify and bring order to the web pages.
This allows you to set up pages that are well built and allow Google bots to better understand the intent of the pages.
Another important benefit of using CSS in your website design is reducing the code to content ratio of the web pages.
This helps both humans and bots to quickly and easily go through your content. This reduces the time required to load and display web pages in the visitors' browsers.
As you know, Google considers the page load time an important ranking signal that is used to build its search index.
Faster loading websites are placed at the top of search results because they offer a better experience to visitors.
The Downside of CSS
All the benefits of using CSS come at an important disadvantage – CSS is now a collection of related technologies that have a significant learning curve for the non-developers.
You need to start with the basics and then understand how your preferred CSS framework works.
This could be a handful for an average WordPress user who is interested in minor style changes.
There are various advanced modifications you can learn within the process, or you can opt for a web developer staffing agency in case you’ll need additional expertise.
Don't worry, though – in this article, you'll learn several tricks of adding custom CSS code to your WordPress website without having to know how it works.
Important: Back Up Your Website Before Trying Anything
CSS is an important part of your WordPress website. Whether you're an experienced developer or a newbie to WordPress development, it is important that you backup your website before adding custom CSS.
Backing up your website saves a copy of your website files at a separate location.
If anything goes wrong, you can restore your website in a couple of clicks.
If you need to read more about backing up your WordPress website, here's a great piece that covers backups in much more detail.
Adding Custom CSS to Your WordPress Website
Now that you understand the role of CSS in WordPress, we'll now go into the details of the ways you can add custom CSS to your website.
Like everything else, you'll find that there are multiple ways of adding CSS to your website.
We recommend you go through all the ways and then pick the one that fits your skill level.
Add Custom CSS Directly to the Website File(s)
If you have a good working knowledge of CSS and web design, you can directly add the custom CSS code to the website theme files.
In theory, this requires you to open up the theme's style.css file and add your custom CSS code there.
Once done, remember to save or update the file.
Now, for many themes, the style.css is the main styling resource, and your custom code would be applied to the entire website. So you need to think carefully before you commit to the changes.
We don't recommend this method even for the experts because it is easy to make mistakes and leave your website unusable.
Some themes might have additional files for styling specific pages or parts of the website. In this case, your custom code might not apply.
Another important thing to remember when adding custom CSS directly to the website files is that the changes would be overwritten when you update the theme.
This means you need to add the custom CSS code after every theme update.
Add Custom CSS Using WordPress Theme Customizer
All WordPress themes have a Theme Customizer panel where you can change the various design and functionality-related settings.
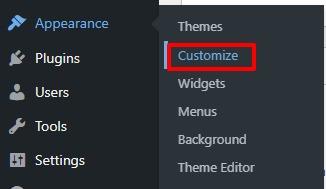
To access the Customizer, go to Appearance > Customize.
Near the end of the left panel, you'll see the Additional CSS field. Click to expand it.
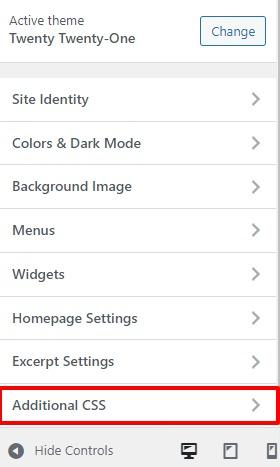
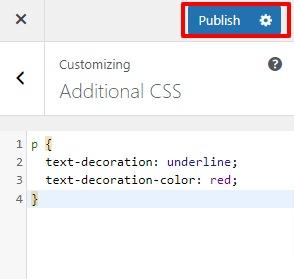
You can add your custom CSS snippet here.
You can see a preview of the changes in the preview pane. Click Publish to save the changes.
These changes are global and visible across your website.
The good thing about this method is that the changes resulting from adding the custom CSS won't disappear with theme updates.
Add Custom CSS to Gutenberg Blocks
With the recent WordPress 5.9 release, you get full site editing capability. This block-based approach to website design (and editing) also simplifies the process of adding custom CSS to formatting individual blocks.
The process has two steps.
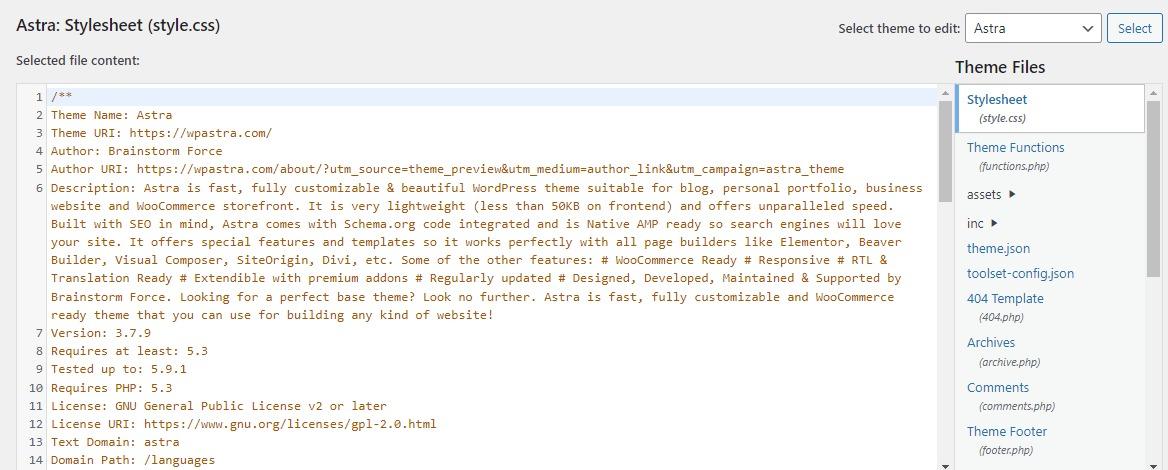
In the first step, go to Appearance > Theme File Editor.
This opens up the Edit Themes section. Generally, style.css, the default stylesheet, is open in the editor.
If that's not the case, select the file from the right sidebar titled Theme Files.
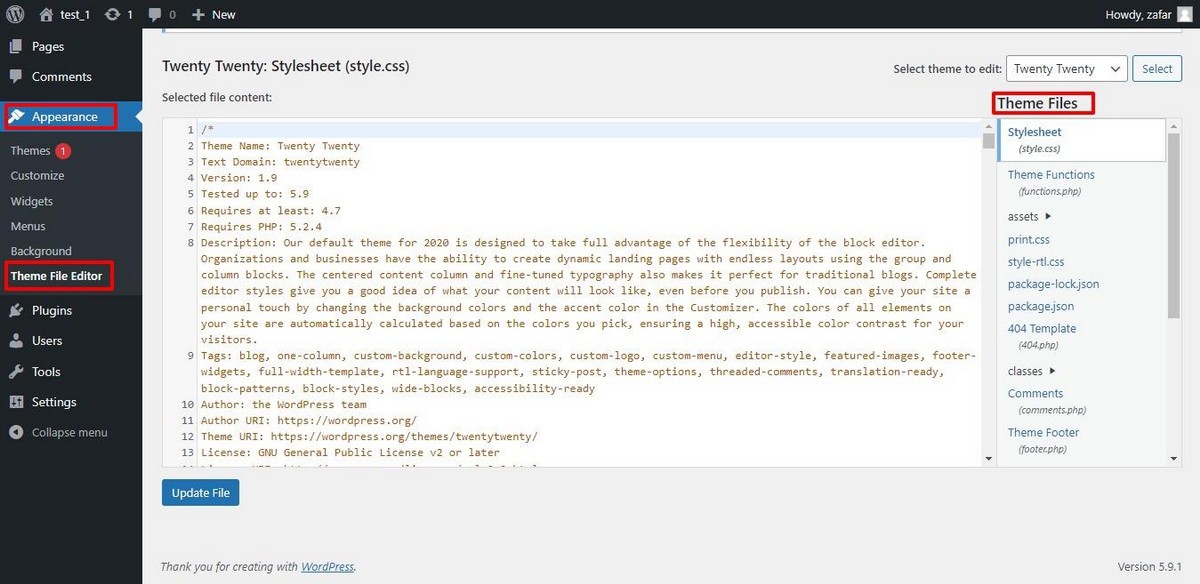
Scroll to the bottom of the file and add your custom code snippet. You need to make sure that your snippet is contained within a class selector.
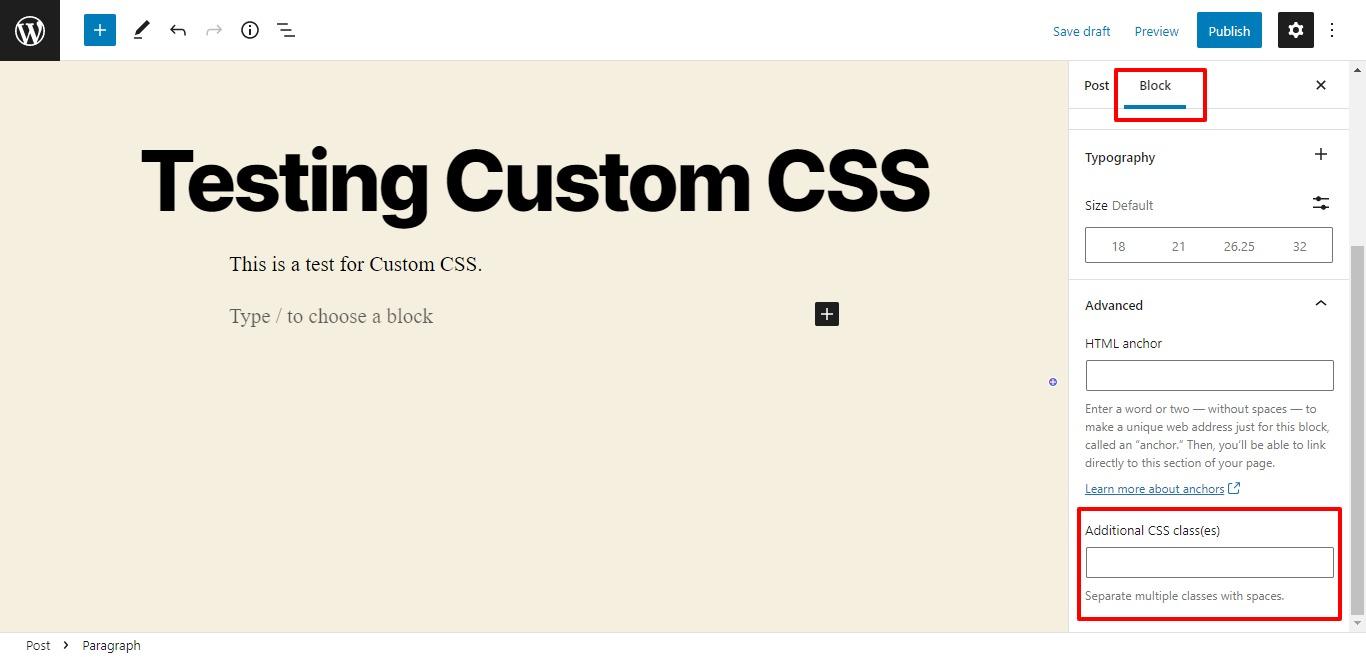
In the second step, you add a block to the post. In this example, you can see, we have added a paragraph block.
To add custom CSS to the paragraph block, select the block and then go to the left sidebar. Under the Block tab, scroll down to the Advanced section and expand it.
In the Additional CSS field, add the custom CSS class.
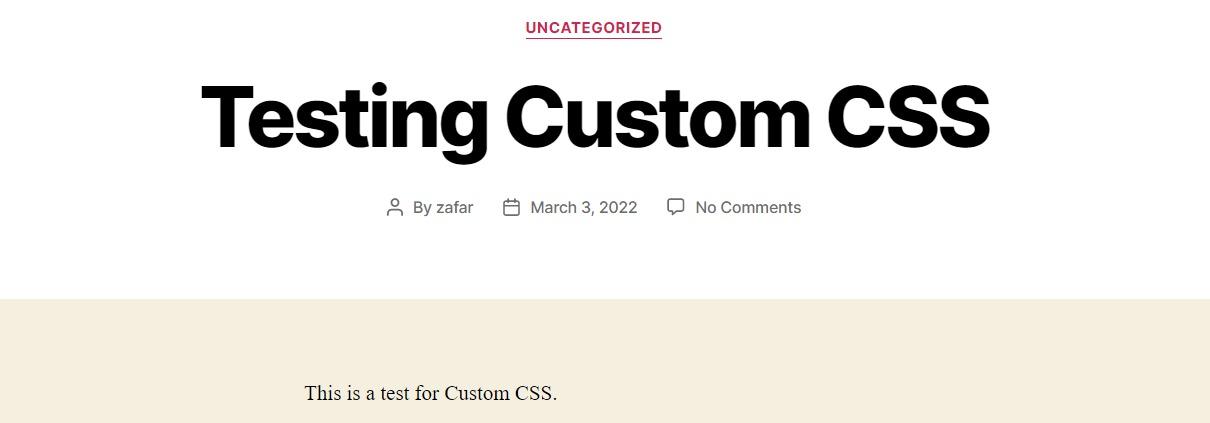
Here is the “before,” where the paragraph block has no custom CSS.
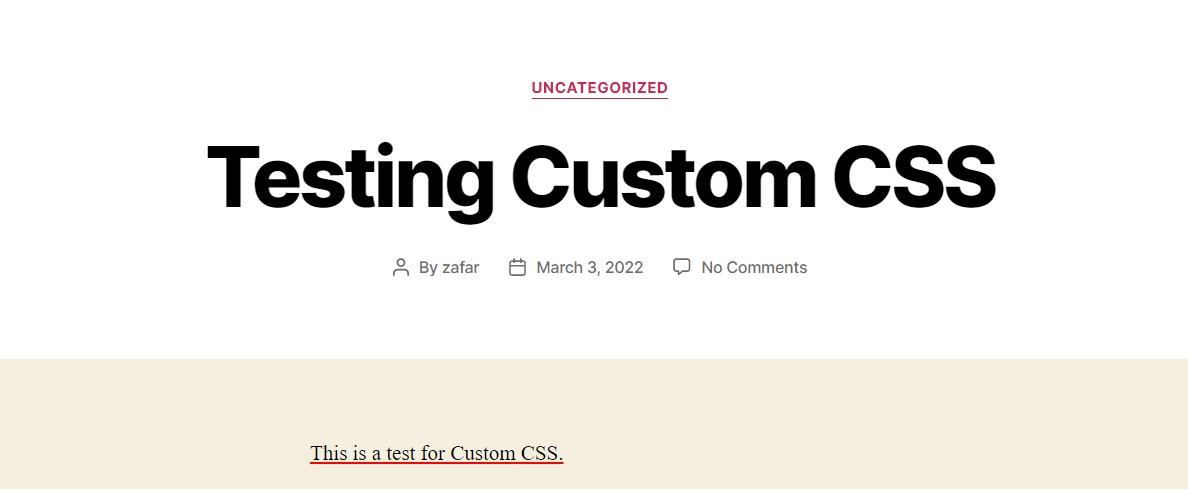
After adding the custom CSS in the Additional CSS field of the paragraph block, you can see the change in the block.
Add Custom CSS to Page Builders
Like Gutenberg, all popular page builders allow you to add custom CSS to individual blocks. The process is similar to what we described above.
Note that you might need the premium version of the page builders to get the custom CSS option.
We'll use Elementor Pro to demonstrate the idea of adding custom CSS to Elementor blocks.
Add a block and go to the Edit section.
Next, go to Advanced > Custom CSS. Paste your custom CSS in the field.
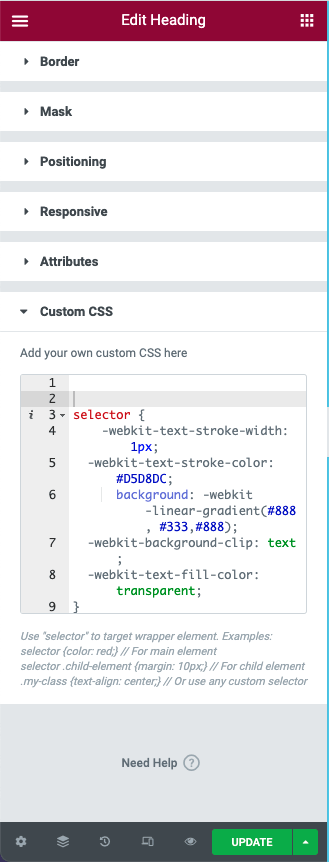
With minor changes, this process is applicable to all popular page builders.
Add Custom CSS Using a Plugin
Adding custom CSS code directly to the theme files is a risky business. You need to be careful when adding your custom CSS code to the theme style file(s), and then call it where needed.
Even after this, there is a chance that your changes could disappear with the next theme update.
That's why WordPress developers created several plugins that take care of adding custom CSS to your website.
These plugins usually don't modify the core files directly. Instead, your custom CSS code is saved in the plugin file.
As a result, your changes remain available even when you change the website theme.
To reapply the custom changes, all you have to do is go to the plugin and select the custom code.
The main problem here is choosing from the several great options.
To help you make the right decision, we'll briefly describe five plugins that, in our opinion, get the job done!
Visual CSS Style Editor
If you don't have extensive CSS code knowledge, Visual CSS Style Editor is for you. This freemium plugin comes with a visual editor where you can visually add changes to website elements.
The drag-and-drop editor allows you to fine tune element placement and change margins and padding. The editor maintains a history of edits so you can go back to revert a change easily.
You can edit all website pages and posts, including the login page. You get as many as 60 styling options that you can apply to your website.
While the paid version brings additional capabilities, the free version is pretty capable in its own right.
Simple Custom CSS
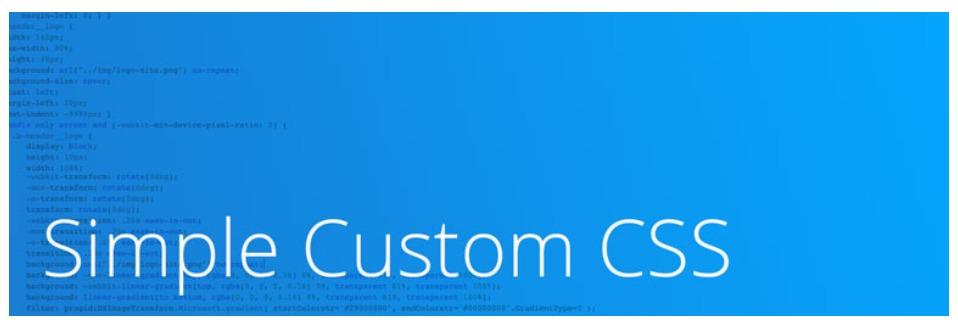
Although aimed at website administrators, this plugin is pretty beginner-friendly with a built-in live preview and a simple interface that's built using the default WordPress UI elements. The plugin is very lightweight and adds no drag to the website's performance.
To help you write error-free CSS code, Simple Custom CSS comes with a syntax highlighter and error checking (code linting). This speeds up adding custom CSS code by reducing the time required to add perfect code to your website.
The best thing about the plugin is that your changes remain preserved even when you change themes.
CSS Hero
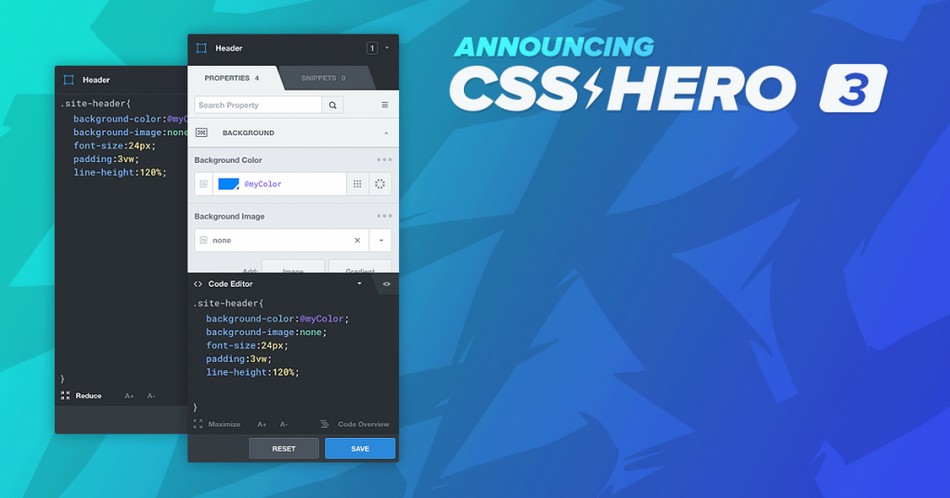
CSS Hero is a premium website theme editing solution that simplifies how you edit WordPress websites.
The solution is ideal for beginners who need a simple point-and-click solution for editing website appearance.
However, don't let the simple appearance of the editor fool you – CSS Hero is a powerful solution that comes with extensive edit history, code snippets, and the ability to add custom CSS rules.
The plugin is very safe to use on any website because it doesn't change the native WordPress theme files.
As a result, you can make all the changes you wish and still be sure that your core files will remain unchanged and protected.
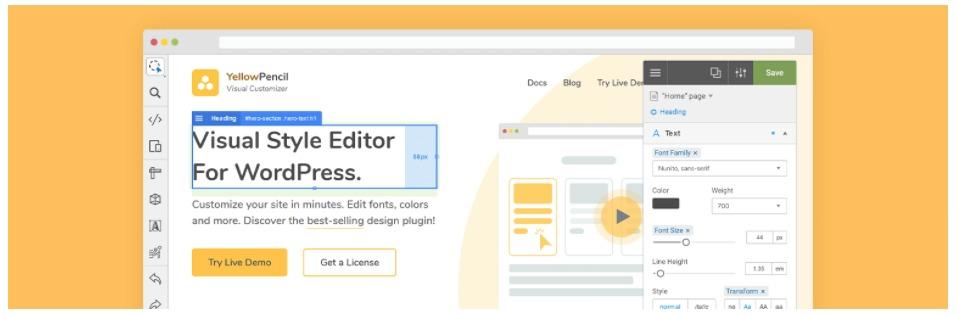
YellowPencil
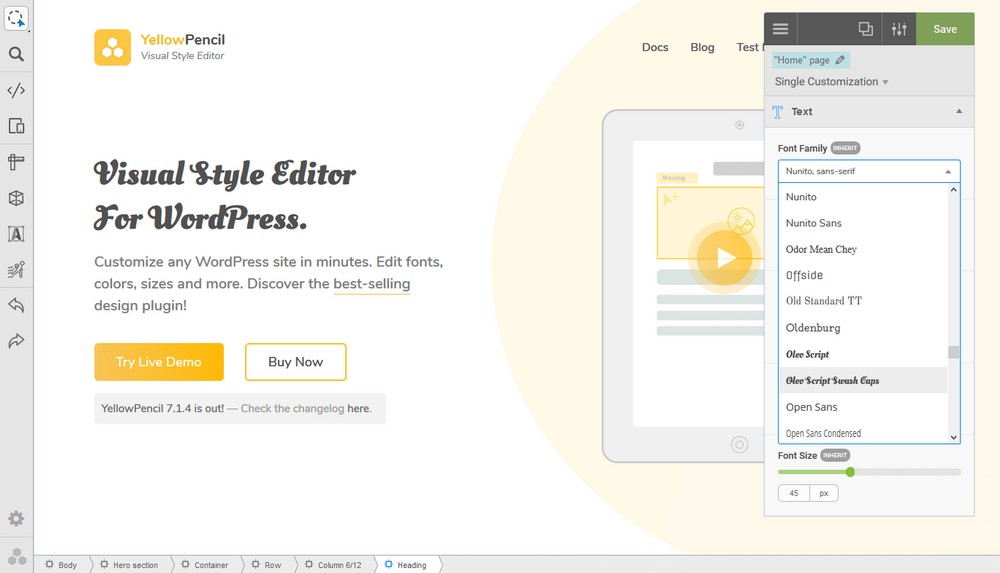
If you need a no-code solution for editing website appearance, YellowPencil might be a great fit. This premium plugin is aimed at both beginners and experts because of its extensive features.
You get full control over the looks of your website by tweaking more than sixty properties in the drag-and-drop editor.
All you need to do is visually change the elements in the editor, and YellowPencil will generate custom CSS code for your changes. You can even apply changes to address different screen sizes and devices. The plugin preserves your CSS changes, and you can reapply the changes when you change themes.
SiteOrigin CSS
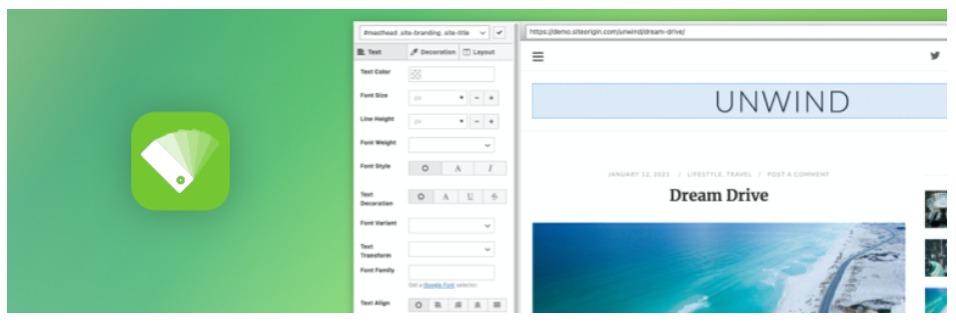
SiteOrigin CSS is a very popular CSS editing solution for WordPress websites because it is a perfect fit regardless of your skills.
You get precise control over the colors, padding, style, and placement of website elements in the visual editor. The plugin also comes with code completion that takes the guesswork out of CSS coding.
The included inspector simplifies the selection of proper selectors so that you can pick the proper attributes for your design elements.
The plugin is free to use and comes with exciting features such as code completion, code linting (error checks), and core file protection.
Build a Child Theme to Test (And Preserve) The Changes
Child themes get their functionality and styling from other themes (known as parent themes).
Essentially, these are copies of the parent themes and “inherit” their code and assets. However, child themes are isolated from the parent themes.
In theory, creating a child theme is simple. You simply need to create a new folder, copy over the style.css (for styling and visual elements) and functions.php (for the theme functionality) files.
In practice, though, you need to check the theme's documentation to find the critical files that you need to copy to the child theme's folder.
Once you have all the necessary files in the folder, you can then activate it as the default theme of the website. Now, you can follow one of the above methods for adding custom CSS.
Astra Child Theme Generator
As you can see, you need a great parent theme if you want a high-functioning child theme. Since the child theme inherits all functionalities and styling from the parent theme, you need to be careful in choosing the parent theme.

If you're using Astra, you're in luck, because Astra offers a great child theme generator that takes care of the process of creating the child theme.
You can either download the child theme as is or click Advanced Options to change various parameters such as author, description, and screenshots.
The tool downloads a zip file that contains the complete child theme package.
Conclusion
We hope this article has helped you understand the idea of adding custom CSS to your WordPress website.
As you saw, WordPress offers several ways of adding custom CSS snippets directly to the core files or through plugins. We recommend the plugin method because it is safer and allows you to retain the CSS changes even when you change themes.
You might need to brush up your CSS knowledge (or start learning from several excellent resources) because CSS is constantly evolving and you'll find better ways of styling your webpages when you do a simple Google search.
You should also look into building child themes as a great option for testing CSS snippets. You'll find that many popular themes offer a simple process of building child themes off their core files.
Now it's your turn – let us know what method you prefer for adding custom CSS to WordPress websites.
Adam,
How can I remove “Azera Shop powered by WordPress” from footer of my website …. I also want to remove one footer block from the two provided in the theme. I am using a child theme.
Thats the problem with free themes. I would suggest contacting the theme developer.
How can i bring all my changes to child theme i m using storefront theme i have made all changes in original theme and now because of that i am not able to install jetpack and after creating child theme and my effects are changed
Hmm that seems odd that a change you made to your Storefront install makes it so you can’t install Jetpack. Or maybe you are saying you need to update your theme in order for Jetpack to be installed, but you will loose customizations you made. Well there is no easy answer, you will need to go back and identify every change you made and move them into the child theme.