
Setting up your membership site can be an uphill battle when you have a mountain of budget constraints to climb. Paid Memberships Pro might be the plugin you're looking for to start your business without finances weighing you down.
It's a FREE plugin offering basic features that can turn your website into a successful membership page. It's one of the best membership plugins we've listed before. All you have to do is visit our previous post to choose a membership plugin befitting your needs, just in case you've figured that Paid Memberships Pro is not for you.
Let us now elaborate on the benefits of this plugin and the step-by-step process of using this plugin for your business.
Introduction
A free WordPress plugin on its basic plan, Paid Memberships Pro enables its users to create a working membership site, whether it’s online or offline. A membership site should offer restricting access to your page unless the visitor or the user signed up to have their own accounts.
Some of the best features of Paid Membership Pro are:
- Free core plugin
- Popular payment gateways
- Flexible Membership Pricing
- Unlimited Membership Levels
- Extensive options for content restrictions
- Customizable reports
- Member dashboard
Paid Membership Pro also offers two premium subscription plans, which provides more add-ons and unlimited plugin updates and many other great features that practically support their users in creating successful membership websites.
Starting a Membership Site with Paid Memberships Pro
To start everything, you have to install the free Paid Memberships Pro plugin. So, from your WordPress dashboard, just go to the Plugins menu then click on Add New. Search for the Paid Memberships Pro, click on ‘Install Now' and then ‘Activate'.

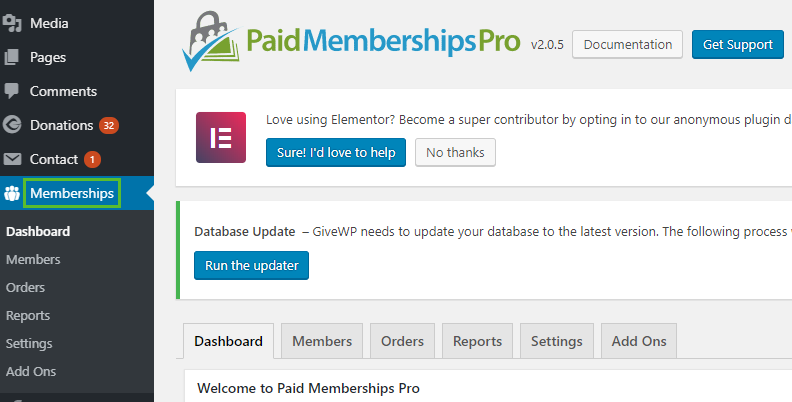
Once done, you’ll have to go to the Membership menu displayed on your dashboard.
Done? Now, we’re ready to keep the ball rolling!
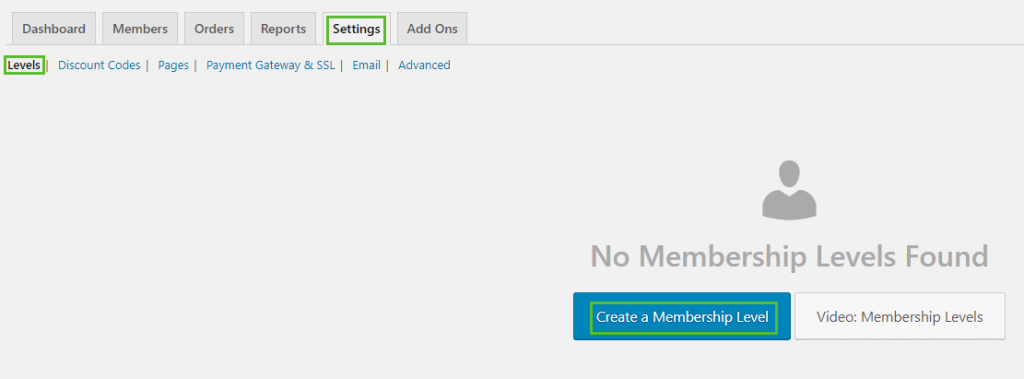
1. Create Membership Levels
First thing you have to do is to create your Membership Levels/Plans of your website.
From your dashboard, go to Memberships – Settings then click on Create a Membership Level.
It is important to give names and descriptions to your membership levels to allow your customers or subscribers which plan they should subscribe and what are the features that they will get if they sign up for a specific membership plan.
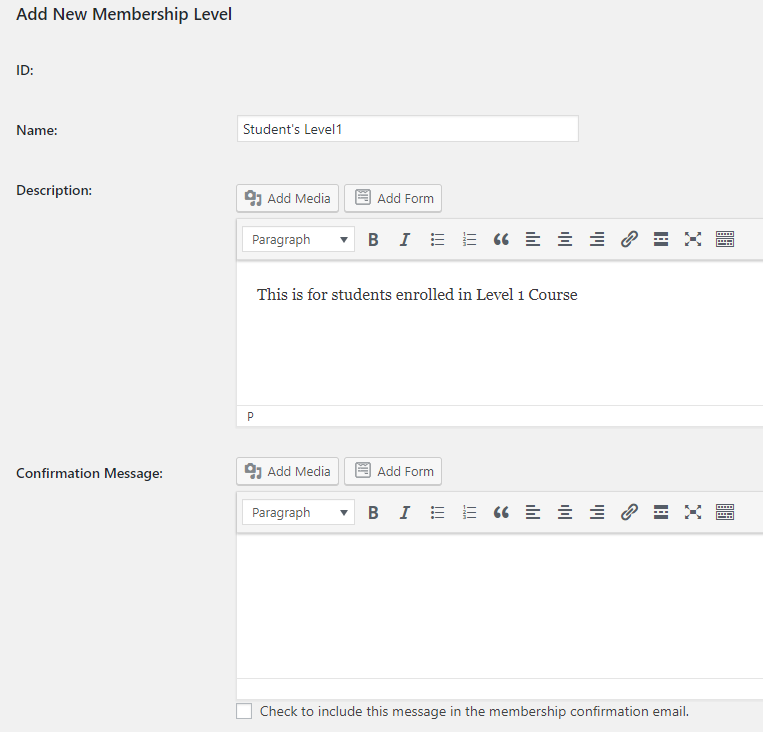
You can also create a confirmation message that will show the users that they successfully signed up for a plan.
Next is the Billing Details. In this feature, you can select how much you will charge your subscriber depending on the level of plans that they will use or put a certain feature that they would pay for.
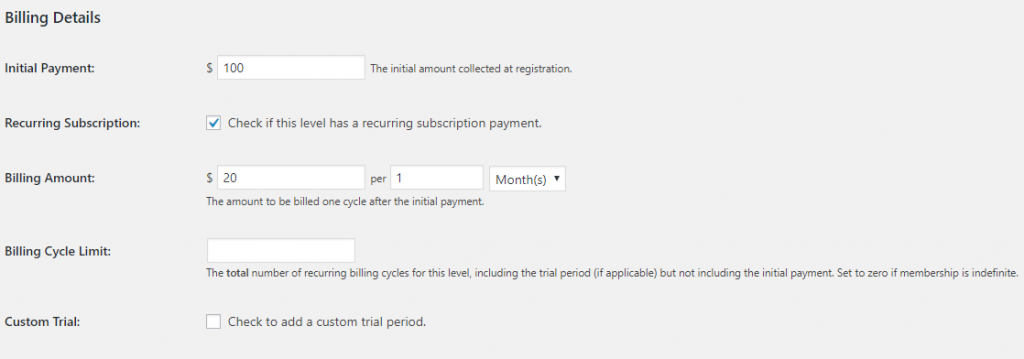
It also enables you to set payments for purchases and recurring subscriptions and many more.
Content Settings enables you to select or limit the content of your website that only members of a particular plan can access.

Don’t forget to click on the “Save Level” button before proceeding to the next features in creating your membership site.
2. Set Up Membership Pages
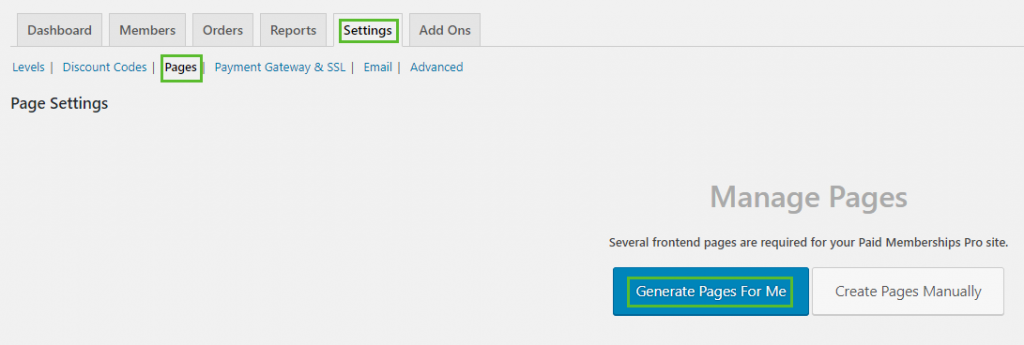
After creating your membership plans, the next thing you have to do is to set up your membership pages. Paid Memberships Pro can generate front-end pages that are required on a membership website.
If you want them to do this for you, go to Settings – Pages then Generate Pages for Me.
When the membership pages have been successfully generated, you can edit and view the pages as you want to enhance some structures.
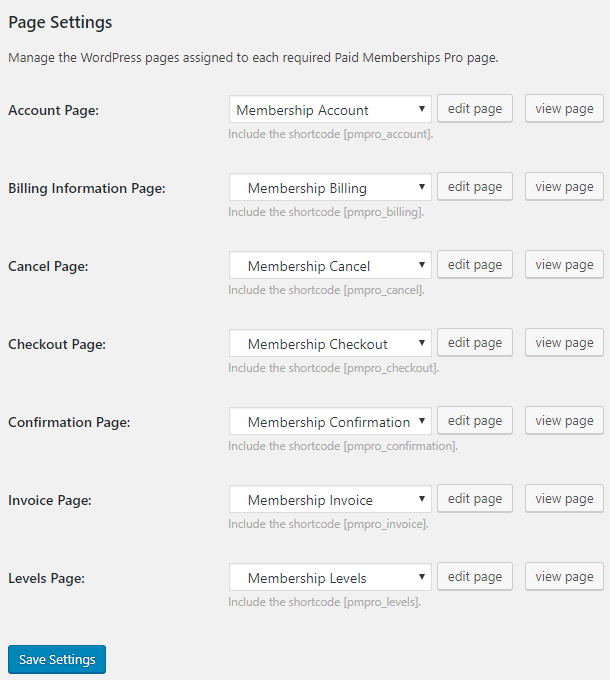
Again, don’t forget to save your work.
3. Add a Payment Gateway
The good thing with Paid Memberships Pro, it gives a lot of options for payment including PayPal, Authorize.net, Braintree Payments, Cybersource, and many more.
In adding the Payment Gateway, go to Settings then select Payment Gateway and SSL. You can choose the payment providers of your own choice. It's also your choice to install a stand-alone payment gateway, we have listed the best payment gateway plugins here.

After selecting your preferred Payment Gateway, click ‘Save'.
In selecting your payment gateway, make sure you did your research first, which is the best provider that is suitable for your convenience.
4. Set Up Email
Paid Memberships Pro enables you to customize the system-generated emails that will be sent to your members by going ahead to download the Email Templates Add On plugin. This add on is also included in the free subscription at Paid Membership Pro.
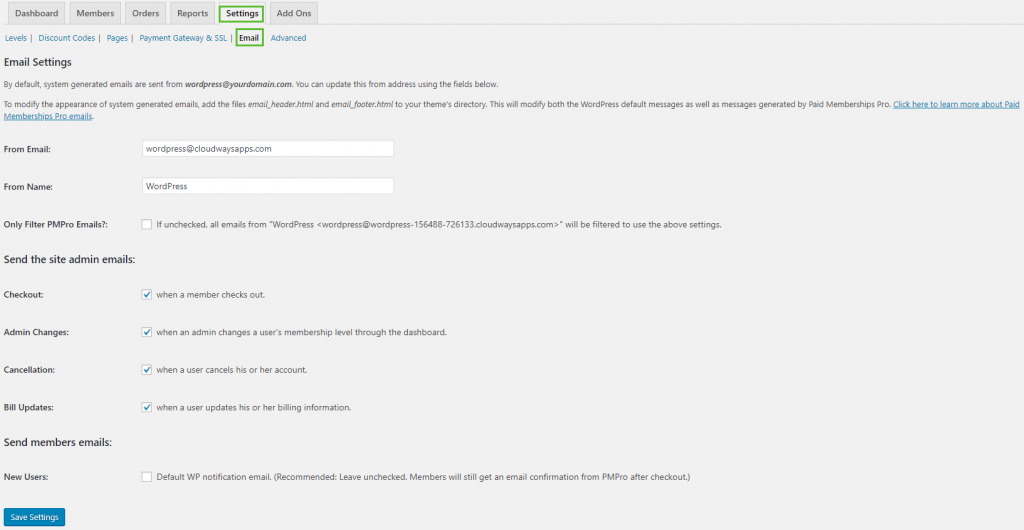
Paid Memberships Pro has a feature of sending emails to your members depending on their actions, like for new members, they can receive a welcome email or email verifying their checkouts, bill updates, cancellation of orders, etc.
To set up this email services, go to Settings – Email then as the owner, you should add your email address at From Email and From Name fields.
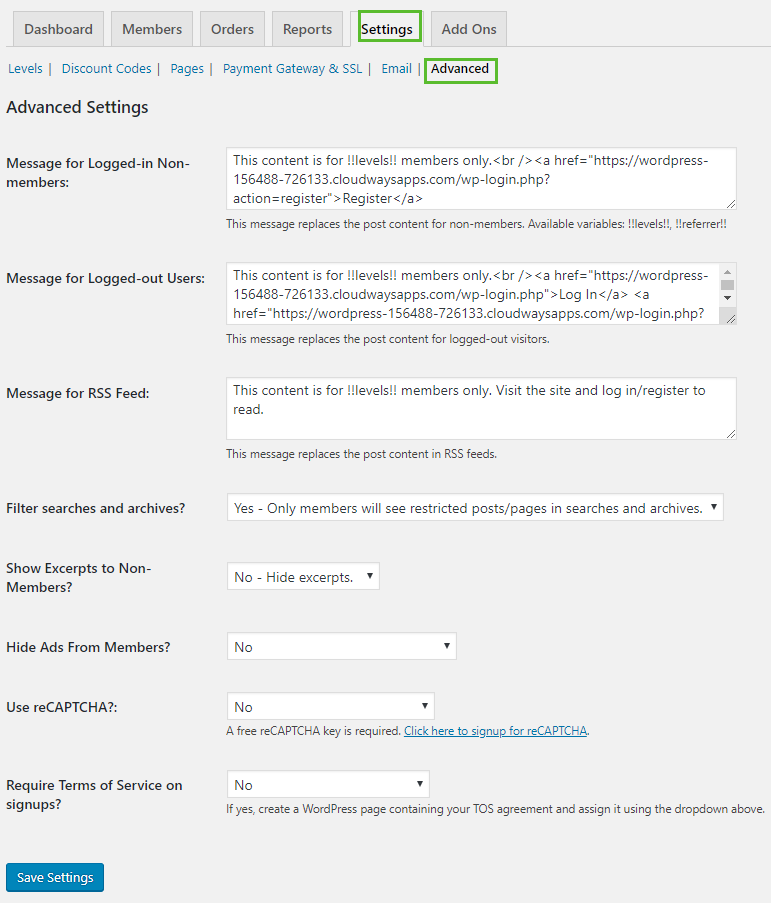
5. Configure the Advanced Settings
Configuring the Advanced Settings is the second to the last step in creating your membership site.
It allows you to send messages to your users/members and also to non-members and encourage them to sign up for a membership. This feature allows you to take control of your website.
In setting the above feature, you can go to Settings then click Advanced. You can also edit some settings like:
- Terms and Conditions Messages that the users should agree before proceeding to sign up
- Restriction messages for the non-members who want to access a certain feature of your website
- Member-Only Content Messages for searches and archives
6. Restrict Content Access
Restricting Content Access is the final step in creating your membership website, and you are ready to get started.
In restricting the content access of your website, Paid Memberships Pro feature gives you two options:
- First, Require Membership where you have to select the membership plan that a particular content belongs to.
- Second, Categories, selecting the category that you choose to restrict depends on the Membership Plan/Level that they are subscribed into.
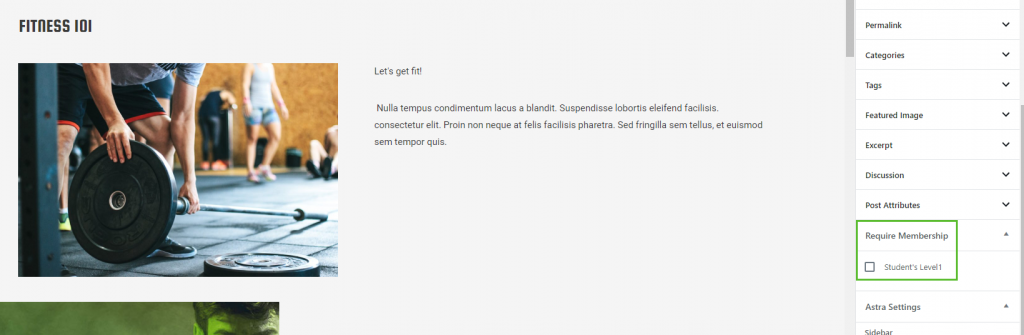
Republish the post or page to check that the access has been restricted to other users.
Conclusion
Paid Memberships Pro has a lot of features to offer for a free plugin. It allows you to focus on the growth of your membership website by providing a quick and user-friendly setup.
Without a doubt, their premium plans have more promising features that won’t fail their subscribers. You can get a premium plan at $297.
I think this is not for me. I am looking for a plugin that provide personal content for each member. For example, I want to manually update or want to send every users’s personal details to each member so he can see his own details in his account. Is this possible?
Yea none of these membership plugins do that. You want to look into client portal plugins.