
Supplementing rich snippets and schema markup in your WordPress website conveys that “extra personality” that makes it stand out in Google search engine result pages (SERPs). You may have seen Google results with review rating stars, prices, product specifications, or recipe information. These nifty visual cues in Google often boost your chances of getting clicked on making your page attain improved traffic and conversion rates.
Too bad, others find it confusing to add rich snippets, but the truth is it’s easy to use. Especially if you are using the right tool, you will be able to maximize the benefits of showcasing ‘rich results.’
What are Rich Snippets and Schema Markup?
Rich snippets and schema markup have the same concept, but they have totally different roles. Also known as “rich results,” these are structured data that can be added to a page’s HTML to help web crawlers and Google to understand your content better. It is also crucial if you want your site to be visible with search features.
Rich Snippets
Remember, when you’re searching at Google, and some links show star ratings? That’s one of the examples of a rich snippet.
Used to present better results, rich snippets enable the users to find the information they are looking for easily. When your website shows up on the search engines like Google, and rich snippets are added, Google can display extra information about the actual result.

You also have to understand that adding rich snippets on your website does not automatically mean higher search engine ranking. But, it helps make your website stand out, which means it increases the chance that a lot of viewers will browse your page.
There are a lot of rich snippet types that you can use, and here are the most common ones:
Review – It displays a star rating and who did the review. It can be from an individual reviewer or user cumulative reviews.

Video – It can be used to indicate duration, license, production company, and/or the creator of the video.

Recipe – It includes nutritional information such as serving size, calories, fat content, and more.

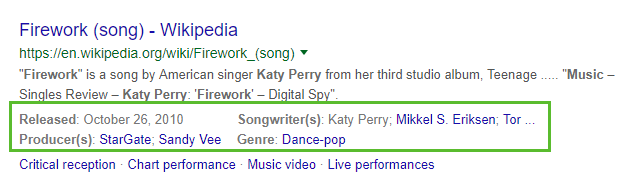
Music – It includes information about music, such as album release date, length, genre, and producer.
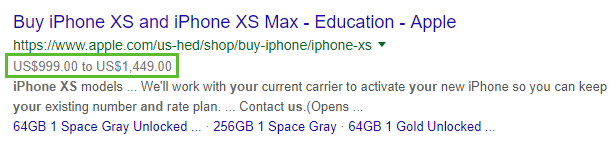
Product – One of the most popular searches are products, especially if you’re into the eCommerce industry. IT includes necessary information on the product such as price or product image.
Business and Organization – It includes properties available include business name, address (physical and URL), telephone number, geolocation (latitude and longitude), and logo.

Top Stories – This is the “Top Stories” box in the search results, but you can only see this when Google News approves the website.

Aside from these, you can also add events, job postings, course lists, books, articles, and many more. To sum it up, rich snippets can help you get more clicks and make your rankings higher.
Schema Markup
Schema markup is one of the reasons that Google produces such useful results. It is one of the newest forms of optimization and counted as one of the most dominant forms of SEO. It can boost your website’s performance in the SERPs as it acts as the behind-the-scenes code that helps Google create rich snippets.
Schema markup also helps with other search visibility features such as:
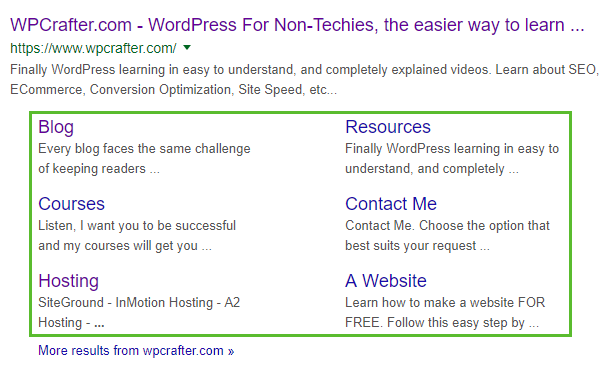
- SiteLinks – These are extra links in the search results if someone searches for your website.
- Breadcrumbs – Instead of displaying your raw URL, Google displays breadcrumbs.
- SiteLinks Search Box – It allows people to search your website from the Google search results page itself.
Moreover, you can further improve your SEO performance if you combine schema with the best WordPress SEO tools in 2019.
How to Add Schema Markup To Your WordPress Website
As I’ve mentioned earlier, adding rich snippets and schema markup don’t take up much time as long as you are using the right tool. Now, some plugins can help you do that, but I can say Schema Pro is the best one that you can rely on.

What makes it a great plugin to automate your schema markup?
- User-friendly interface, so it works great even if you are a non-techie
- Allows you to map existing content and add code to data fields
- Works behind-the-scenes and uses the JSON-LD format recommended by Google in adding schema
- Create schema markup for one time only, and Schema Pro will automatically insert the codes to other relevant posts and pages.
Schema Pro costs $79 per year or $249 for lifetime access. If you’re an agency, you can get it for $249 per year or $699 for lifetime access.
Installing and Configuring Schema Pro
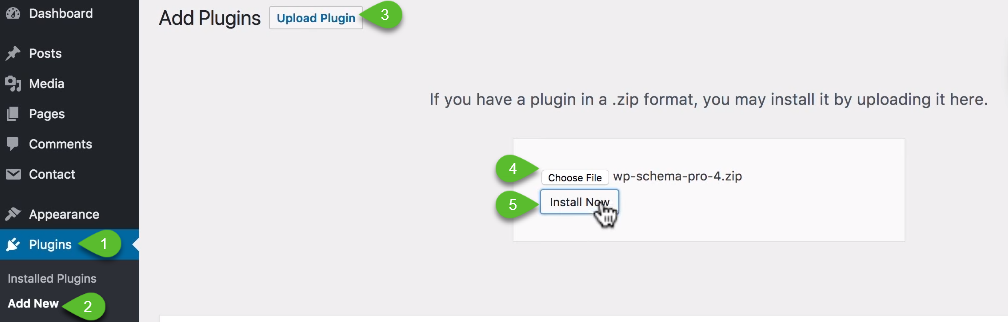
So, once you’ve downloaded the Schema Pro plugin, go to your WordPress dashboard and click on Add New from the Plugins menu. Upload the Schema Pro plugin’s zip file, install, and activate. If you have problems in plugin installation, please read through our comprehensive WordPress troubleshooting guide.
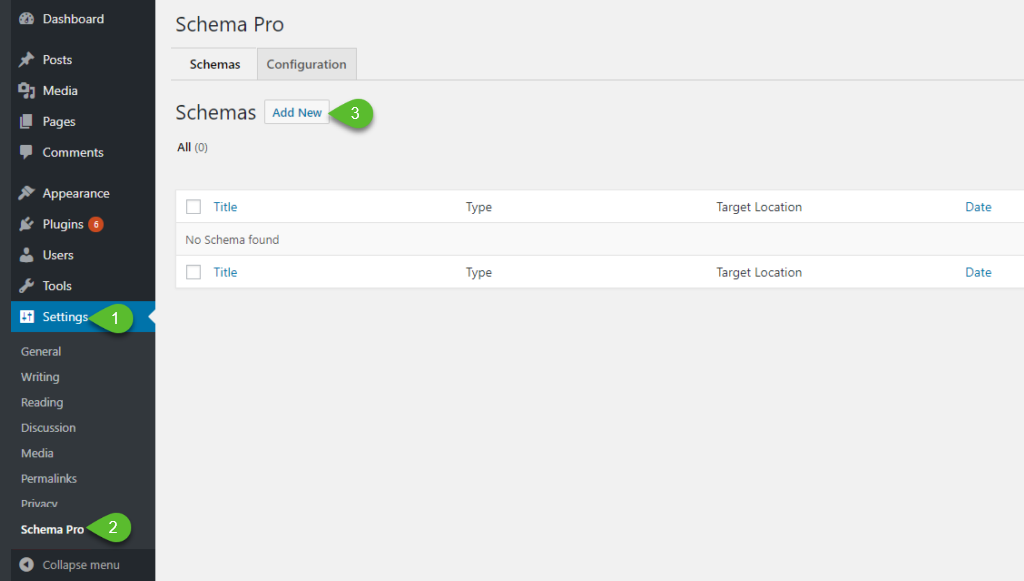
Head to the Settings menu, and you’ll find Schema Pro.
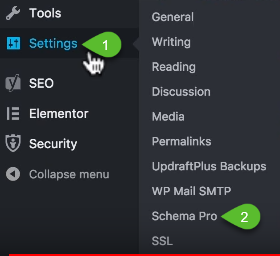
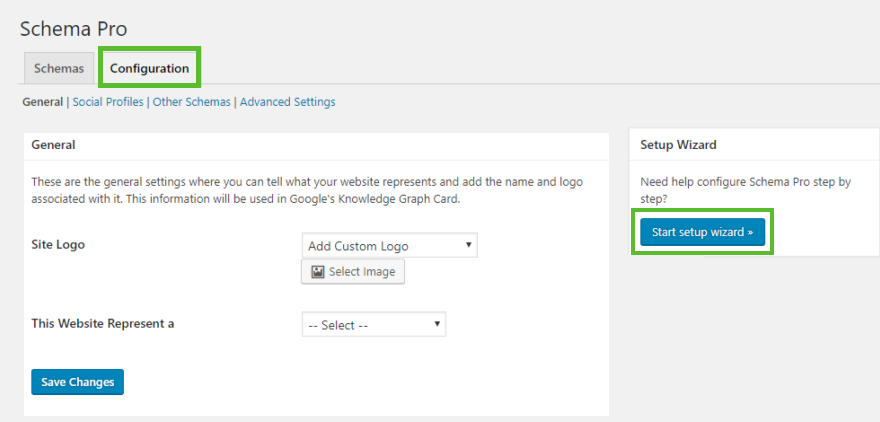
On the Configuration tab, you’ll find the Start Setup Wizard button where you can configure the basic information of your website.
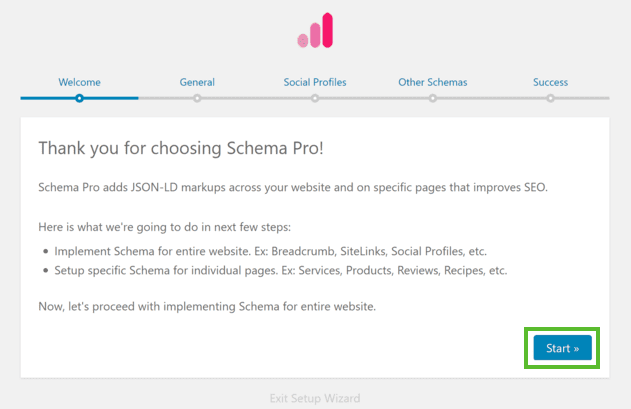
To start setting up, click on the Start button.
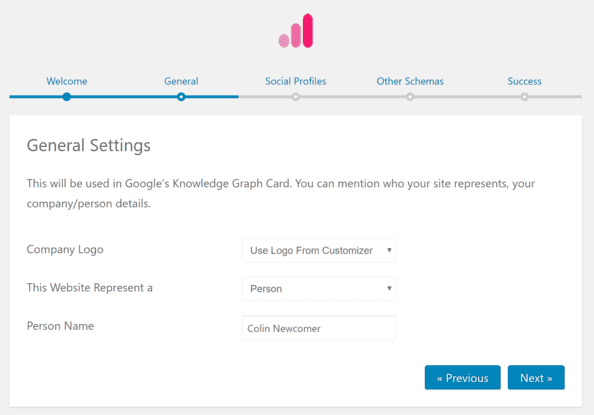
Select your logo and define whether your website represents a company or an individual. Then, click Next.
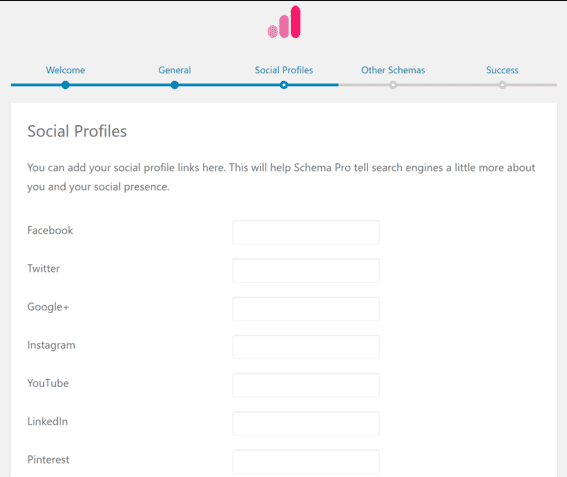
Connect your social media profiles to your website. Click Next.
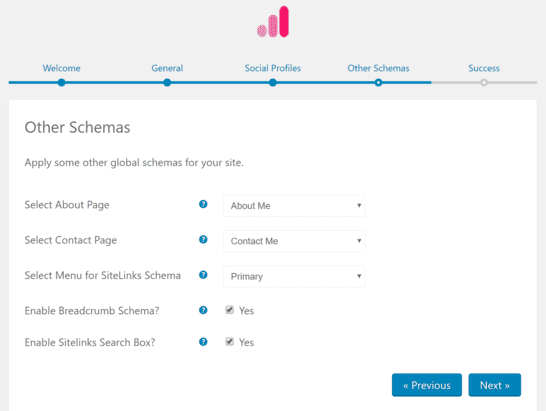
Configure settings for breadcrumbs, SiteLinks, SiteLinks Search Box, and on which page you’d like to apply the schema. I recommend enabling all the features. Click ‘Next.’
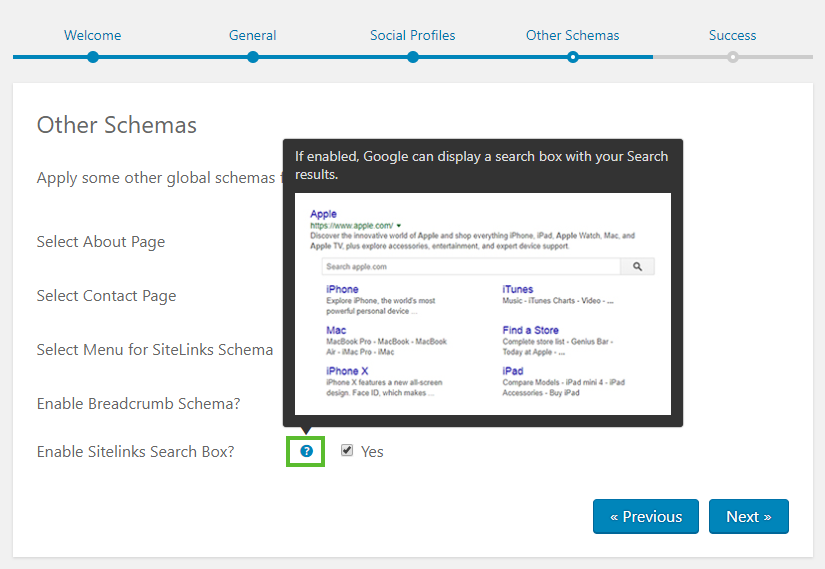
The setup is like going to a picnic, right? But, if you’re confused, you can click on the question mark [?] icon for some more instructions.
And now, it’s time to add your schema.

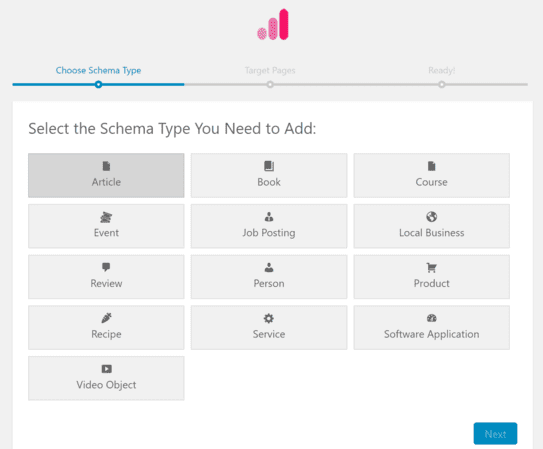
Schema Pro supports 13 major schema types and keeps adding more. The schema information that you can add depends on the kind of schema that you select. For example, if you opt for a Recipe schema type, you can add calories, preparation time, cooking time, category, recipe yield, etc.
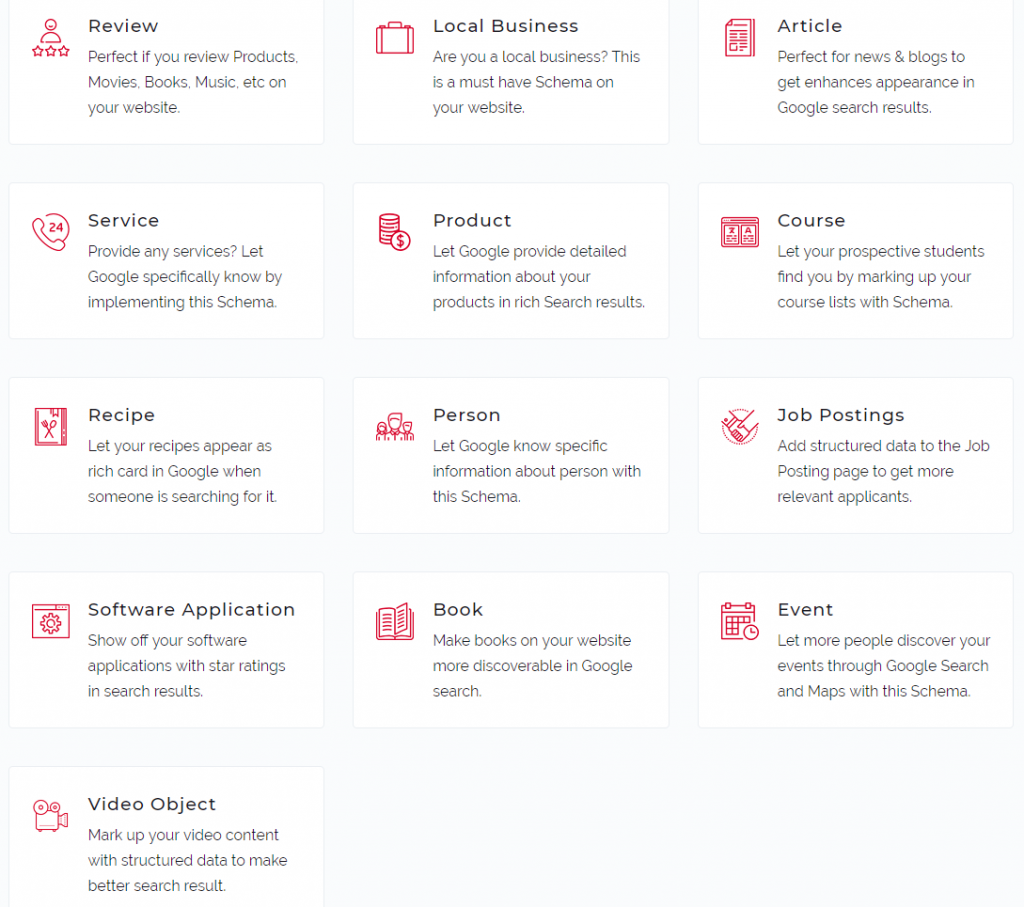
If you choose a Job Posting schema type, you can add title, date posted, employment type, address, salary, and other related information.
Most bloggers could also probably benefit in using the Article schema type.
Creating a New Schema
If it’s your first time creating a schema, you can click on the Create First Schema button or head to Schema Pro under Settings Menu. On the Schemas tab, click Add New.
Choose a schema type. Then, click Next.
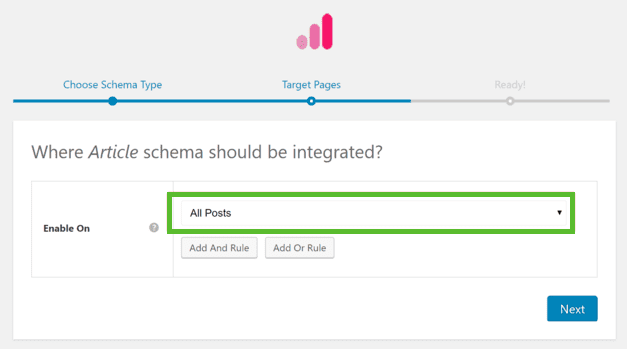
Select which content you’d like to apply the schema type. You can also add AND and OR rules. Click Next.
And you’re done!
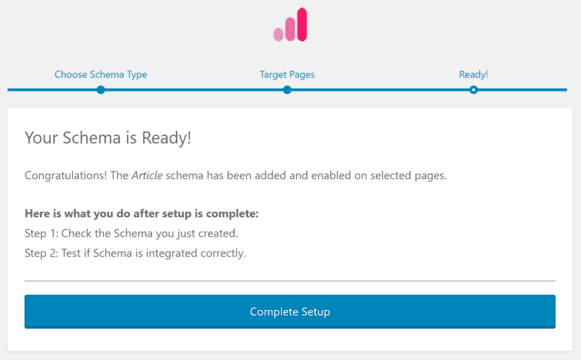
As I’ve mentioned, the information you can add depends on the schema type that you choose. So, on the next screen, you’ll find all the related information with it, and Schema Pro will automatically map this information to your WordPress website’s information.
In our example, the schema type is Article. So, Schema Pro maps the Author Name as the WordPress author name, and the Published Date as the WordPress publish date.
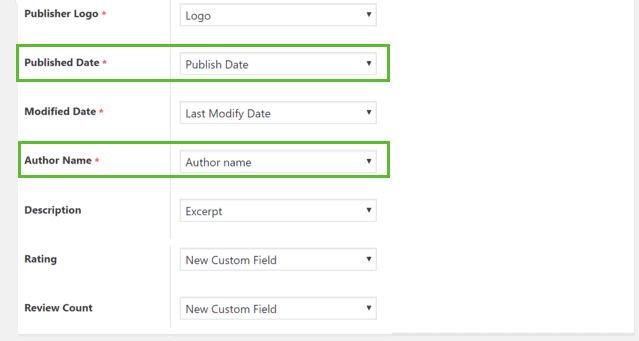
If you want to adjust things manually, you can do so by using custom fields and map the information with schema markup. You can then select that information in the dropdown.
New Custom Field
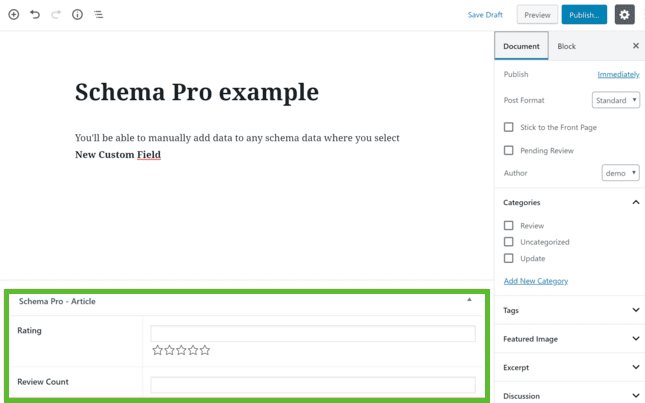
Speaking of custom fields, there are instances that Schema Pro can’t find the needed information to be mapped with schema markup. For instance, in the Article schema type, there are Rating and Review Count schema markups, but these data are not available by default in your WordPress post or page.

What Schema Pro does is that it adds new custom fields below the WordPress editor so that you can fill them out, which is optional, though.
Adding Different Schema Type To A Specific Page or Post
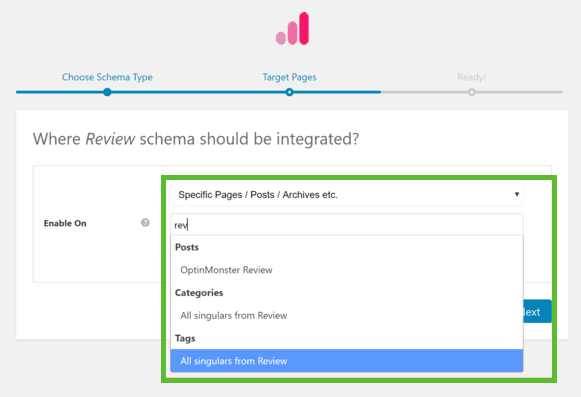
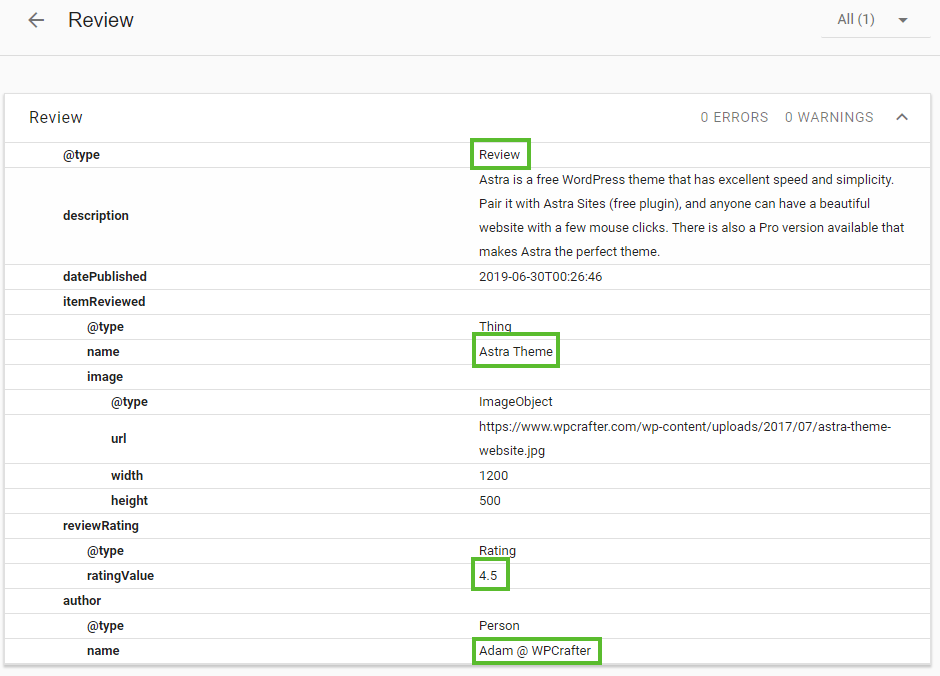
If you are writing a more specific content such as a product review (not just a general article), you may want to use the Review schema type. You can simply go back to Schema Pro’s setup wizard and add the Review schema type.
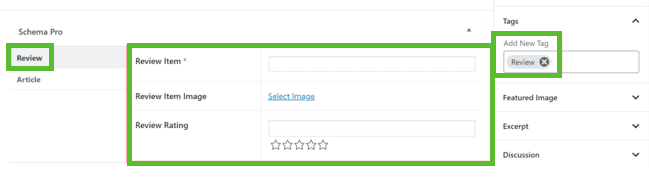
The thing here is that instead of enabling it in All Posts, you can enable it to Specific Pages / Posts/ Archives, etc. You can either allow it to a specific post by searching its post name and manually adding new posts in the future or to a specific tag or category. For example, you can add a “Review” tag or category that the Review schema type can be applied to.
So, if you create a post and set its tag or category as “Review,” the Schema Pro section below the WordPress editor will display the Review schema type.
How To Use Structured Data Testing Tool to Test Your Schema Markup
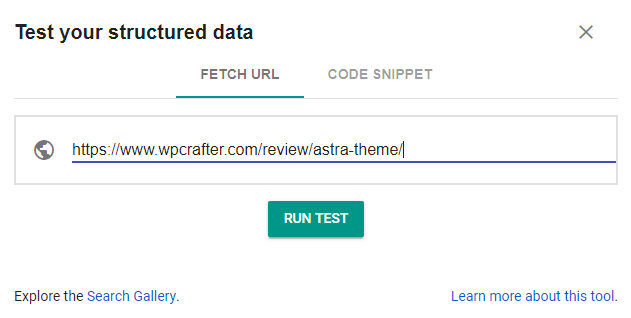
After setting up and all the configuration, you have to make sure that all your efforts are working as fine as we desire. Testing it might seem difficult, but Google offers its best tool kit to check for finishing. It is called a Structured Data Testing Tool.
This tool checks and detects if the Schema Markup is present on your website and it helps you check if there is any error found on the configuration of your schema markup.
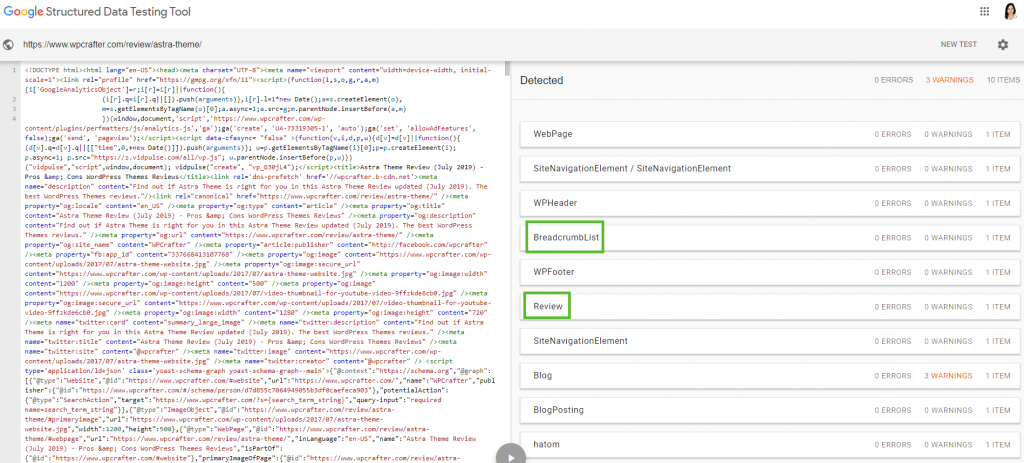
Simply go to the tool and enter your content’s URL. Click the Run Test button, and Google will find if there is any schema markup.
Once Google finds that you have your schema markup in place, then it means that you’re all set since Google has everything it needs to produce rich snippets for your website.
Conclusion
Adding rich snippets and schema markup on your WordPress website might seem a bit tricky. If you’re a non-techie, it might seem daunting at first. But, it can be almost effortless if you are using the right plugin to help you with this stuff.
Schema Pro plugin is very user-friendly and one of the best tools I’ve encountered when it comes to adding rich snippets and schema markup on autopilot. It works on 99% of the things you need for enhanced user experience. Just configure a few settings and manually add some information on the custom fields, and you’re good to go. Plus you can combine it with a reading progress bar for better engagement.
So, if you want to make your website stand out in the search results page and increase your clickthroughs, then you can embrace the benefits of having rich snippets and schema markups.

Schema Pro
Schema Pro enables you to add schema to your website that will help search engines better understand your website and content.
Key Schema Pro Features:- Efficently Add Schema Via Rules
- Use Data In Custom Fields
Schema Pro is a great option to add Schema to your WordPress website.
The bigger question is if you will benefit from it any more then what your SEO plugin already provides.
Yoast and RankMath, the 2 most widely used SEO plugins for WordPress, both offer much of the same functionality that Schema Pro offers. This wasn’t the case when Schema Pro was first released, but today much of your schema needs may be met with what you already have.
Check Out Schema Pro
Hi Adam, I wanted to ask you if you personally use this plugin in conjunction with Rank Math?
I stopped using it, just RankMath now. Less is more 🙂
Hi Adam,
1st – huge THX for all the content you put out there for free. Amazing …
Since you promote SCHEMA PRO and do work with the guys together – please – where is the listing item schema?
There are great plug-ins (quite expensive though – from German developers – SNIP) but sometimes all these possibilities can drive one crazy and are not really needed.
Schema pro is my fav regarding simplicity … BUT – a lot of sites and projects do have archive/category pages either for products or listing/services which are sold.
I guess List Item schema works BEST … It is the one I am really missing.
I wrote them several times – starting almost 18 month ago ….
Do you might have any info on that – planning – on the list – not coming at all?
Thanks a lot and all the best to you.
Best regards from Munich Germany
Marcus
How to make free login/signup form for my woocommerce store and verify the user email.
That question would be better asking in our community forum here https://www.wpcrafter.com/community