
As blogging gets more and more popular as a source of income for many bloggers, the landscape has become so competitive, and the earnings from it have grown unstable. Relying on ad placements alone won't suffice. So, if you want to make this as a full-time career, start thinking about turning your blog site into a membership site.
A membership site is a type of website that you have to turn your subscribers into members of your site. They have to pay for a subscription fee to be able to access your premium content, products, or services.
Here's why you should turn your blog into a membership site
If blogging for you is just a hobby, now is the time to turn this into something that makes money for you. Yes you can add ads on your site, or sell a product, or host paid webinars, but once you turn it into a membership site, you can get monthly recurring revenue. So good, right?
One good thing about it is that it's easy. You don't need to create a course or eBook from scratch or create an online store. Instead, you can create premium content for your paying subscribers. On a similar note, we have previously discussed the most popular membership site plugins that will help you achieve this goal.
Plus, a membership site increases the value of your content.
Steps on how to turn your WordPress blog into a membership site
1. Choose a WordPress Membership Plugin
If you already have an existing website and you’re planning to turn it into a membership website, you only have to choose the right WordPress membership plugin that matches your needs.
WPForms plugin will help you create a user login and registration forms. But, if you want to create a membership site that offers paid contents and subscriptions, you’ll be needing a plugin like MemberPress.
A MemberPress is a handy WordPress plugin that you can use. It is easy to use a plugin that automatically charges your members on accessing certain content on your website. For a detailed overview, you could go over our 2017 MemberPress video review here.
2. Configure the MemberPress Plugin
After your installation of MemberPress plugin, the next thing you need to do is to configure this plugin.
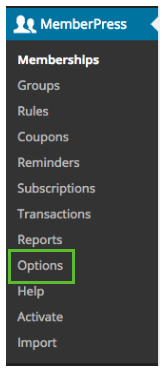
- Go to WordPress Menu
- Select Options under MemberPress section
- Choose a setting that will be useful for your membership site
You also have the option to design your own Reserved pages such as thank you page, account page, and login page, or you can select “Auto Create New Page” if you want WordPress to do this for you automatically.
3. Set Up Payment
This time, you can set up the payment on how you wish to accept the fee for your site. Another noteworthy feature of this MemberPress plugin is that it can be integrated with a lot of payment gateways like PayPal, Stripe, Authorize.net, etc.
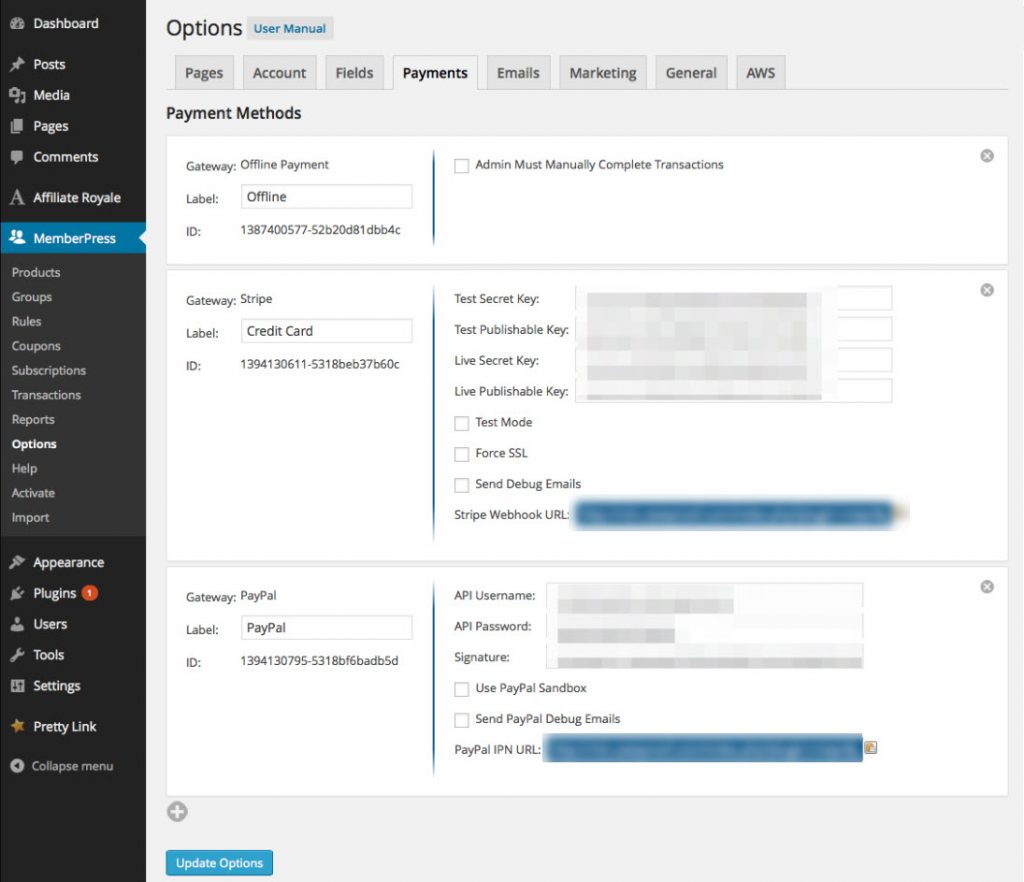
Just click whichever payment gateway you prefer and fill out the required credentials to complete the information needed.
4. Define Membership Levels
The next thing you need to do is to define the membership levels. Meaning, you have to create a hierarchy or different levels of your membership with different prices as well. By creating these levels, you also have to prepare different levels of perks depending on which kind of group they subscribed.
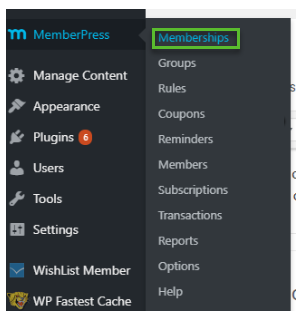
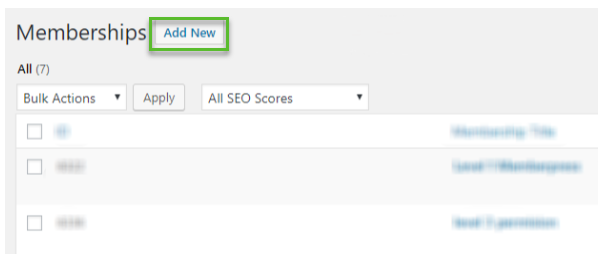
To do this, go to MemberPress – Memberships then click ‘Add New' at the top of the Memberships page.
Here, you can create names for your membership levels and describe each level of their differences and advantages.
Next, on the Membership Term Section, you can set the price, the billing type, and the expiration terms for the membership plan.
There’s also a Membership Options section where you can edit the text for the registration button, customize permissions, and more.
If all the settings look fine to you, just click the ‘Publish' button to make it viewable on your membership site.
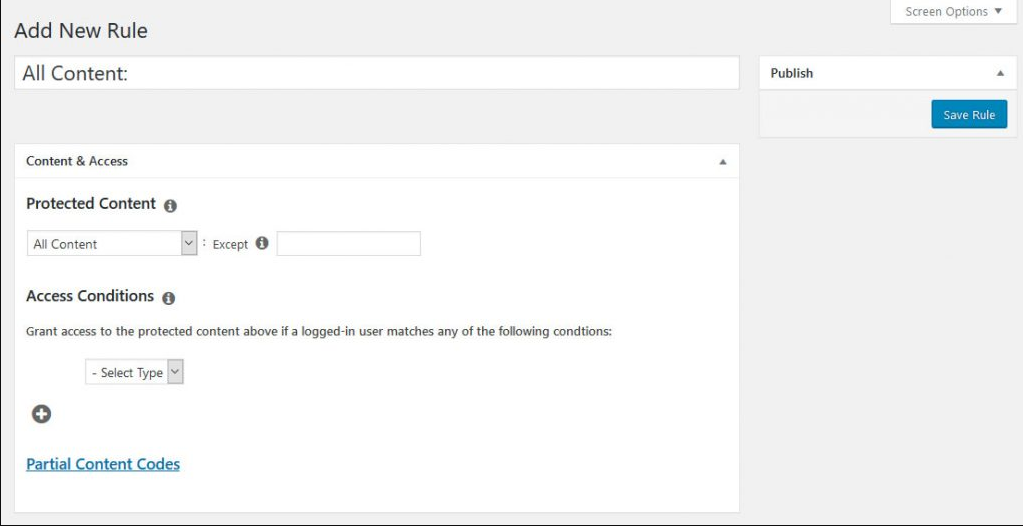
5. Create Rules for Membership Plans
If you’re done creating the membership levels, the next thing you’ll have to do is to ‘Create Rules.' Creating rules means setting up the right content of your page, separating the non-payment members to the premium members. It allows you to hide content depending on which plan levels they subscribed.
On how to do this:
- Go to MemberPress
- Click Rules
- Click the Add New Button
- Select which content you want to protect from your non-paying members
So, whenever you have a new post which is exclusive to the premium members, just simply add “paid” tag on the content to protect this content to the non-paying subscribers and can be accessed only by premium members.
MemberPress also offers content drip and expiration. Content drip is setting a rule where you can gradually open content for the premium members, instead of allowing them to access all at once.
Expiration is scheduling an end date for specific content. After the said date, the members are not allowed to access the content anymore.
If the rules you set up met your standards already, click ‘Save Rules.'
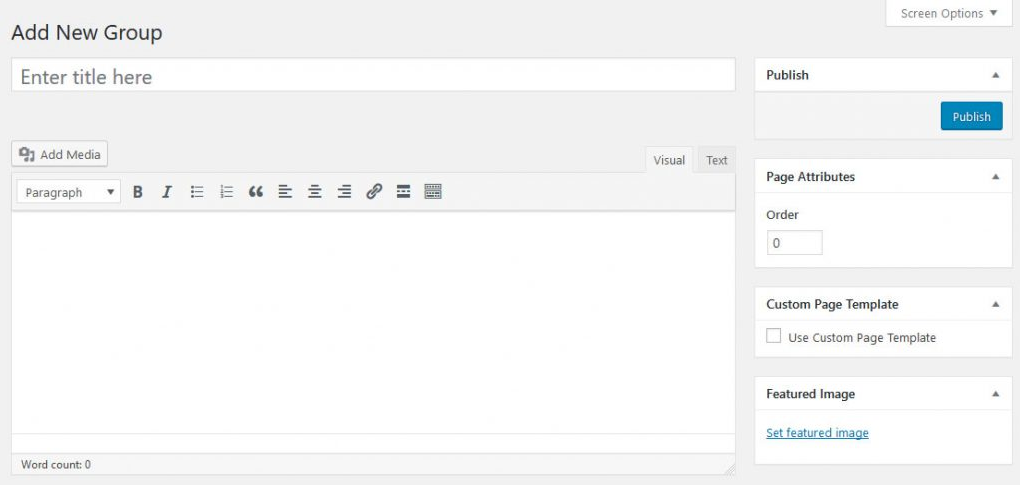
6. Create an Appealing Pricing Page
Next thing you have to do is to create an eye-catching Pricing Page. A pricing page helps you to promote your membership levels and the prices attached to it.
Every website visitor will be able to see which plans are suitable for them on your pricing page. Once they choose the plan that they want, they will automatically be directed on the payment page.
Also, if a free plan member tries to access a content that is exclusively for premium plan members only, they will be directed to the payment page for them to turn into paying members.
To do this:
- Go to MemberPress
- Add Groups
- Click Add New
- Create a title for your pricing page
- Go to Group Options and start adding membership levels you want to display on the page
You may also choose a Pricing Page Theme from MemberPress, and it will automatically generate this user-friendly page for you.
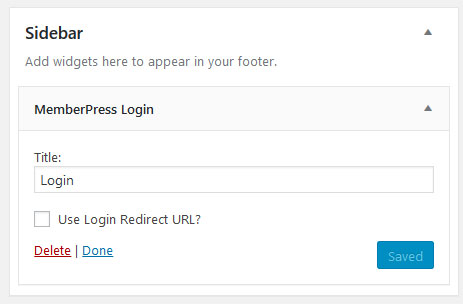
7. Add Sign Up and Login Forms
Finally, we’re on our last step, adding sign up and login forms where your members can fill out the forms of their information to access the premium contents.
How to do Login Forms:
- Go to Appearance
- Select Widgets
- Add “MemberPress Login” widget
How to Do Sign Up Forms & Link to Pricing Page
- Go to Appearance
- Select Menus on the WordPress Admin page
- Click on “Groups” Tab
- Check the box next to your membership pricing plans
- Click “Add to Menu”
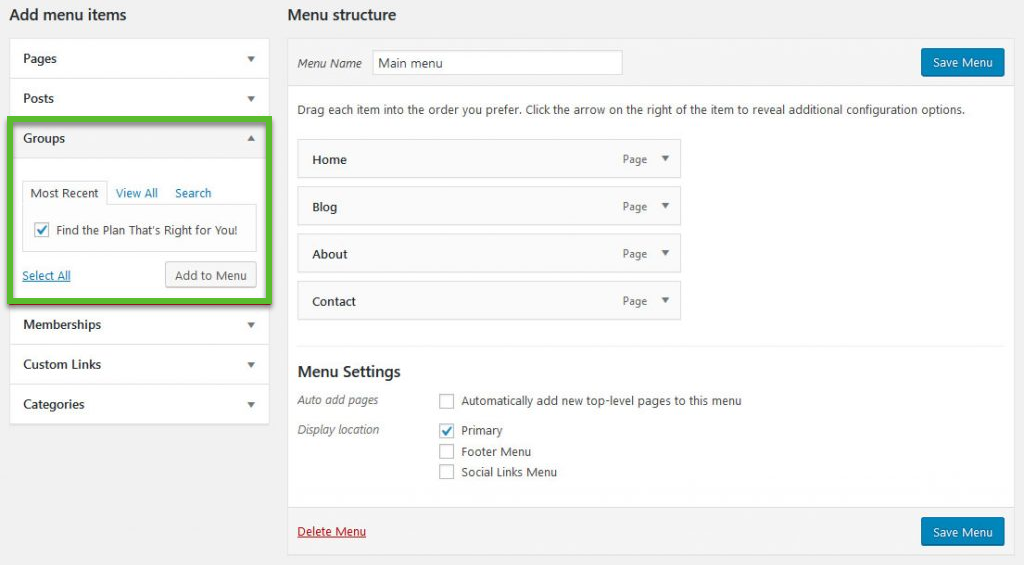
The pricing plan page will appear together with other page links that are already available on your navigation menu. You can rearrange the tabs using the drag and drop feature.
Make sure to log out your WordPress admin area to appear the changes on your live website.
After doing the above steps, you are now ready to operate your membership site.