Have you ever wondered what makes a great online presence for your business? For starters, a key aspect of your website's success is having a compelling landing page that converts visitors into leads or customers.
Recent research has found that having a dedicated landing page can increase conversion rates by up to 43%. This means that businesses with a dedicated landing page are more likely to convert visitors into customers.
And long-form landing pages can generate up to 220% more leads than above the fold call to action (CTA).
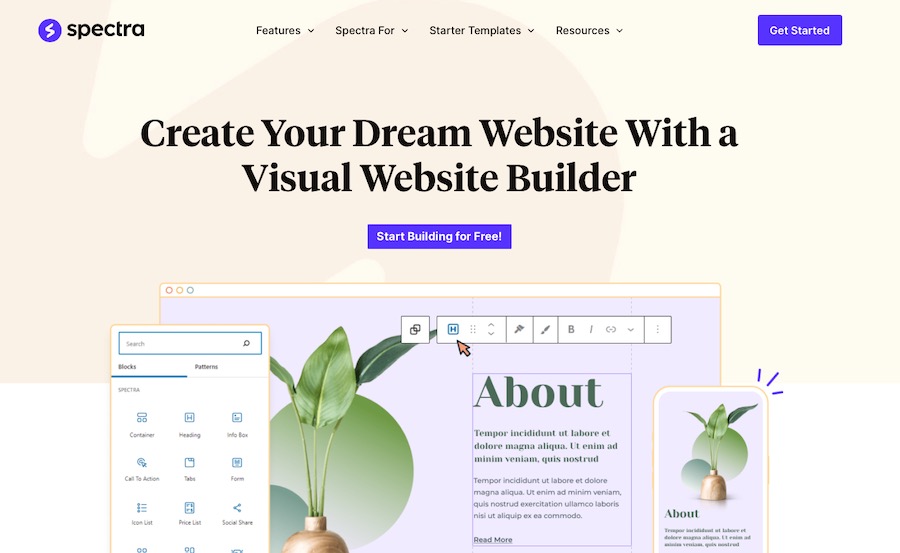
That's why today, we'll introduce you to Spectra, a fantastic visual website builder for WordPress that's perfect for creating amazing landing pages using the block editor.
With Spectra and the block editor, you can design eye-catching and high-performing landing pages that keep your audience engaged and encourage them to take action.
So let's dive into the world of learning how to create a landing page and how to make the most out of this powerful combination.
- What Is a Landing Page?
- Why Choose Spectra for Your Landing Page?
- Setting Up Your WordPress Site With Spectra
- How To Create a Landing Page Using the Block Editor
- Replicating Elementor Pages With the Block Editor and Spectra
- Tips for Optimizing and Creating a Landing Page With WordPress
- Tips for Increasing Speed and Performance
- How To Make a Landing Page in WordPress? With the Block Editor and Spectra, of Course!
What Is a Landing Page?
A landing page is a standalone web page created specifically for marketing or advertising campaigns.
Dedicated frontend developers plays a crucial role in optimizing these pages for maximum conversions. It’s where your visitors “land” after clicking on a link in an email, ad, or search engine result.
The primary purpose of a landing page is to convert visitors into leads or customers by encouraging them to take a specific action.
Those actions can include signing up for a newsletter, purchasing a product, or registering for an event.
Landing pages are essential for any online business because they help:
- Generate leads and grow your email list
- Increase conversions and sales
- Improve your search engine rankings
- Provide a targeted and personalized experience for your audience
But doesn't a homepage do a lot of this, too? Sort of.
Let's spend some time talking about the differences between these two page types.
Landing Page vs Homepage – What's the Difference?
While both landing pages and homepages serve essential roles on your website, they have different purposes and structures.
- Landing pages: Designed for a specific goal, such as generating leads or promoting a product. They are focused on a single call to action (CTA) and often have a simple layout with minimal distractions. Landing pages are typically not part of your website's main navigation and are used in conjunction with marketing campaigns.
- Homepages: Serve as the central hub of your website. They provide an overview of your business and offer easy access to various sections and pages. Homepages often have multiple CTAs and are designed to cater to a wider audience with different interests and needs.
Here's a quick comparison of the two:
|
Landing Page |
Homepage |
|---|---|
|
Focused on a single goal or CTA |
Offers an overview of your business |
|
Minimal distractions and simple layout |
Multiple CTAs and a more complex layout |
|
Not part of the main navigation |
Central hub and part of the main navigation |
With the basics covered — and hopefully, clear — let's explore how to create a landing page in WordPress using Spectra and the WordPress block editor!
Why Choose Spectra for Your Landing Page?
When it comes to designing landing pages in WordPress, there are many themes and website builders available. So why should you choose Spectra?
Spectra is a website builder that offers numerous benefits. It’s the ideal choice for creating effective landing pages.
Let's dive into the specific advantages Spectra provides:
1. Enhanced Speed and Performance
Nowadays a speedy website is critical. A slow-loading landing page can lead to high bounce rates, lower conversions, and a poor user experience.
Spectra is built with speed and performance as a top priority, ensuring that your landing pages load quickly and smoothly on all devices.
2. Compatibility With the Block Editor and Elementor
Spectra is fully compatible with both the WordPress blocks editor (also known as Gutenberg) and Elementor. This means you can choose the editing experience that works best for you, and it's easy to switch between them if needed.
Plus, Spectra's seamless integration with these tools allows you to create visually stunning and engaging landing pages without any coding knowledge — bonus!
3. Live Editing
Spectra is a visual WordPress website builder that allows you to design your website live without having to switch between the editor and the preview mode.
It replaces the basic WordPress editor with a live frontend editor, enabling you to create complex layouts visually. Not switching between the editor and preview mode — just your changes in front of you as they'd look live, always.
4. Customizable Design Options
Spectra offers a wide range of customization options to help you create a unique and personalized landing page that aligns with your brand identity.
From typography and color schemes to header and footer layouts, you have full control over every aspect of your page's design.
This flexibility allows you to create a landing page that resonates with your target audience and effectively conveys your message.
5. Pre-built Templates
To kickstart your landing page design, Spectra comes with a collection of pre-built templates that you can easily customize to fit your needs.

The templates are created to help you optimize conversions by incorporating components like sign-up forms, buttons and testimonials into your marketing strategy.
6. Mobile Responsive Design
With more and more users accessing the internet from mobile devices, it's crucial to have a landing page that looks and functions well on all screen sizes.
Spectra is fully responsive, ensuring that your landing page automatically adjusts to fit any device, providing an excellent user experience for all your visitors.
7. Easy-to-use Interface
Spectra's user-friendly interface makes it easy for anyone to create professional-looking landing pages, regardless of their technical skills.
With intuitive customization options and compatibility with the block editor, you can quickly design and launch your landing page directly within the native WordPress interface.
With all these benefits, it's clear that Spectra is the ideal choice for creating amazing landing pages in WordPress.
Next, let's dive into the step-by-step process of setting up your landing page using Spectra and the block editor!
Setting Up Your WordPress Site With Spectra
Creating a landing page with Spectra is very straightforward. In this section, we'll walk you through the step-by-step process of setting up your WordPress site with Spectra
Step 1: Install And Activate Spectra
To install the free WordPress Spectra plugin on your site, please follow these steps:
- Log in to your WordPress Dashboard.
- Navigate to Plugins > Add New.
- Search for “Spectra”.
- Install and activate the plugin.
It really is as simple as that!
Step 2: Install the Starter Templates Plugin
If you want to access the pre-built templates you can use as a foundation for any landing page you want to build in Spectra, then you'll need to install the Starter Templates plugin.
To do this, follow these steps:
- Log in to your WordPress Dashboard.
- Navigate to Plugins > Add New.
- Search for “Starter Templates”.
- Install and activate the plugin as you would normally.
Once you've done this, you'll be able to access the pre-built templates from your WordPress dashboard under Appearance > Starter Templates.
How To Create a Landing Page Using the Block Editor
Now that you've set up Spectra on your WordPress site, it's time to create your landing page using the block editor.
To do this, you'll want to import a Starter Template to give you a good starting point for your landing page.
If you wanted to import an entire website design, you could do so by going to Appearance > Starter Templates then select one that suits your needs.
But since our focus here today is on building a landing page, you'll want to take a different approach.
To import a Starter Template, follow these steps:
- Log in to your WordPress dashboard.
- Navigate to Pages > Add New.
- Click the blue button at the top of the page with the Spectra logo that says Template Kits.
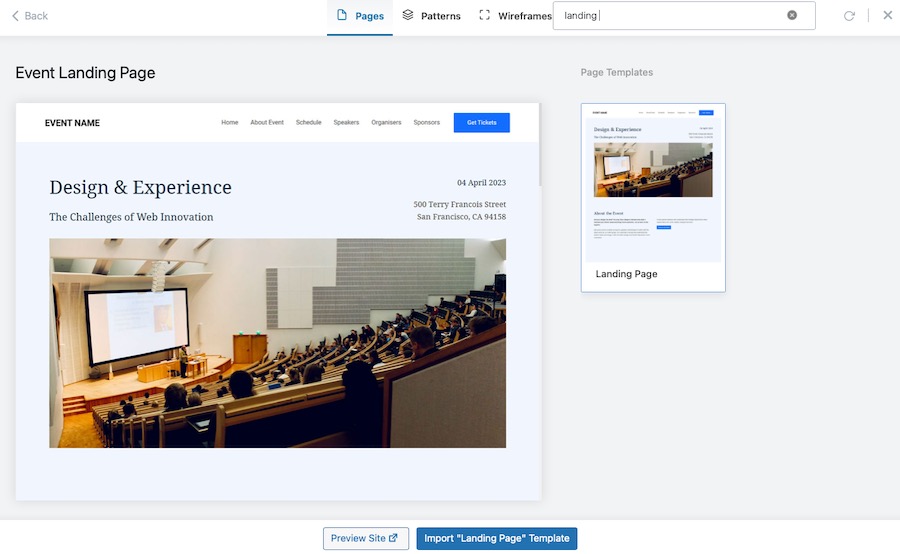
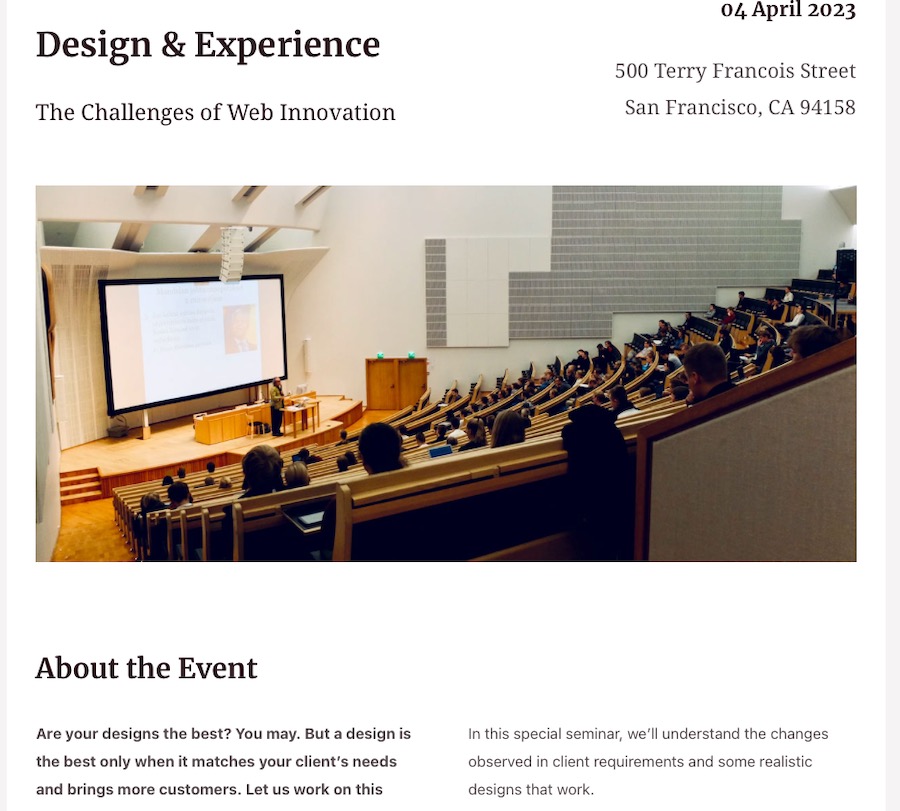
- Select a template you'd like to use. For this example, we've selected the Event Landing Page template. Click Import “Landing Page” Template.
- Edit your landing page by adding content, customizing colors, and testing out different components.
- When you're done editing your landing page, click Publish to make it live on your site!
And that's it! You've successfully created a stunning landing page on your WordPress site using the Spectra and the block editor.
Of course, there is a bit more to it than that. At least, if you want your landing page to be effective.
It's likely a better idea to install template patterns rather than a full page template for our purposes.
You can gather a lot of inspiration from Elementor pages and actually base your design on them. That's what we'll discuss next.
Replicating Elementor Pages With the Block Editor and Spectra
Elementor is a popular page builder plugin for WordPress that enables users to create beautiful and complex page designs with ease.
However, with the advent of the block editor, you might find that you can achieve similar results. With Spectra's help, you have even more options.
In this section, we'll show you how to replicate Elementor pages using the block editor and Spectra.
Step 1: Analyze Your Elementor Page
To start, take a look at an Elementor page you'd like to replicate in structure and carefully analyze its layout, design elements, and format.
Take note of the specific sections and columns used in the design. This will help you identify the corresponding blocks and layout options in the block editor.
Step 2: Create a New Page
Next, create a new page in your WordPress dashboard by navigating to Pages > Add New.
Open the block editor by clicking on the + icon at the top of the page.
Step 3: Build the Layout
Recreate the layout of your Elementor page using the block editor's layout blocks, such as:
- Columns: Use the Columns block to create multi-column layouts. Adjust the number of columns and their widths to match your Elementor design.
- Group: Group blocks together to apply consistent styling or background to a set of blocks.
- Spacer: Add whitespace between blocks to control the spacing and layout of your design.
Step 4: Use Pattern Blocks
Or you can use Spectra pattern blocks to facilitate this design process.
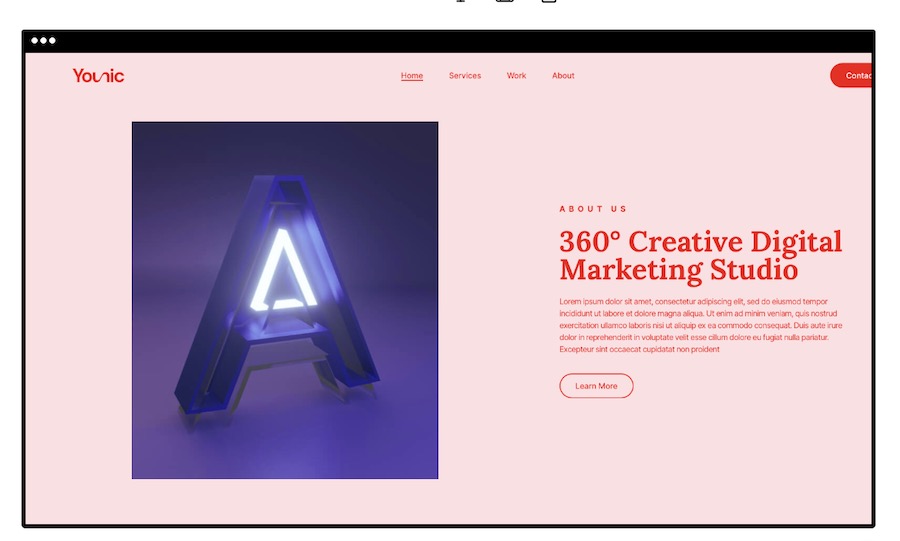
Selecting a Hero pattern would be a great choice for the top of the page:
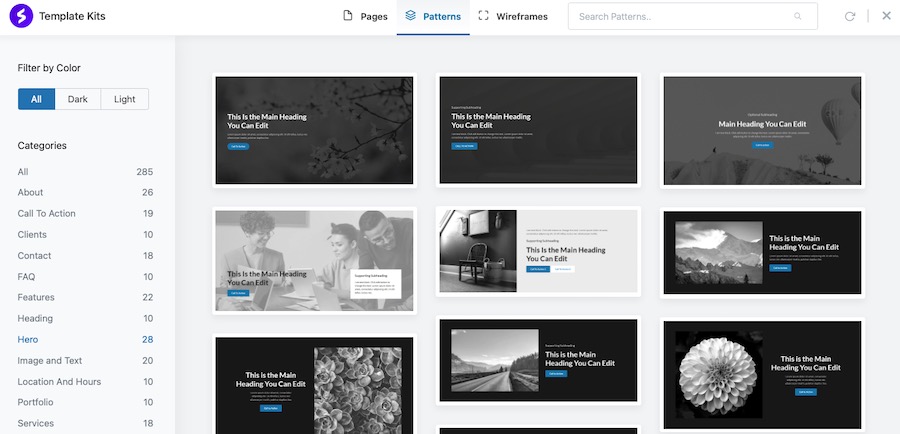
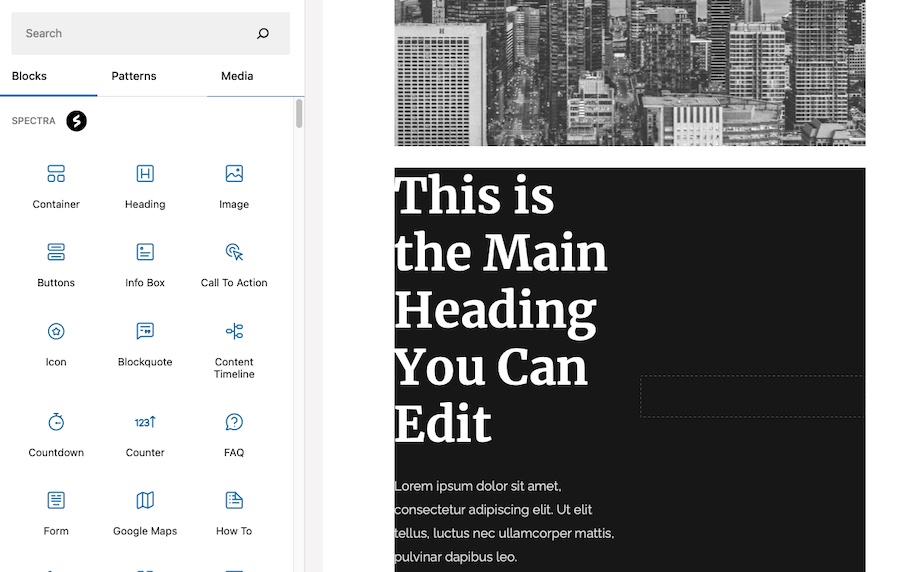
Then click the + sign directly beneath it then Browse All to see more block options.
You'll then see all the Spectra blocks you have to choose from.
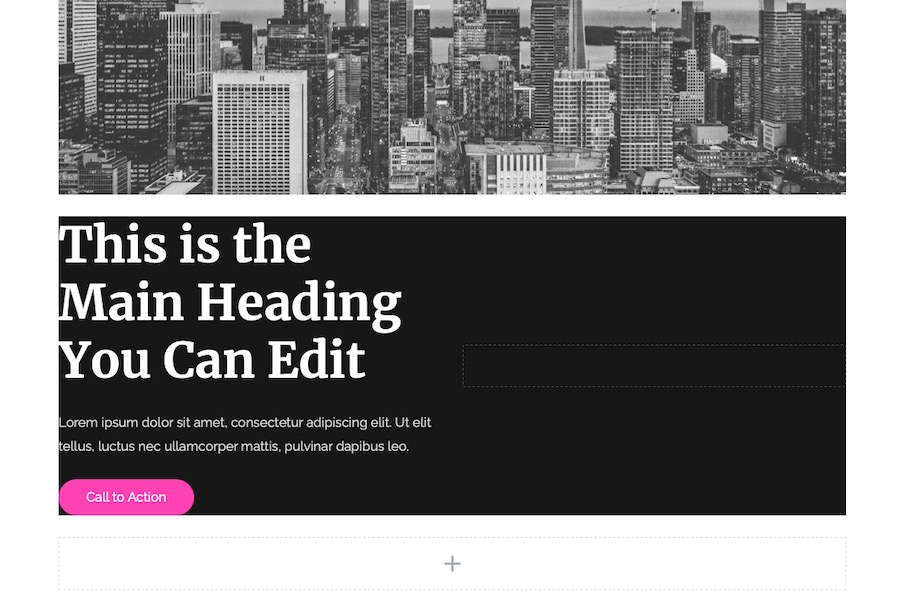
In this example, we've selected the Container block, which then presents more options.

Then you can go about adding blocks to each container spot. Here, we've added an image and applied a duotone filter over it then added a heading.
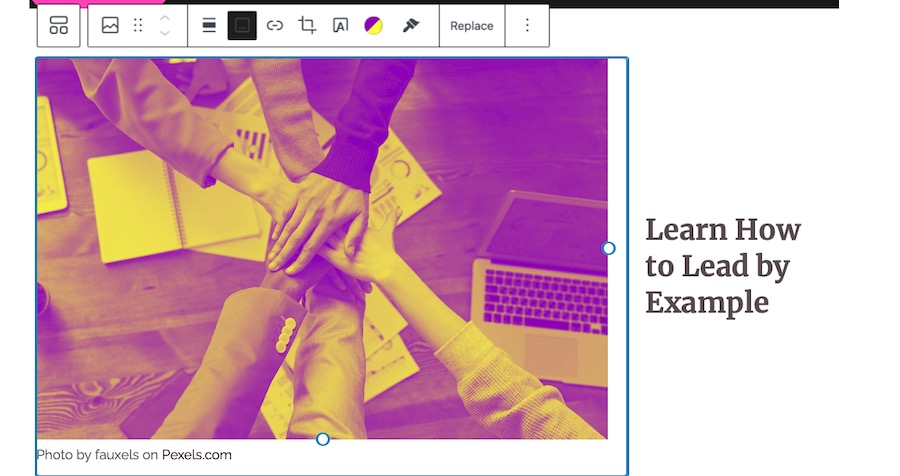
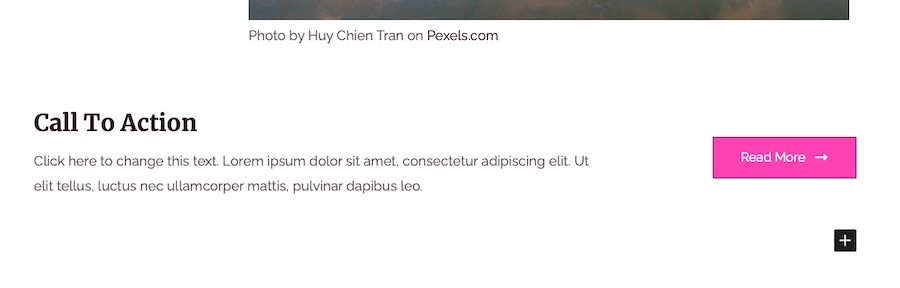
Once you're done adding blocks, finish off by adding a call to action. It wouldn't be a proper landing page without one!
Step 5: Customize Blocks
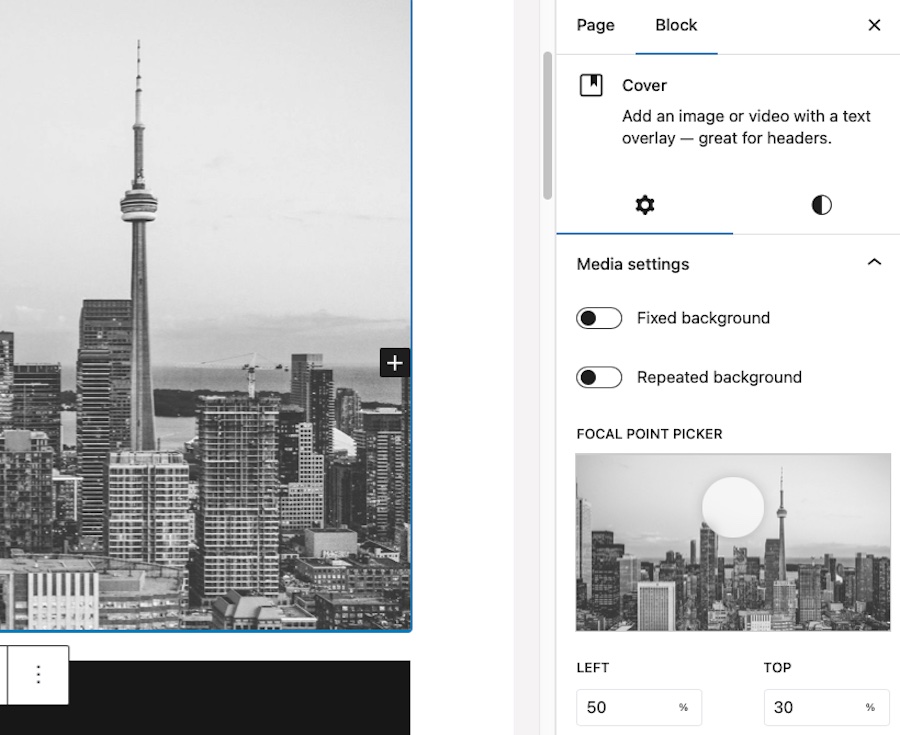
Customize the appearance and behavior of your blocks to match the Elementor page's design. Each block comes with its own customization options, such as font, size, color, and alignment.
Here's a detailed breakdown of how you can achieve this customization:
1. Select the Block
Click on the block you want to customize. The block toolbar will appear above the block, and the customization options will appear in the right sidebar under the Block tab.
2. Typography
Adjust the font size, and weight to match the Elementor page's design.
To change the size, select from S, M, L, or XL. You can also click the Appearance dropdown and choose a weight you prefer like Light or Semi Bold.
You can also adjust the letter-case here.
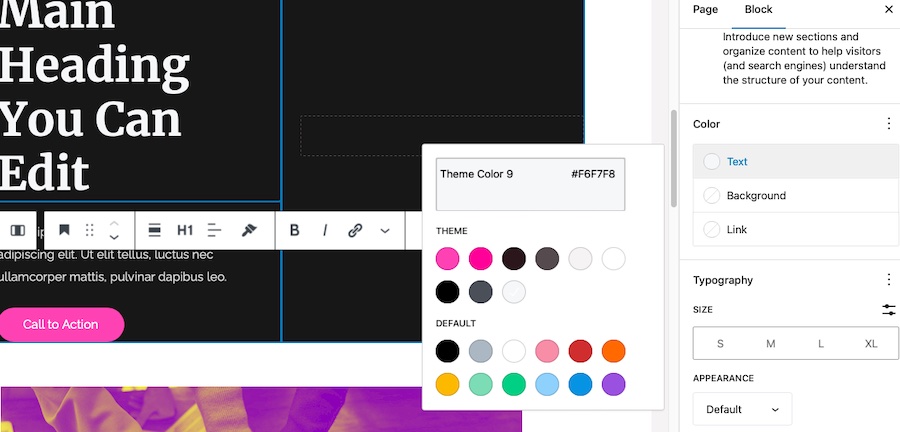
3. Text Color
To change the text color, click Text beneath the Color section and choose a color from the palette or input a custom color code.
You can also adjust the text opacity using the slider next to the color picker.
4. Background Color
Some blocks, such as buttons and containers, have background color options. To change the background color, click on the item you want to modify then click the Styles tab.
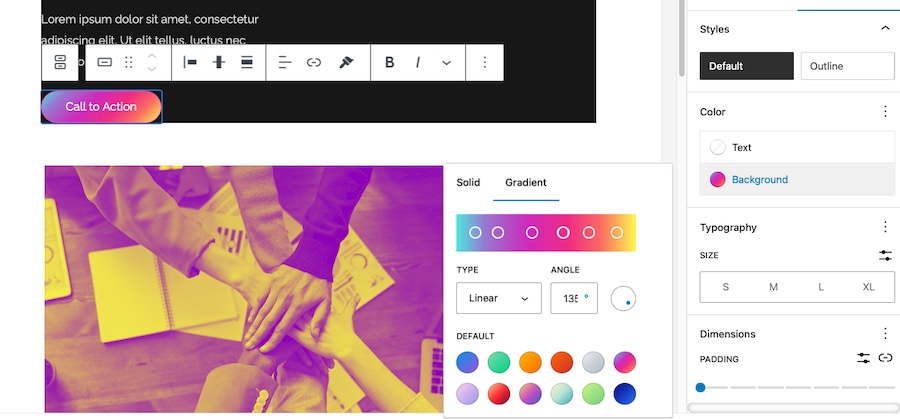
Click Background then choose a solid color from the palette or opt for a gradient background.
5. Alignment
Adjust the alignment of your block by clicking on the Align icon in the block toolbar.
You can choose from left, center, right, or justify alignment, depending on your design requirements. Some blocks also offer wide width and full width options as well.
6. Spacing
Customize the spacing between elements, such as padding and margins, to match the Elementor page's layout.
Click on the Style tab in the right sidebar then scroll down to the Spacing section.
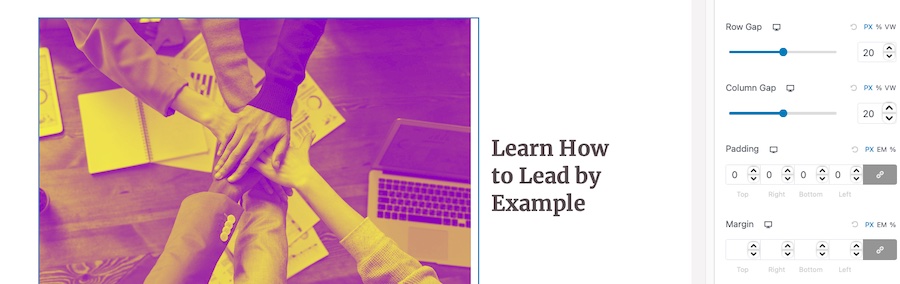
Click it and then you can adjust the values for Margin and Padding. You can input specific values or use the sliders to adjust the spacing visually.
7. Borders
Add or modify borders for your block by clicking on Style > Borders in the right sidebar. You can adjust border width, style, color, and radius.
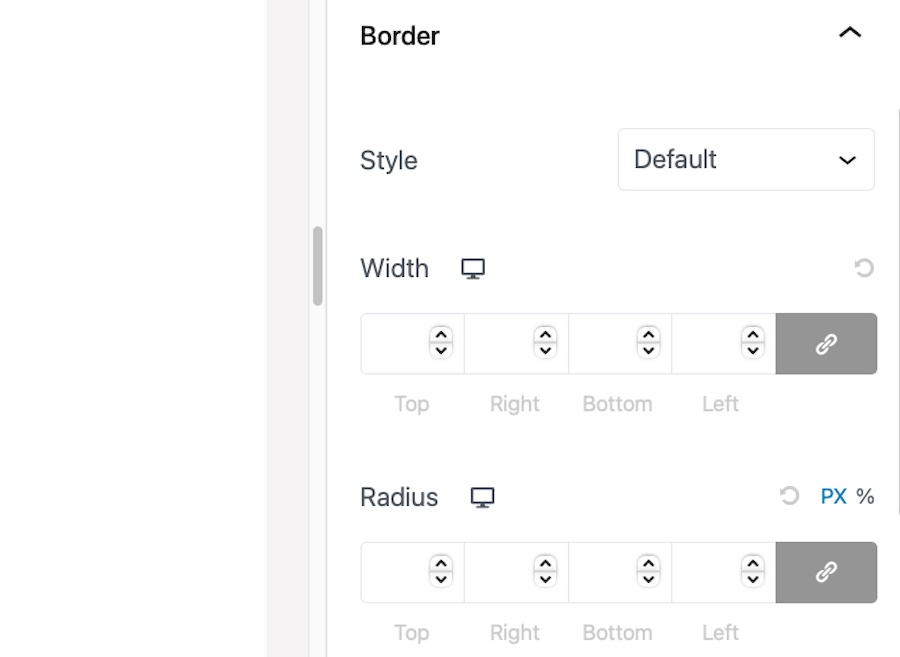
To apply the same border style to all sides, enable the Link icon next to the border width and radius fields.
8. Custom CSS
For advanced customization, you can add custom CSS classes or inline styles to your blocks.
Click on the Advanced tab in the right sidebar and input your custom CSS classes or inline styles in the provided fields.
The great thing about using Spectra here is you don’t need to constantly preview your page to see how it compares with the Elementor page.
You can view it as it will appear on the live site right as you’re editing to ensure that the customization is accurate.
Once you are satisfied with the design, move on to the next block and repeat these steps until all blocks have been customized to match the Elementor page's design.
Step 6: Test and Optimize
Finally, view your new page on various devices and browsers to ensure that it looks and functions well across different devices. Make any necessary adjustments to improve the design, layout, and responsiveness.
You can use the block editor and Spectra to replicate Elementor pages easily, which will help you create visually appealing and high-performing landing pages quickly.
Tips for Optimizing and Creating a Landing Page With WordPress
To create a high-converting landing page, consider the following design best practices:
- Precise and to-the-point headline: Your headline should grab the visitor's attention and clearly communicate the value of your offer. Make sure it's concise, engaging, and relevant to your target audience.
- Strong call to action (CTA): Your CTA should be prominent, easy to find, and compelling. Use action-oriented language, contrasting colors, and a button or link to encourage visitors to take the desired action.
- Visual hierarchy: Organize your content in a logical and easy-to-follow manner, guiding the visitor's eye from the most important elements to the least important ones. Use headings, whitespace, and contrasting colors to establish a clear visual hierarchy.
- Mobile responsiveness: Ensure your landing page looks and functions well on all devices. Test your design on different screen sizes and browsers to make sure it provides a consistent user experience.
- Minimal distractions: Keep your landing page focused on the primary goal and remove any unnecessary elements that may distract visitors from your CTA. Avoid cluttered layouts, excessive links, and overly complex navigation.
- Use of visuals: Incorporate high-quality images, videos, and other visual elements that support your message and engage your audience. Make sure your visuals are relevant, eye-catching, and optimized for fast loading. A strong logo design can also serve as a powerful visual anchor, reinforcing brand identity across all channels.
- Social proof: Include testimonials, case studies, or other forms of social proof to build trust and credibility with visitors. This will help reassure them that your offer is worth considering.
- Loading speed: Optimize your landing page for fast loading times by compressing images, using lightweight design elements, and minimizing the use of heavy scripts or plugins.
- A/B testing: Regularly test different versions of your landing page to determine which design elements and copy perform best. Use the insights gained from testing to continuously improve your landing page and increase conversions.
A proper landing page optimization effectively converts visitors into leads or customers by using Spectra and the block editor while adhering to design best practices.
Tips for Increasing Speed and Performance
A fast-loading landing page is crucial for user experience and conversion rates. With Spectra and the block editor, you can create highly optimized landing pages right out of the gate.
There are additional steps you can take to further improve your page's speed and performance, however.
Here are some tips to help you achieve a faster and more efficient landing page:
1. Optimize Images
Images that are too big and not optimized can cause your webpage to load slowly.
To make sure your images load faster, follow these tips:
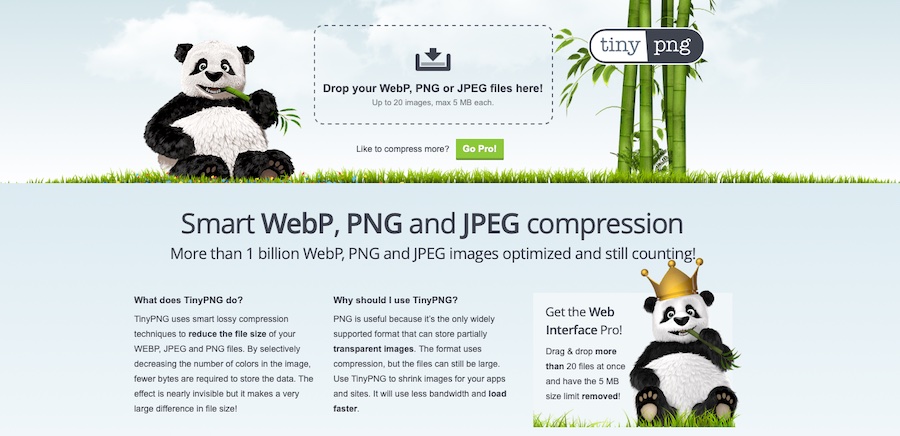
- Before uploading images to your website, use online tools like TinyPNG or ImageOptim to compress them.
- Please ensure that you use the correct file format for your files. For example, use JPEG format for photos and PNG format for graphics with transparency.
- Consider using WebP images, which offer superior compression and quality compared to JPEG and PNG formats.
2. Use a Caching Plugin
Caching plugins can significantly improve your site's performance by storing static versions of pages and serving them to users, reducing server load and response times.
There are several well-known caching plugins available for WordPress such as WP Rocket, W3 Total Cache, and WP Super Cache that you might want to check out.
3. Minify CSS and JavaScript Files
Minifying your site's CSS and JavaScript files can reduce their file sizes, resulting in faster page load times.

Many caching plugins like Autoptimize and online web-based tools such as Minifier offer minification features to save valuable time and effort.
4. Use a Content Delivery Network (CDN)
A CDN can improve your site's performance by serving your static files (think images, CSS, and JavaScript) from a network of servers distributed around the world.
This ensures that your content is delivered to users from a server closest to their location, reducing latency and improving load times. Popular CDN options include Cloudflare, Amazon CloudFront, and KeyCDN.
5. Optimize Database Performance
Regularly cleaning and optimizing your WordPress database can help improve your site's performance.

Use plugins like WP-Optimize or WP-Sweep to remove unnecessary data like revisions, trashed items, and expired transients and optimize your database tables.
6. Choose a High-performance Hosting Provider
Your web hosting provider plays a significant role in your site's performance. Choose a reputable hosting provider that offers fast server response times, solid-state drives (SSDs), and scalability to handle traffic spikes.
Some popular hosting providers known for their performance include SiteGround, Kinsta, and Bluehost.
7. Use Lazy Loading for Images And Videos
Lazy loading delays the loading of images and videos until they're visible in the user's viewport. This can significantly improve initial page load times, especially on pages with a large amount of media content.
Many caching plugins, such as WP Rocket, include lazy loading features, or you can use standalone plugins like a3 Lazy Load.
If you use these speed and performance optimization tips, your landing page will load faster and work better, so users will have a better experience and you can increase your conversion rates.
How To Make a Landing Page in WordPress? With the Block Editor and Spectra, of Course!
Today we've outlined a powerful and flexible solution for creating stunning, high-performance landing pages in WordPress.
By leveraging the capabilities of the block editor and Spectra — and incorporating best practices for design, speed, and performance optimization — you can learn how to create a landing page in WordPress that not only looks great but also loads quickly and efficiently.
Which means more conversions for you.
Good luck!