
After purchasing your domain name, you should be gunning for an email address associated with your domain name. And using an email address with the same name as your domain delegates a strong impression as a professional. It doesn’t take a genius to figure out that, in business, you shouldn’t be dealing with anyone who has ‘salesman24362@yahoo.com’ as their email address.
What’s even more sensational is that you can create an email for team members to display the company name! Save for the fact that having your domain.com email is an attractive marketing tip-off for your brand too.
It is highly recommended for business users to create an email which is related to your domain name rather than Gmail, which makes it more of personal use.
See the below example using an email with your domain name:
Domain Name: www.closet.com
Your Email: name@closet.com
To achieve this, we are at your beck and call of guiding you through the whole inside and out process.
1. Register a Domain Name and Web Hosting
To purchase a domain name, you can check any domain registrar to get your domain (e.g., GoDaddy is a large domain registrar who offers hosting too). These registrars will also be suggesting suitable domain names for your business that you can choose from, especially when you can never own Amazon.com or eBay.com anymore!
Next, you have to connect your domain name with your chosen web hosting account to proceed with creating email accounts for your business. I recommend using SiteGround to host your website.
Once you have both registrar and host connected, log in to your web hosting account to start creating emails.
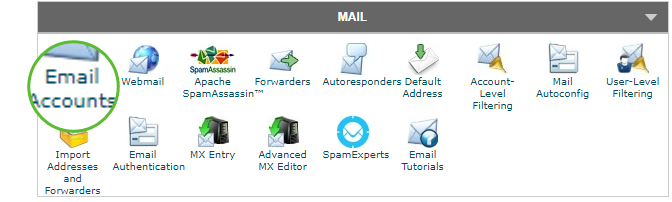
2. Log into your cPanel and Create Your Email Accounts
If you’re using SiteGround as your hosting provider, log in to your cPanel dashboard, and you’ll see a “Mail” section. Click on Email Accounts.
Fill out the following fields:
- Password
- Confirm Password
If you want to add a Mailbox Quota, you can do so. By default, the quota is set to 250MB, which is not bad. Remember, you can decrease and increase the mail limits, depending on your hosting plan.
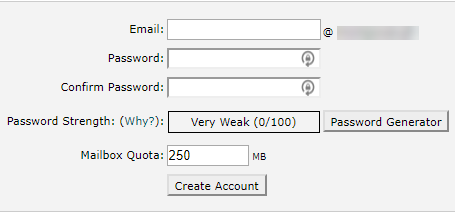
Click on the ‘Create Account’ button to complete the process. You can make multiple email accounts for your domain name by repeating the above steps. That’s it!
3. Access your Email Account
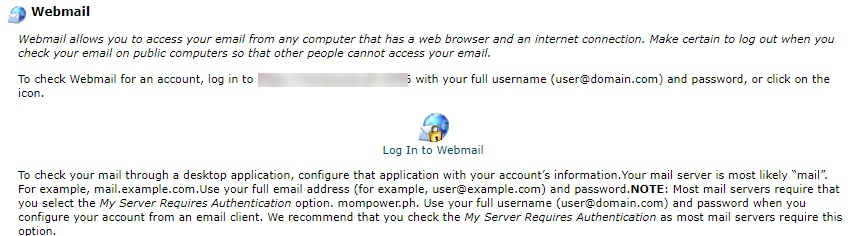
After creating your email accounts, you can now access it by clicking on Webmail.
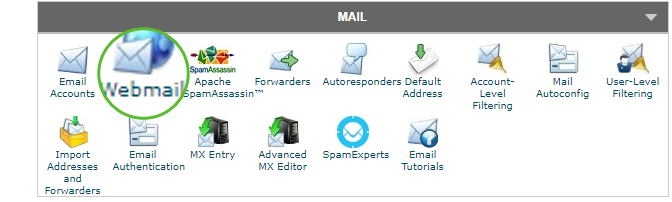
To access your email, click on Log In to Webmail.
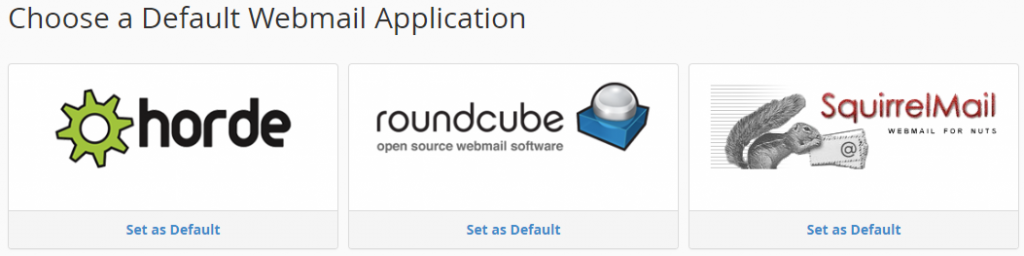
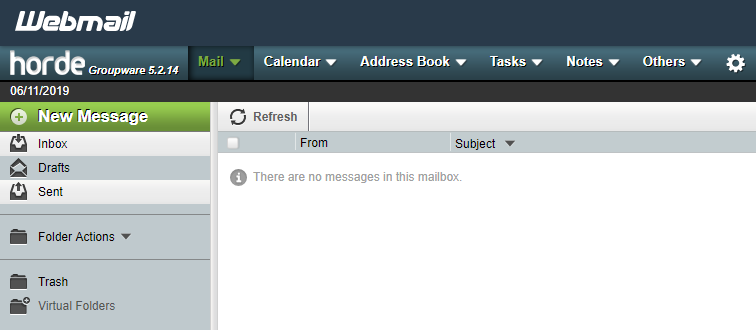
Select a default webmail application, and from there, you can see your mailbox.
You can start sending and receiving emails through the webmail application.
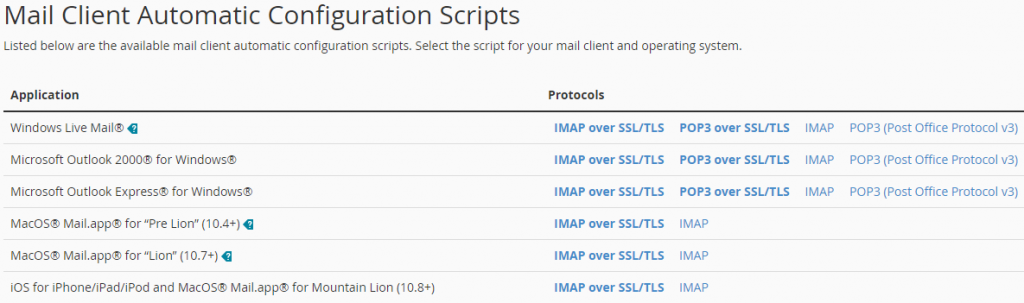
You can connect your email on different devices by setting up the configuration scripts on your preferred application or device.
Set Up Your Email Account with G Suite
After creating your email accounts, you can connect them with G Suite by Google Cloud. It is easier to use than using a webmail application. Also, webmail doesn’t offer any other apps except to send and receive emails only. However, G Suite provides all the popular Google apps like Gmail, Google Photos, Docs, Drive, etc.

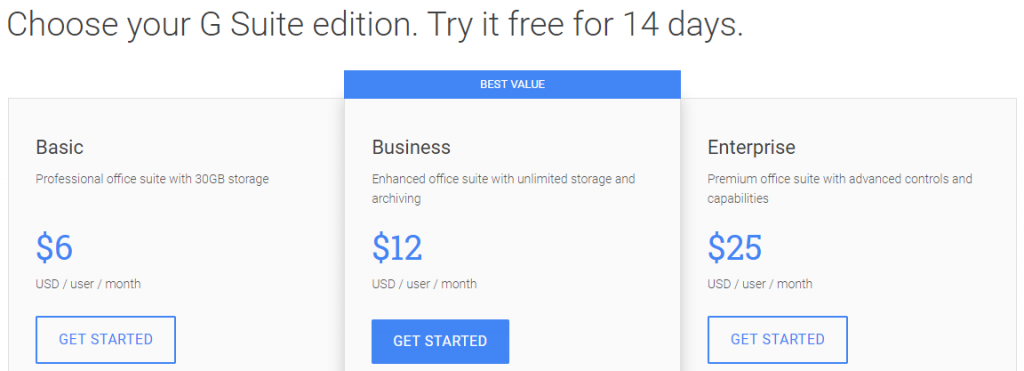
You can have G Suite plan only for $5 per user/month, and you can access all its offered apps and features.
How to Register Your Email Account In G Suite
Go to G Suite website and select the plan of your choice.
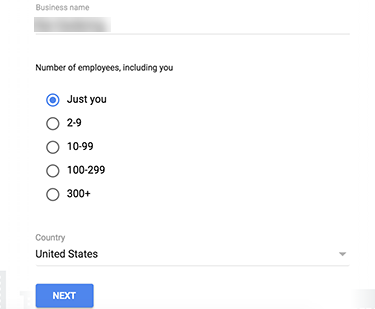
Once you chose your plan, enter the necessary details of your business to continue.
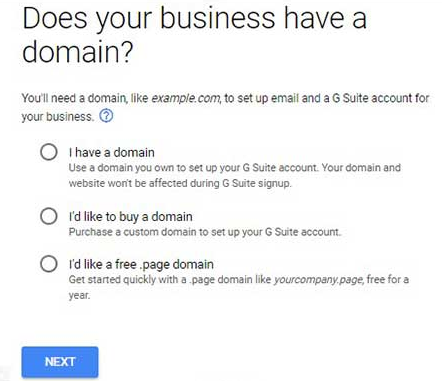
After that, they will ask if you already purchased a domain. Since you’ve done it earlier, choose, the option “I have a domain,” and you can click “Next.”
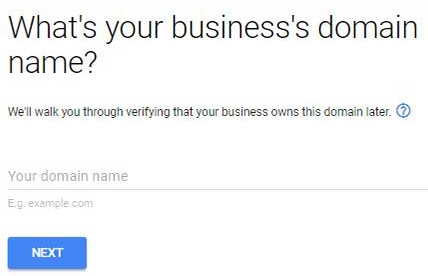
Enter your business name or your domain name. Once done, click on “Next.”
Enter your username and the password. This username will be the account name for your email, and it’ll be attached to your domain name.
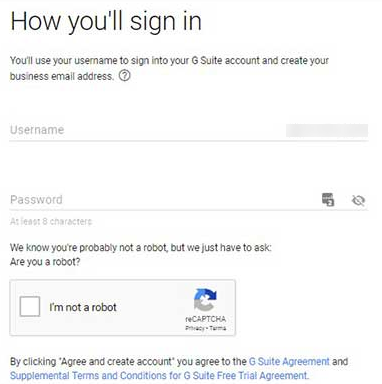
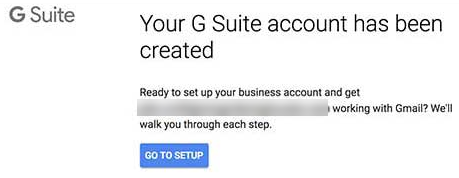
Once you finished these steps, a ‘Successful’ message will pop up.
Click on the “Go to Setup” button to complete the setup process.
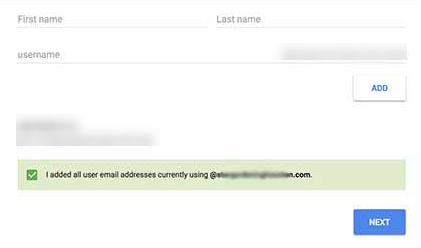
On the Set Up screen, start adding up your team members to create more accounts. Tick the ‘I added all user email addresses currently using [this domain]’ option and click on the ‘Next’ button.
Verify the ownership of your domain by copying the meta tag, or upload an HTML file, to your hosting account for verification. Use only one of these methods to verify domain ownership.
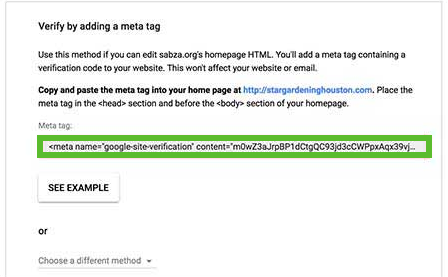
Log in to your website and install the Insert Headers and Footers Plugin.
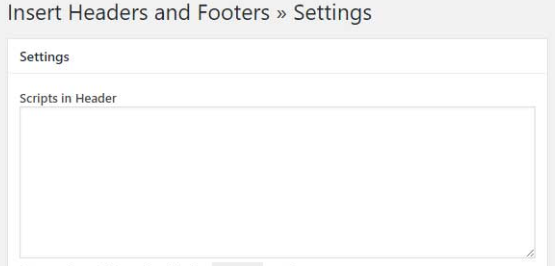
Once installed, go to Settings then “Insert Headers and Footer” and enter the meta tag in the ‘Scripts in Header’ text area. Click the Save Button.
After all the setups, you’ll be needing the MX Records for your Domain name to make the G Suite functional for your email accounts.
How to Create MX Records:
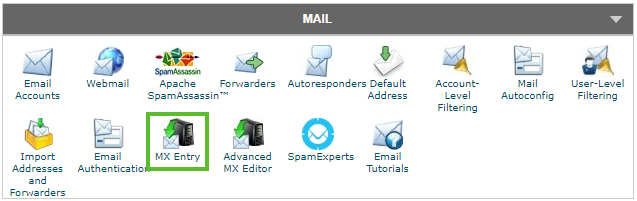
Go to your cPanel and visit the Mail Section. Click on MX Entry. Note that some terms or sections are different from other hosting providers. I’m using SiteGround. You just have to figure out what’s corresponding or similar to it.
Select your domain name and click Set Google MX.
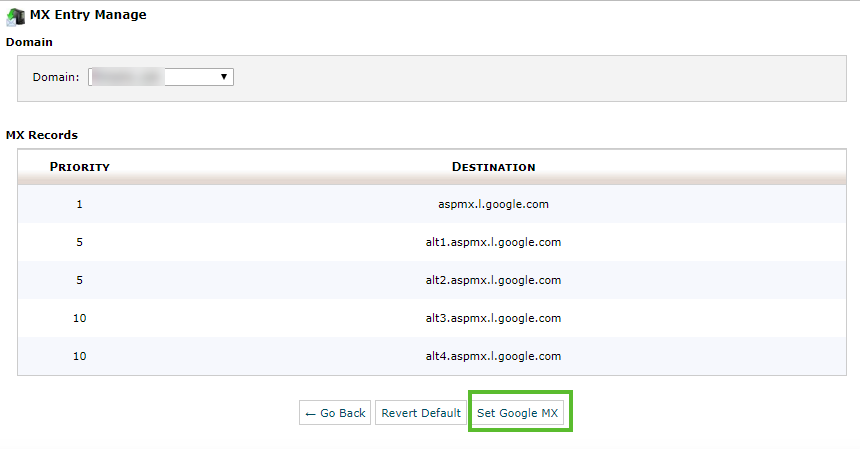
For other hosting providers, you might need to go back to G Suite’s website and check ‘I have opened the control panel for my domain’ option. See the MX Records that you can copy from Google to your cPanel. Go back to your hosting account and enter the MX Records. Click the “Add Record”
Go to G Suite website and tick the “‘I created the new MX records” option. Delete any existing MX Records entries pointing on your domain name. Once deleted all the MX Records, save the MX records manually and check the ‘I saved the MX records’ option. Click “Verify Domain and Set Up Email” button and the process is done.
You can now log in to your Gmail or G Suite account as an administrator, and you can easily use this through different devices.
Conclusion
If you have a branded email account, it looks legit and professional. Your trust factor to your potential and existing clients will be magnified as it is a great way to communicate business-related matters when you know you’re not dealing with a fly-by-night entity.
Acquiring a domain name and business email is cheap, and any business who can’t basically do that should not warrant anyone’s trust. As your contacts grow, you can use plugins to build email lists or amplify email marketing with software to further your business vision.
Start now, and create your business email to nurture customer relationships with a dash of credibility.